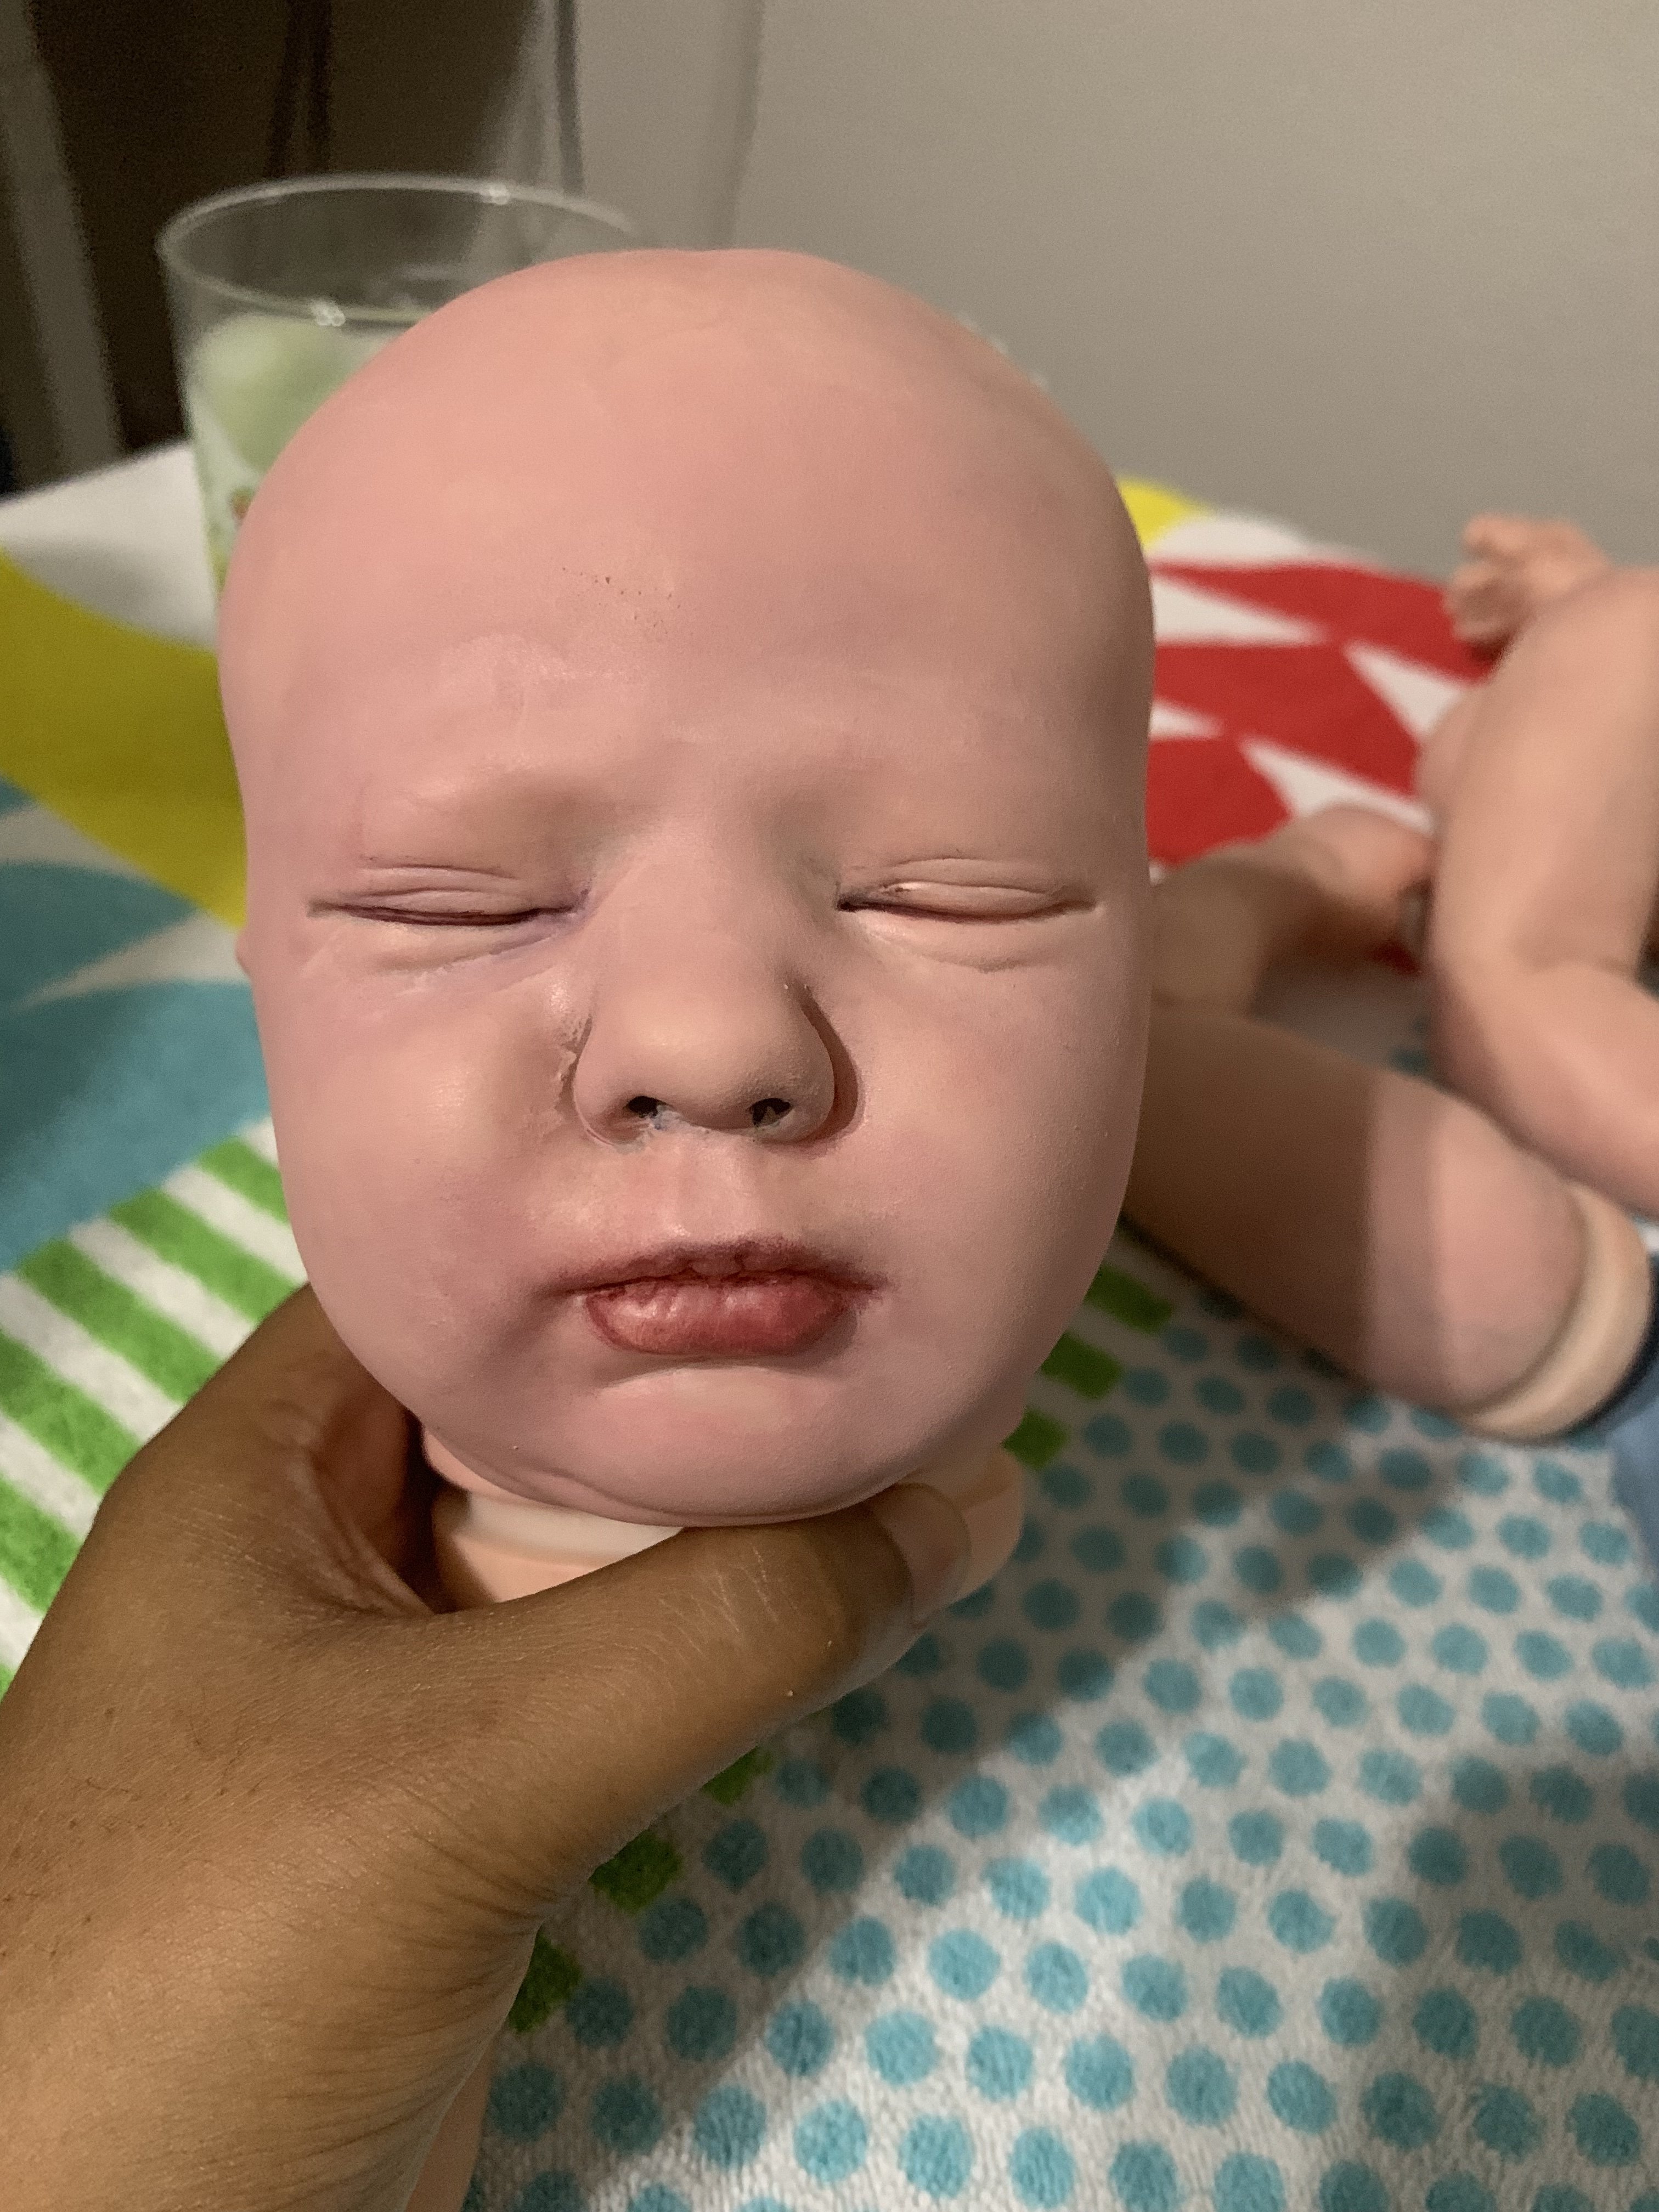
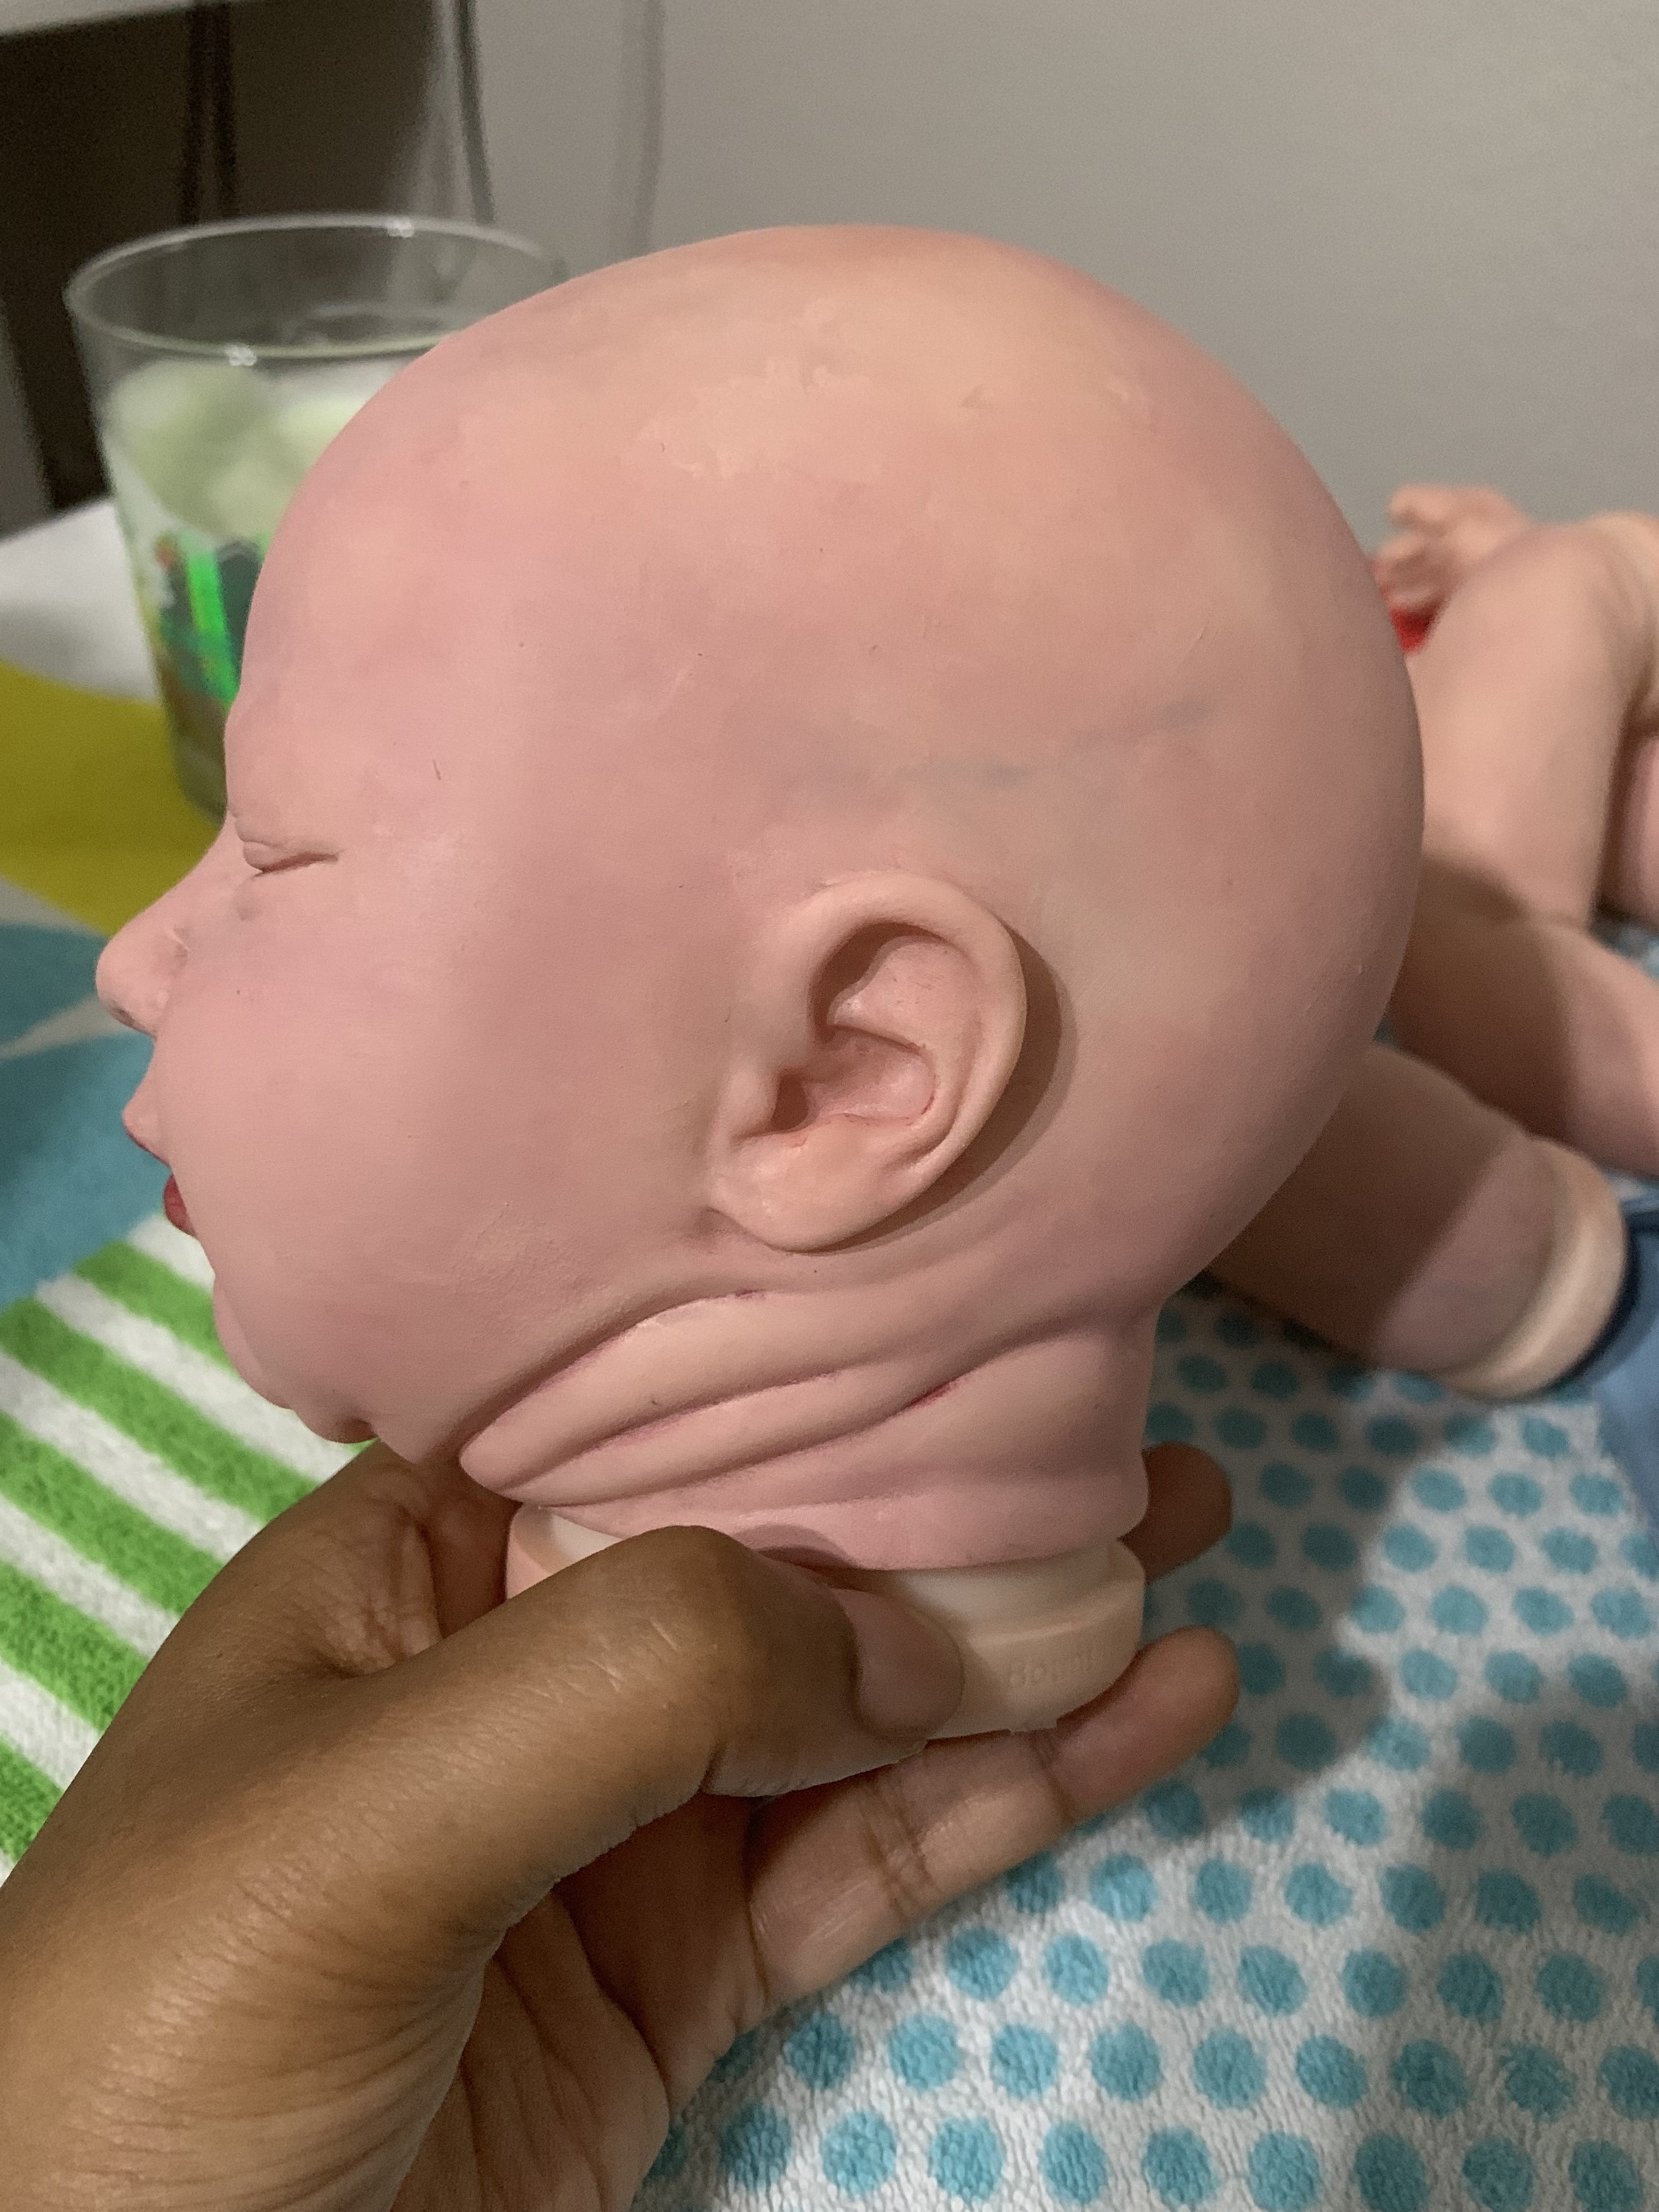
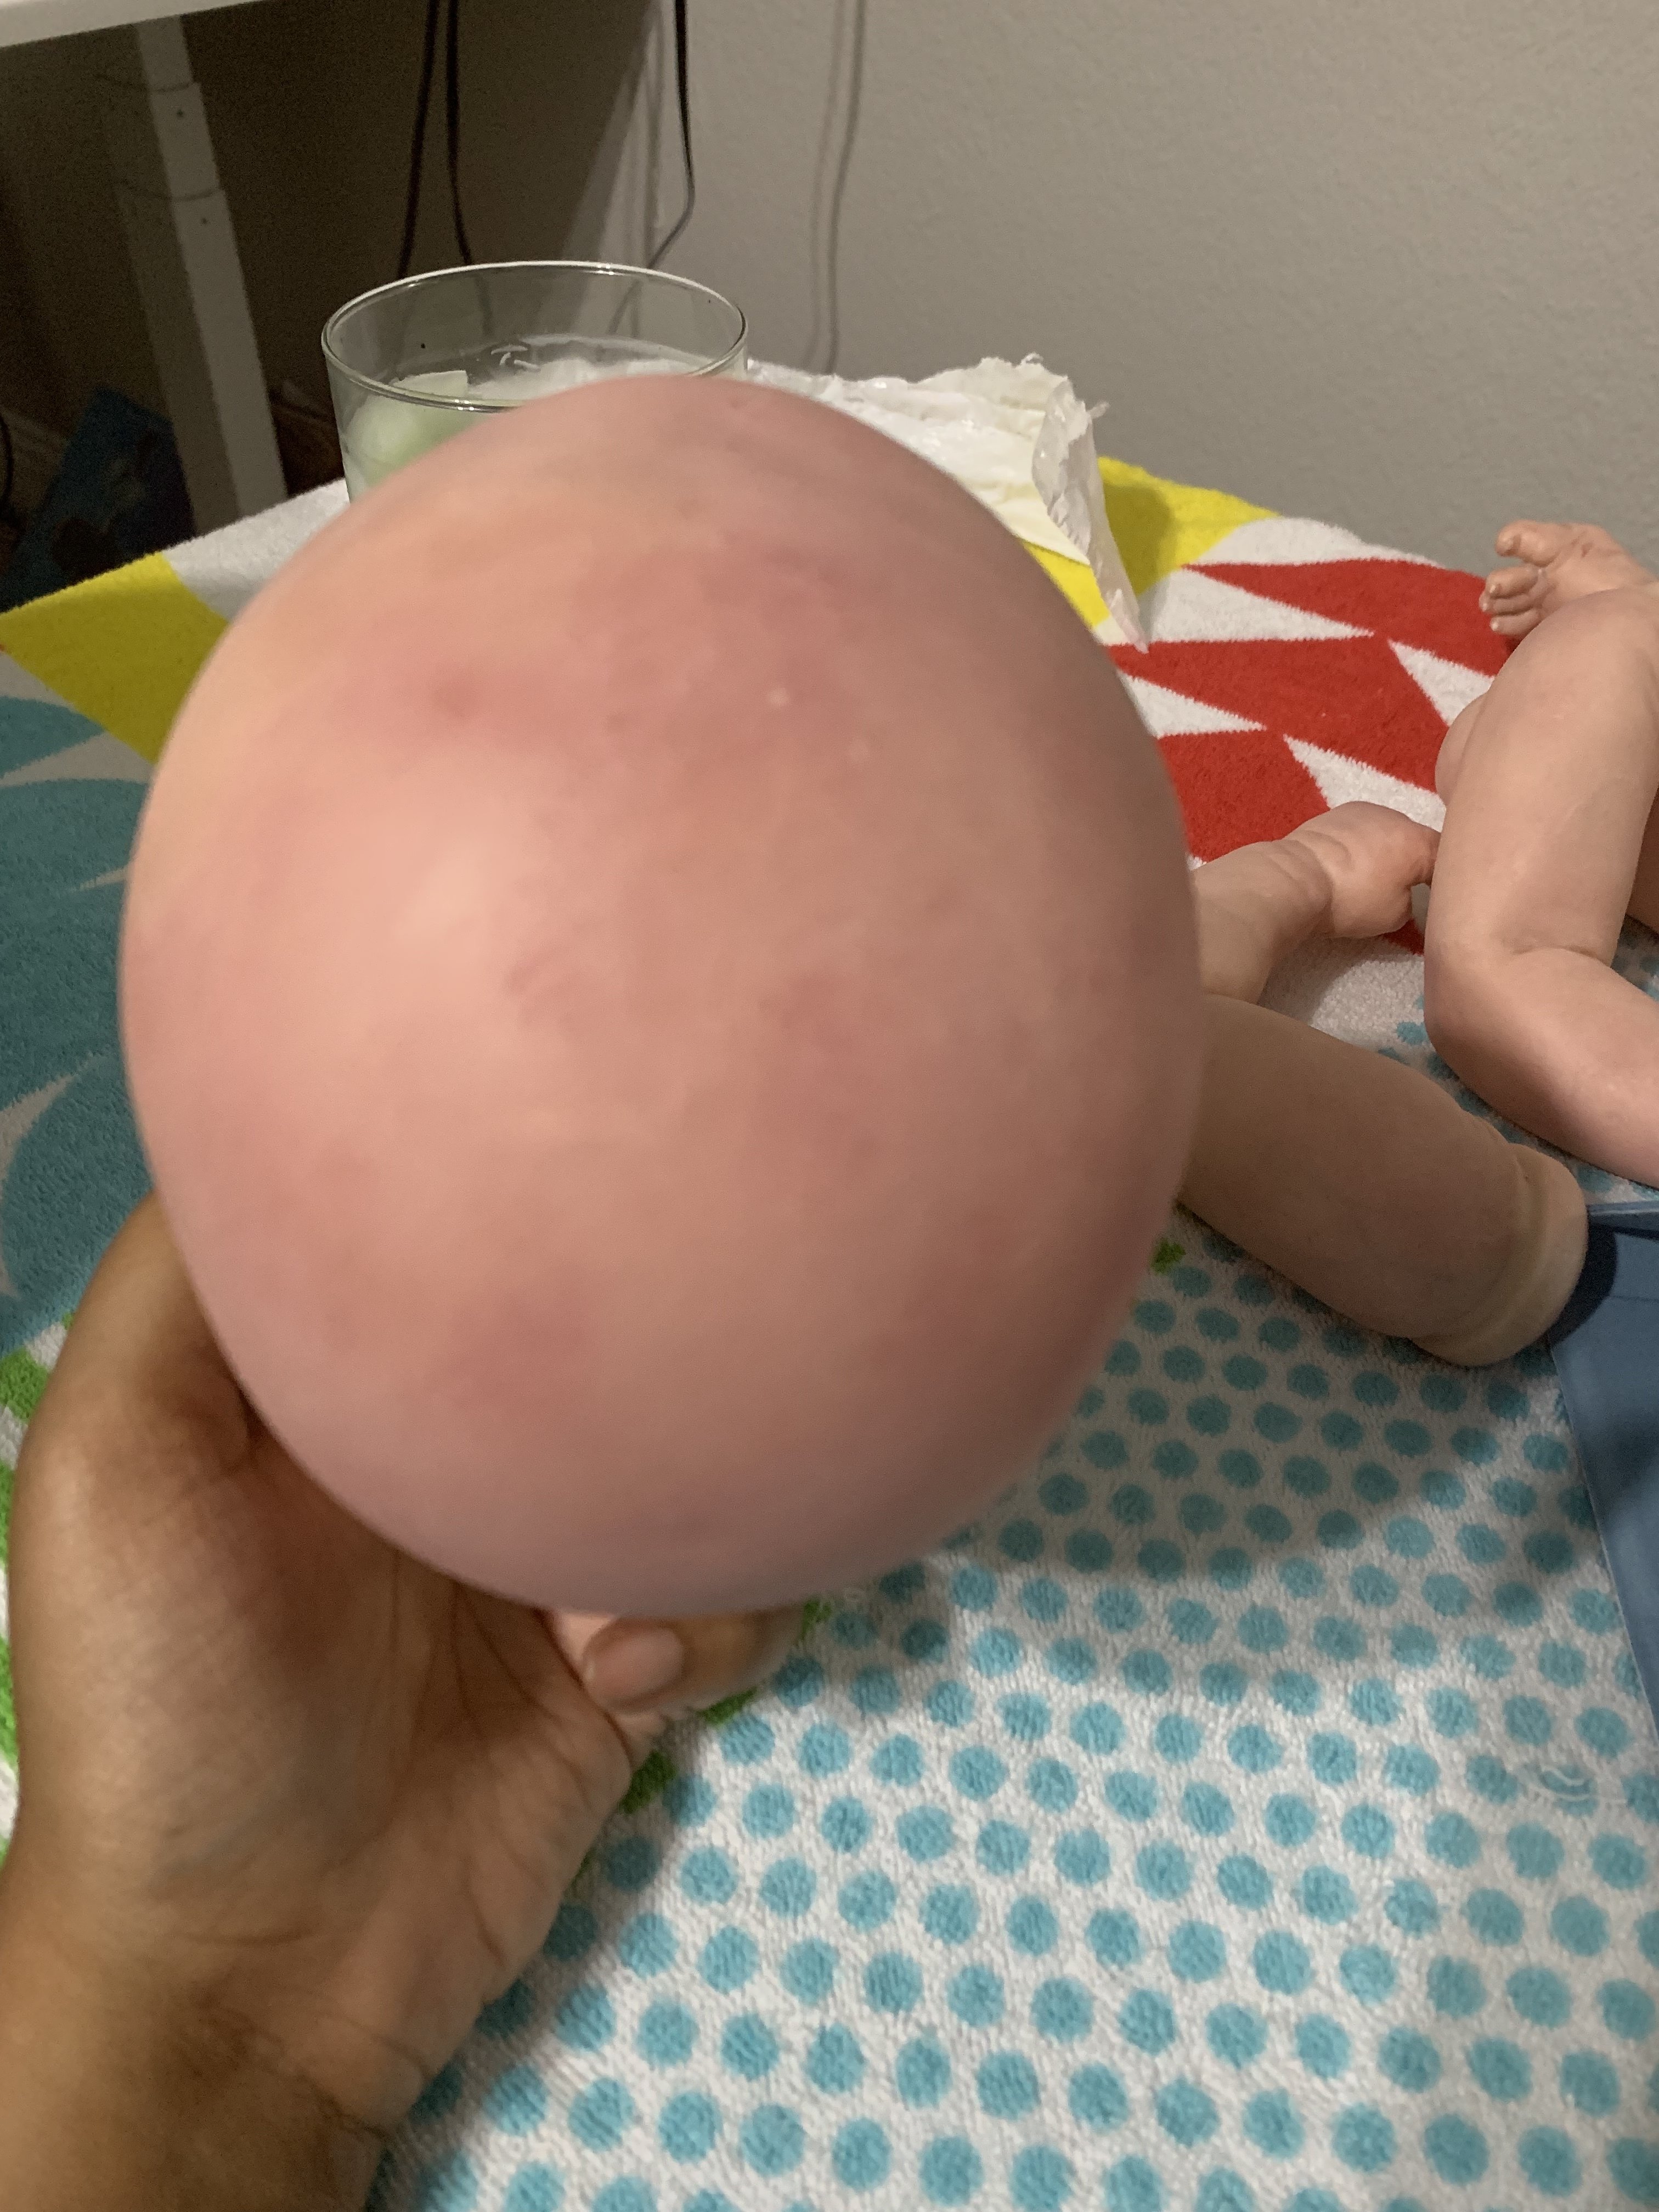
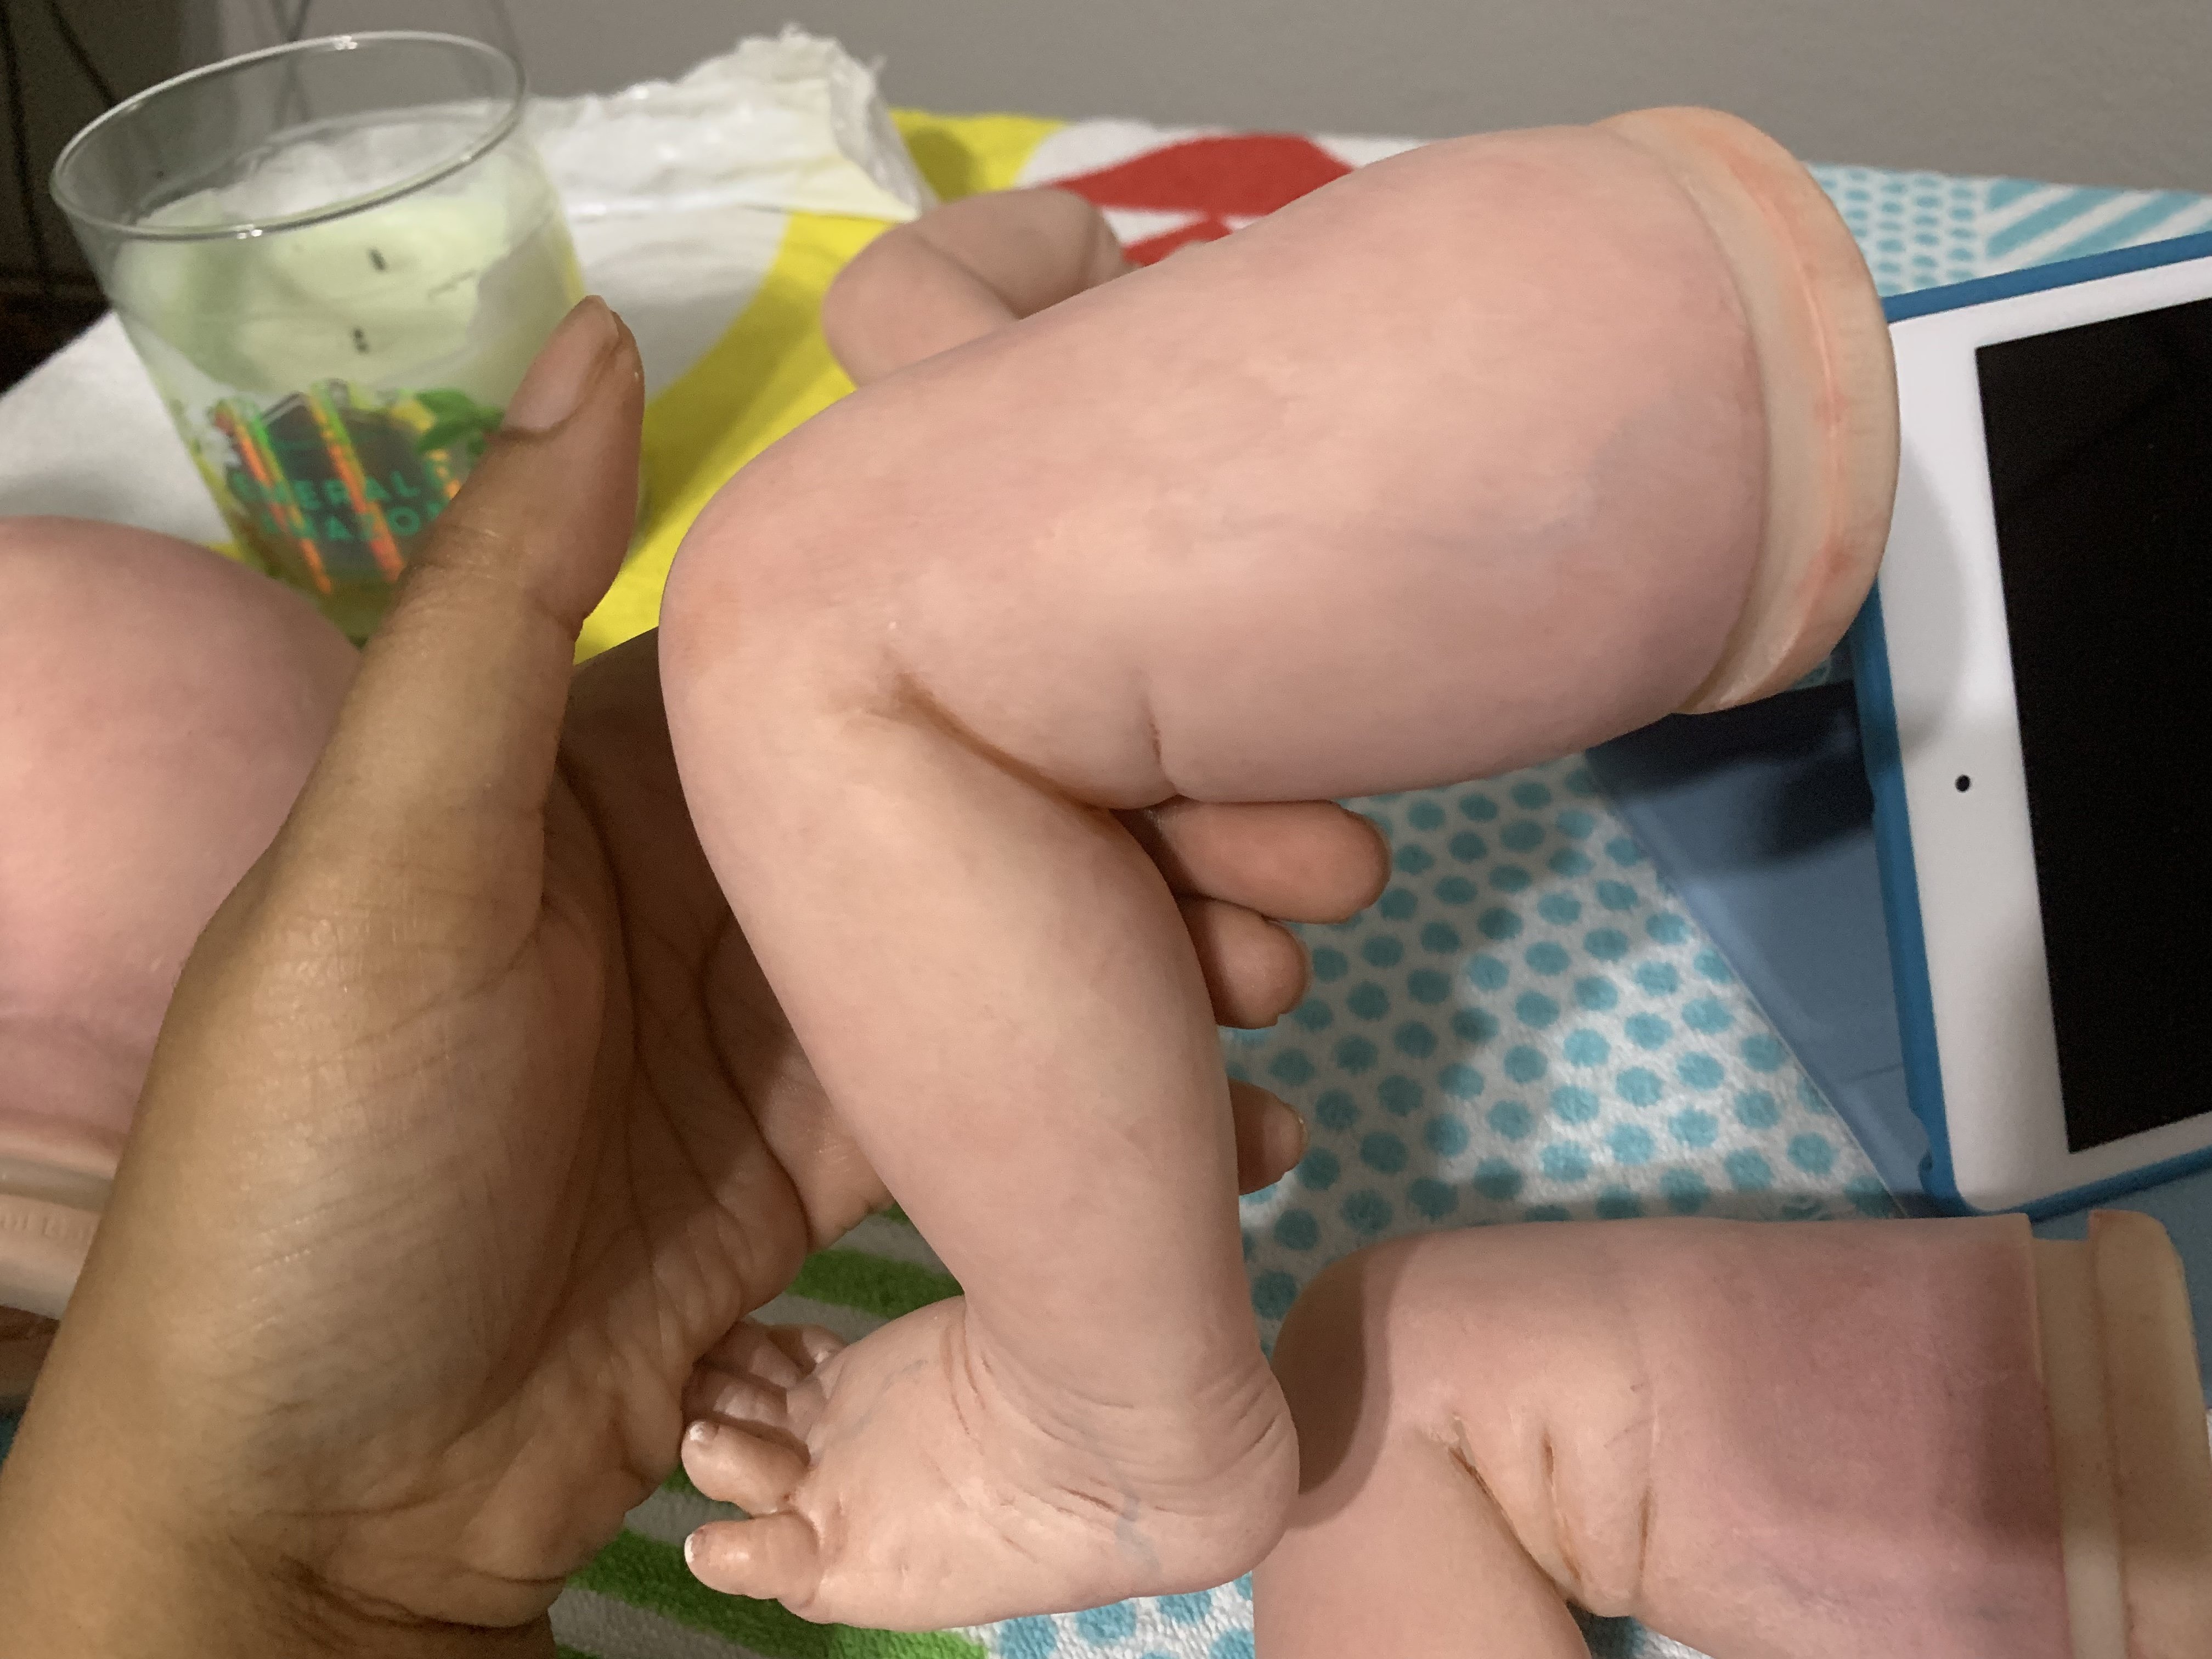
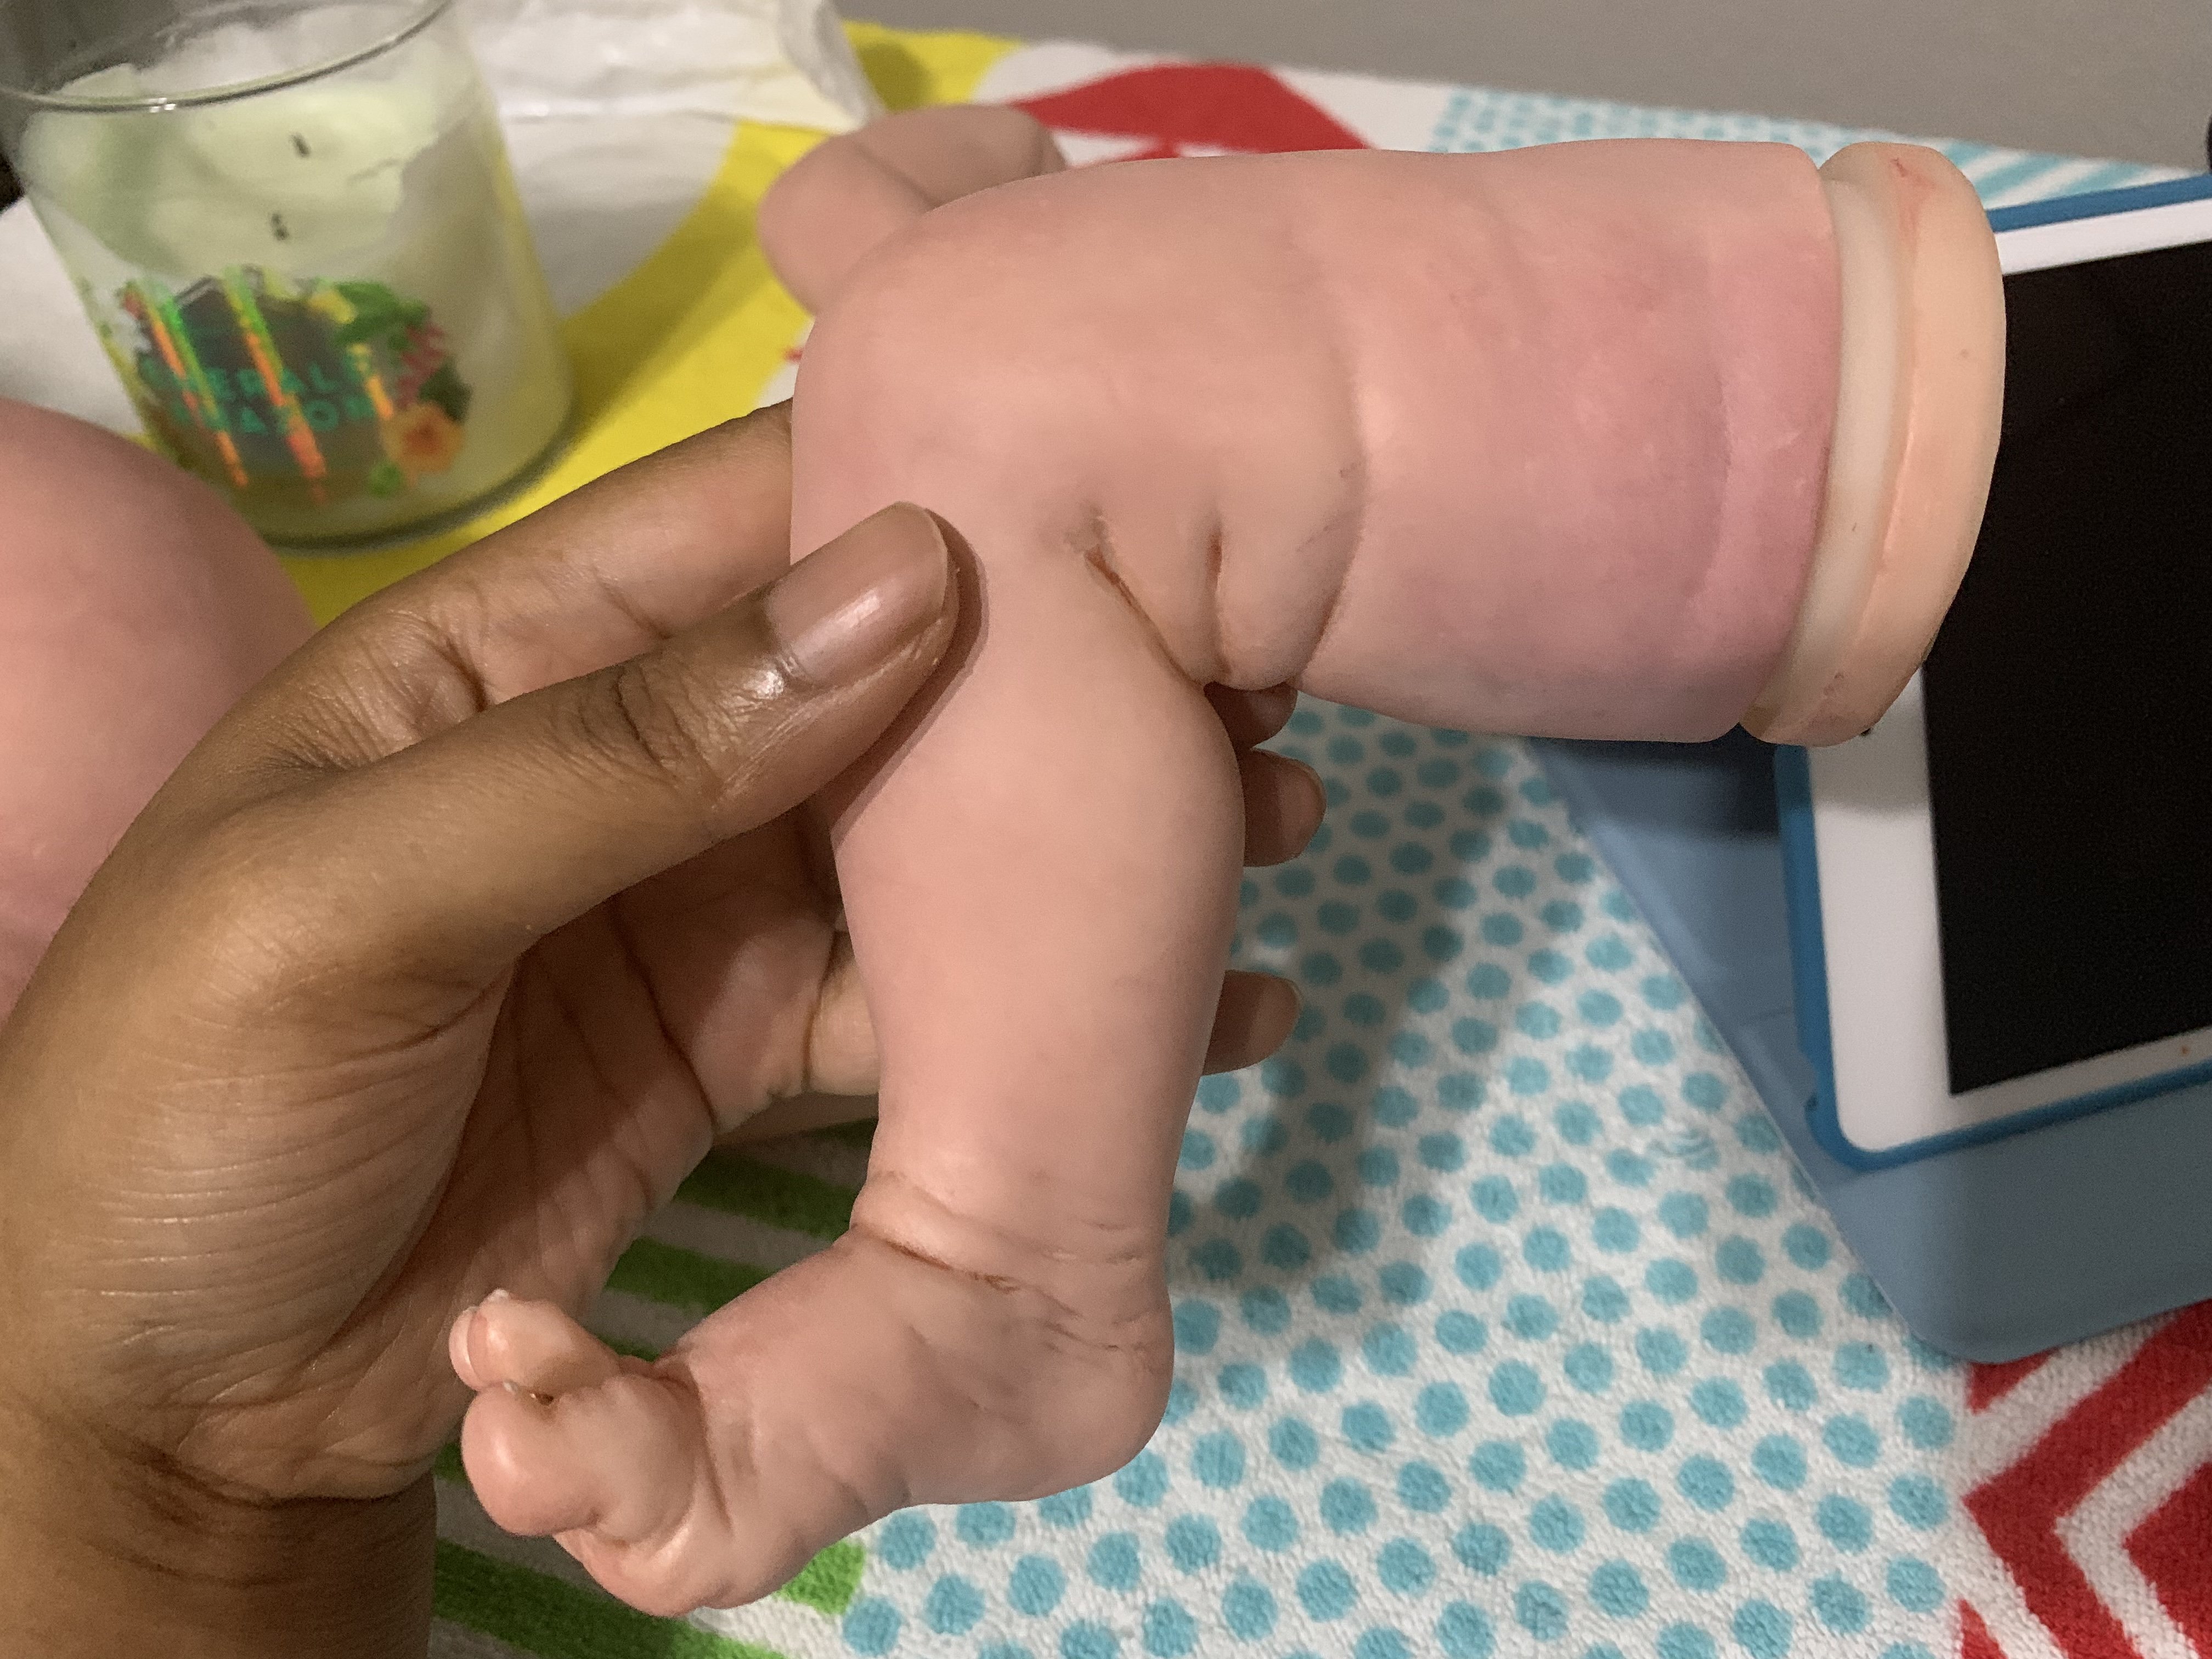
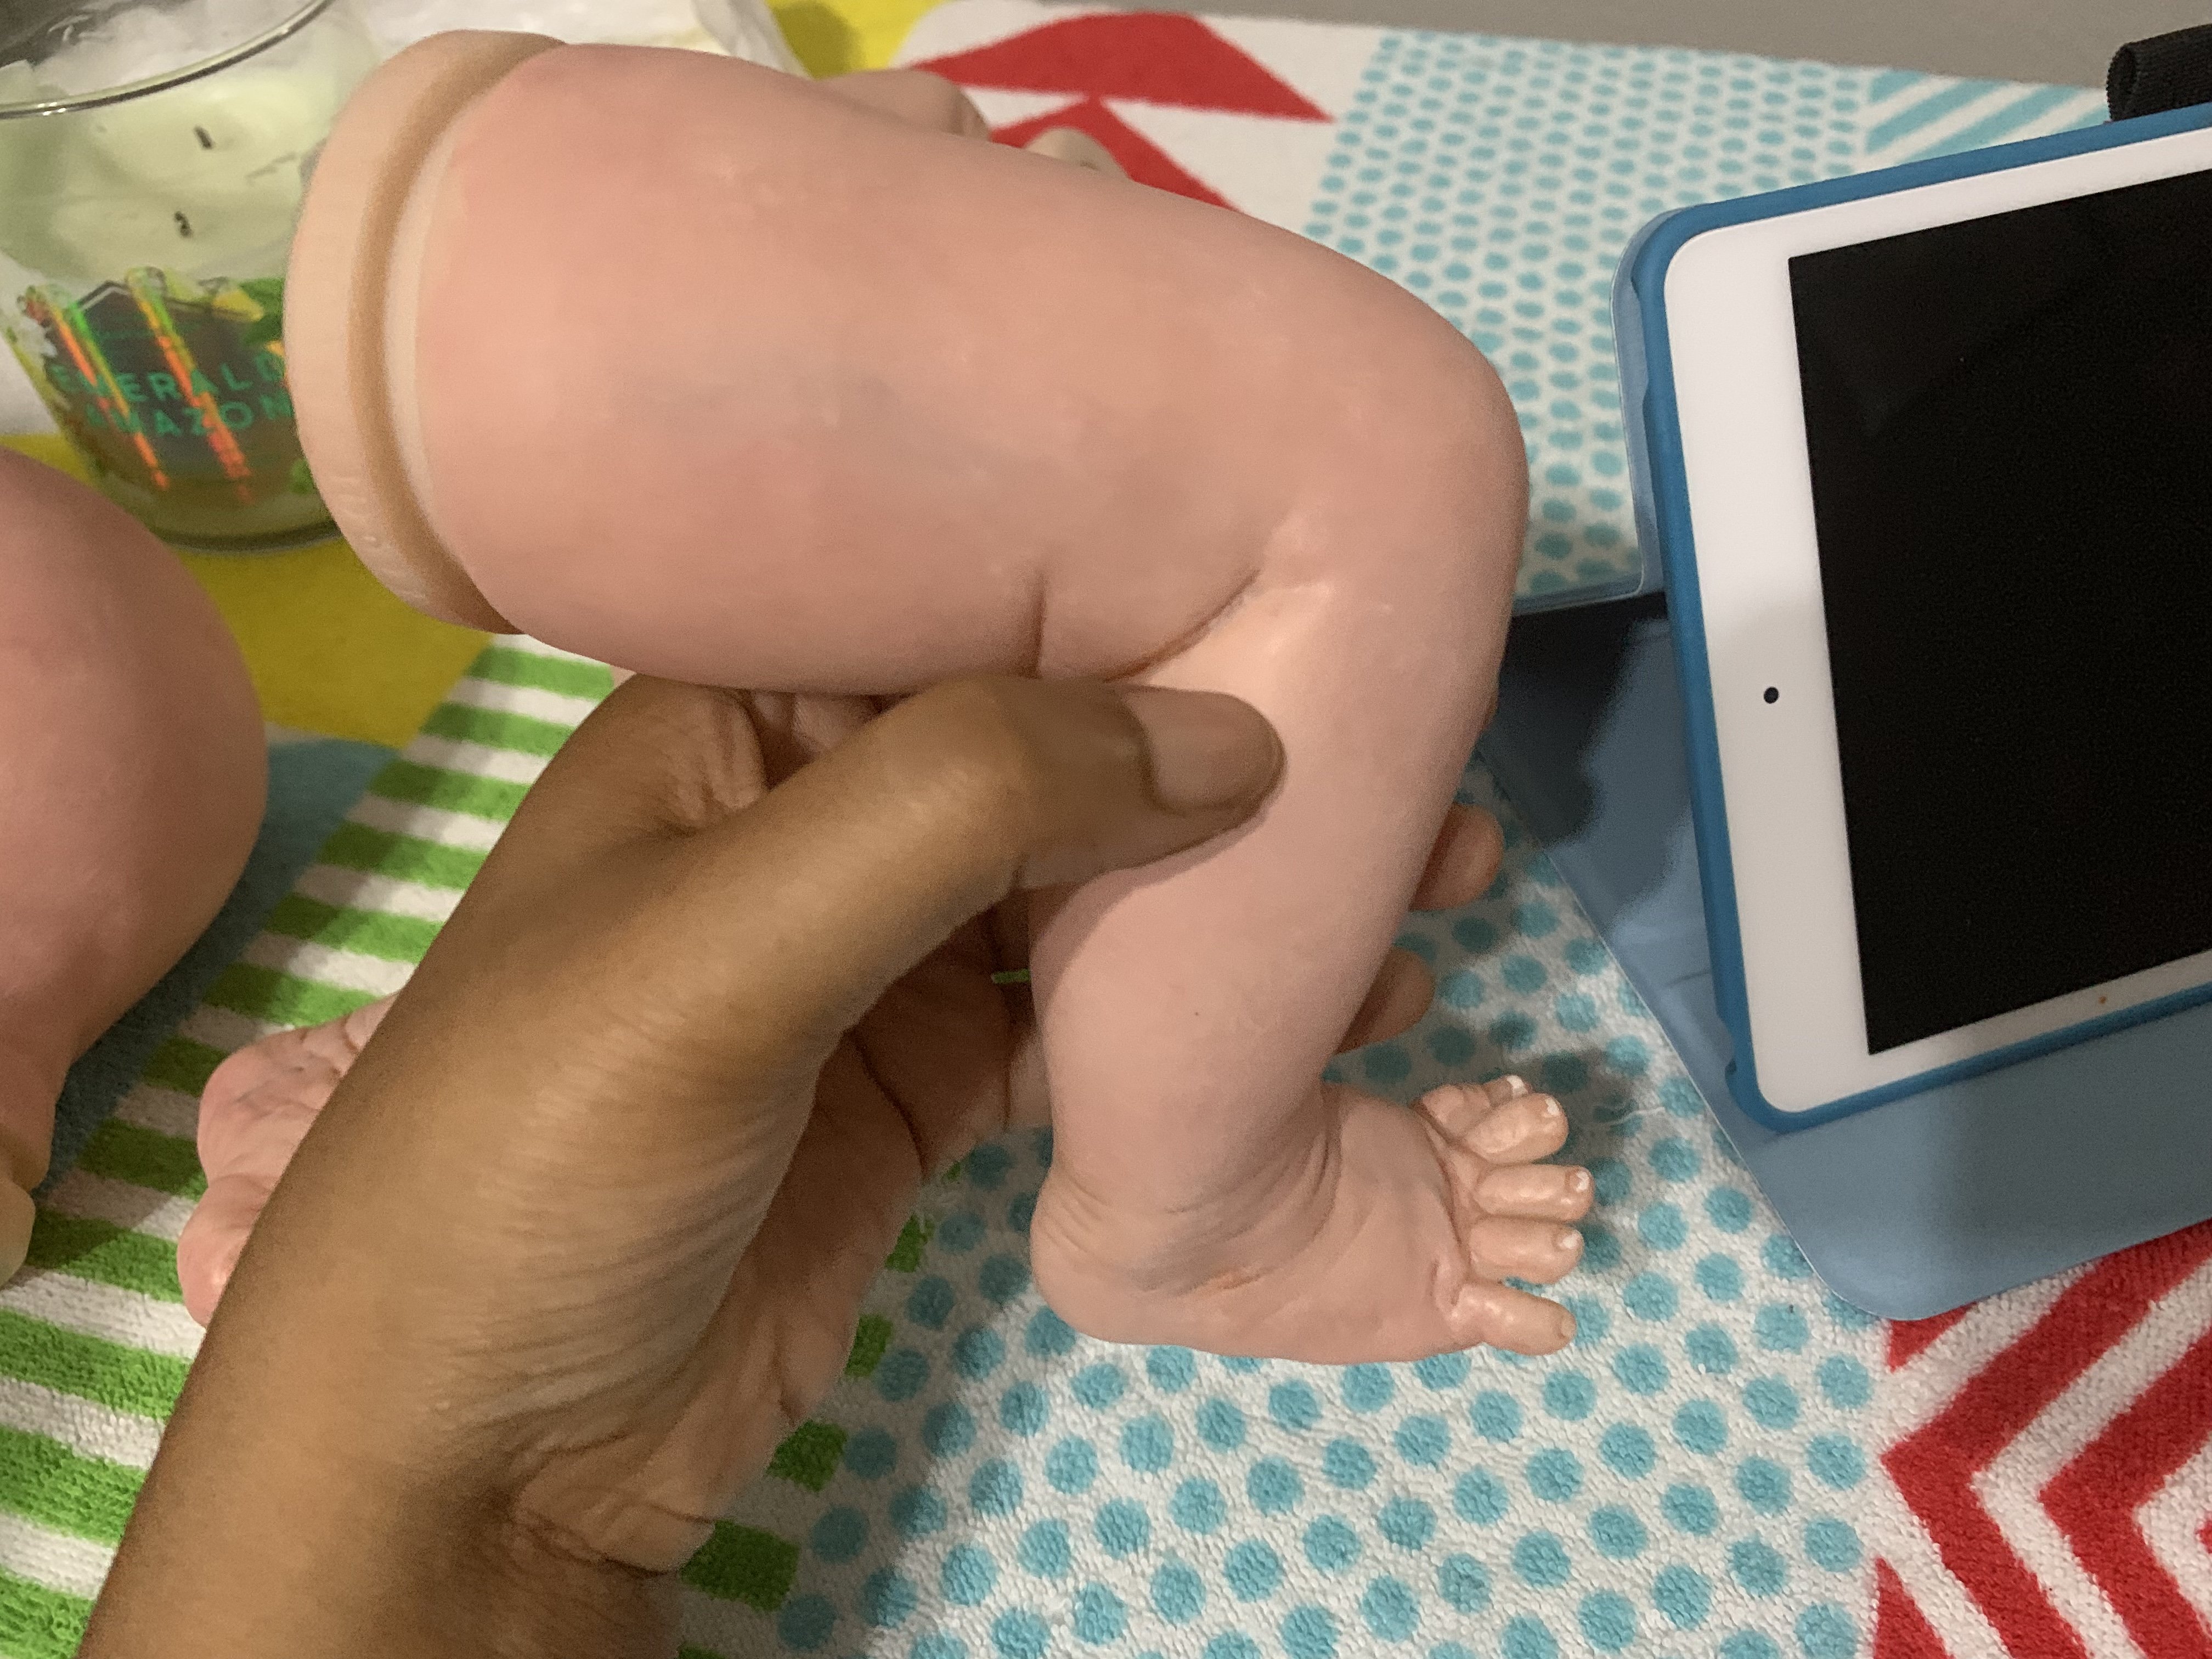
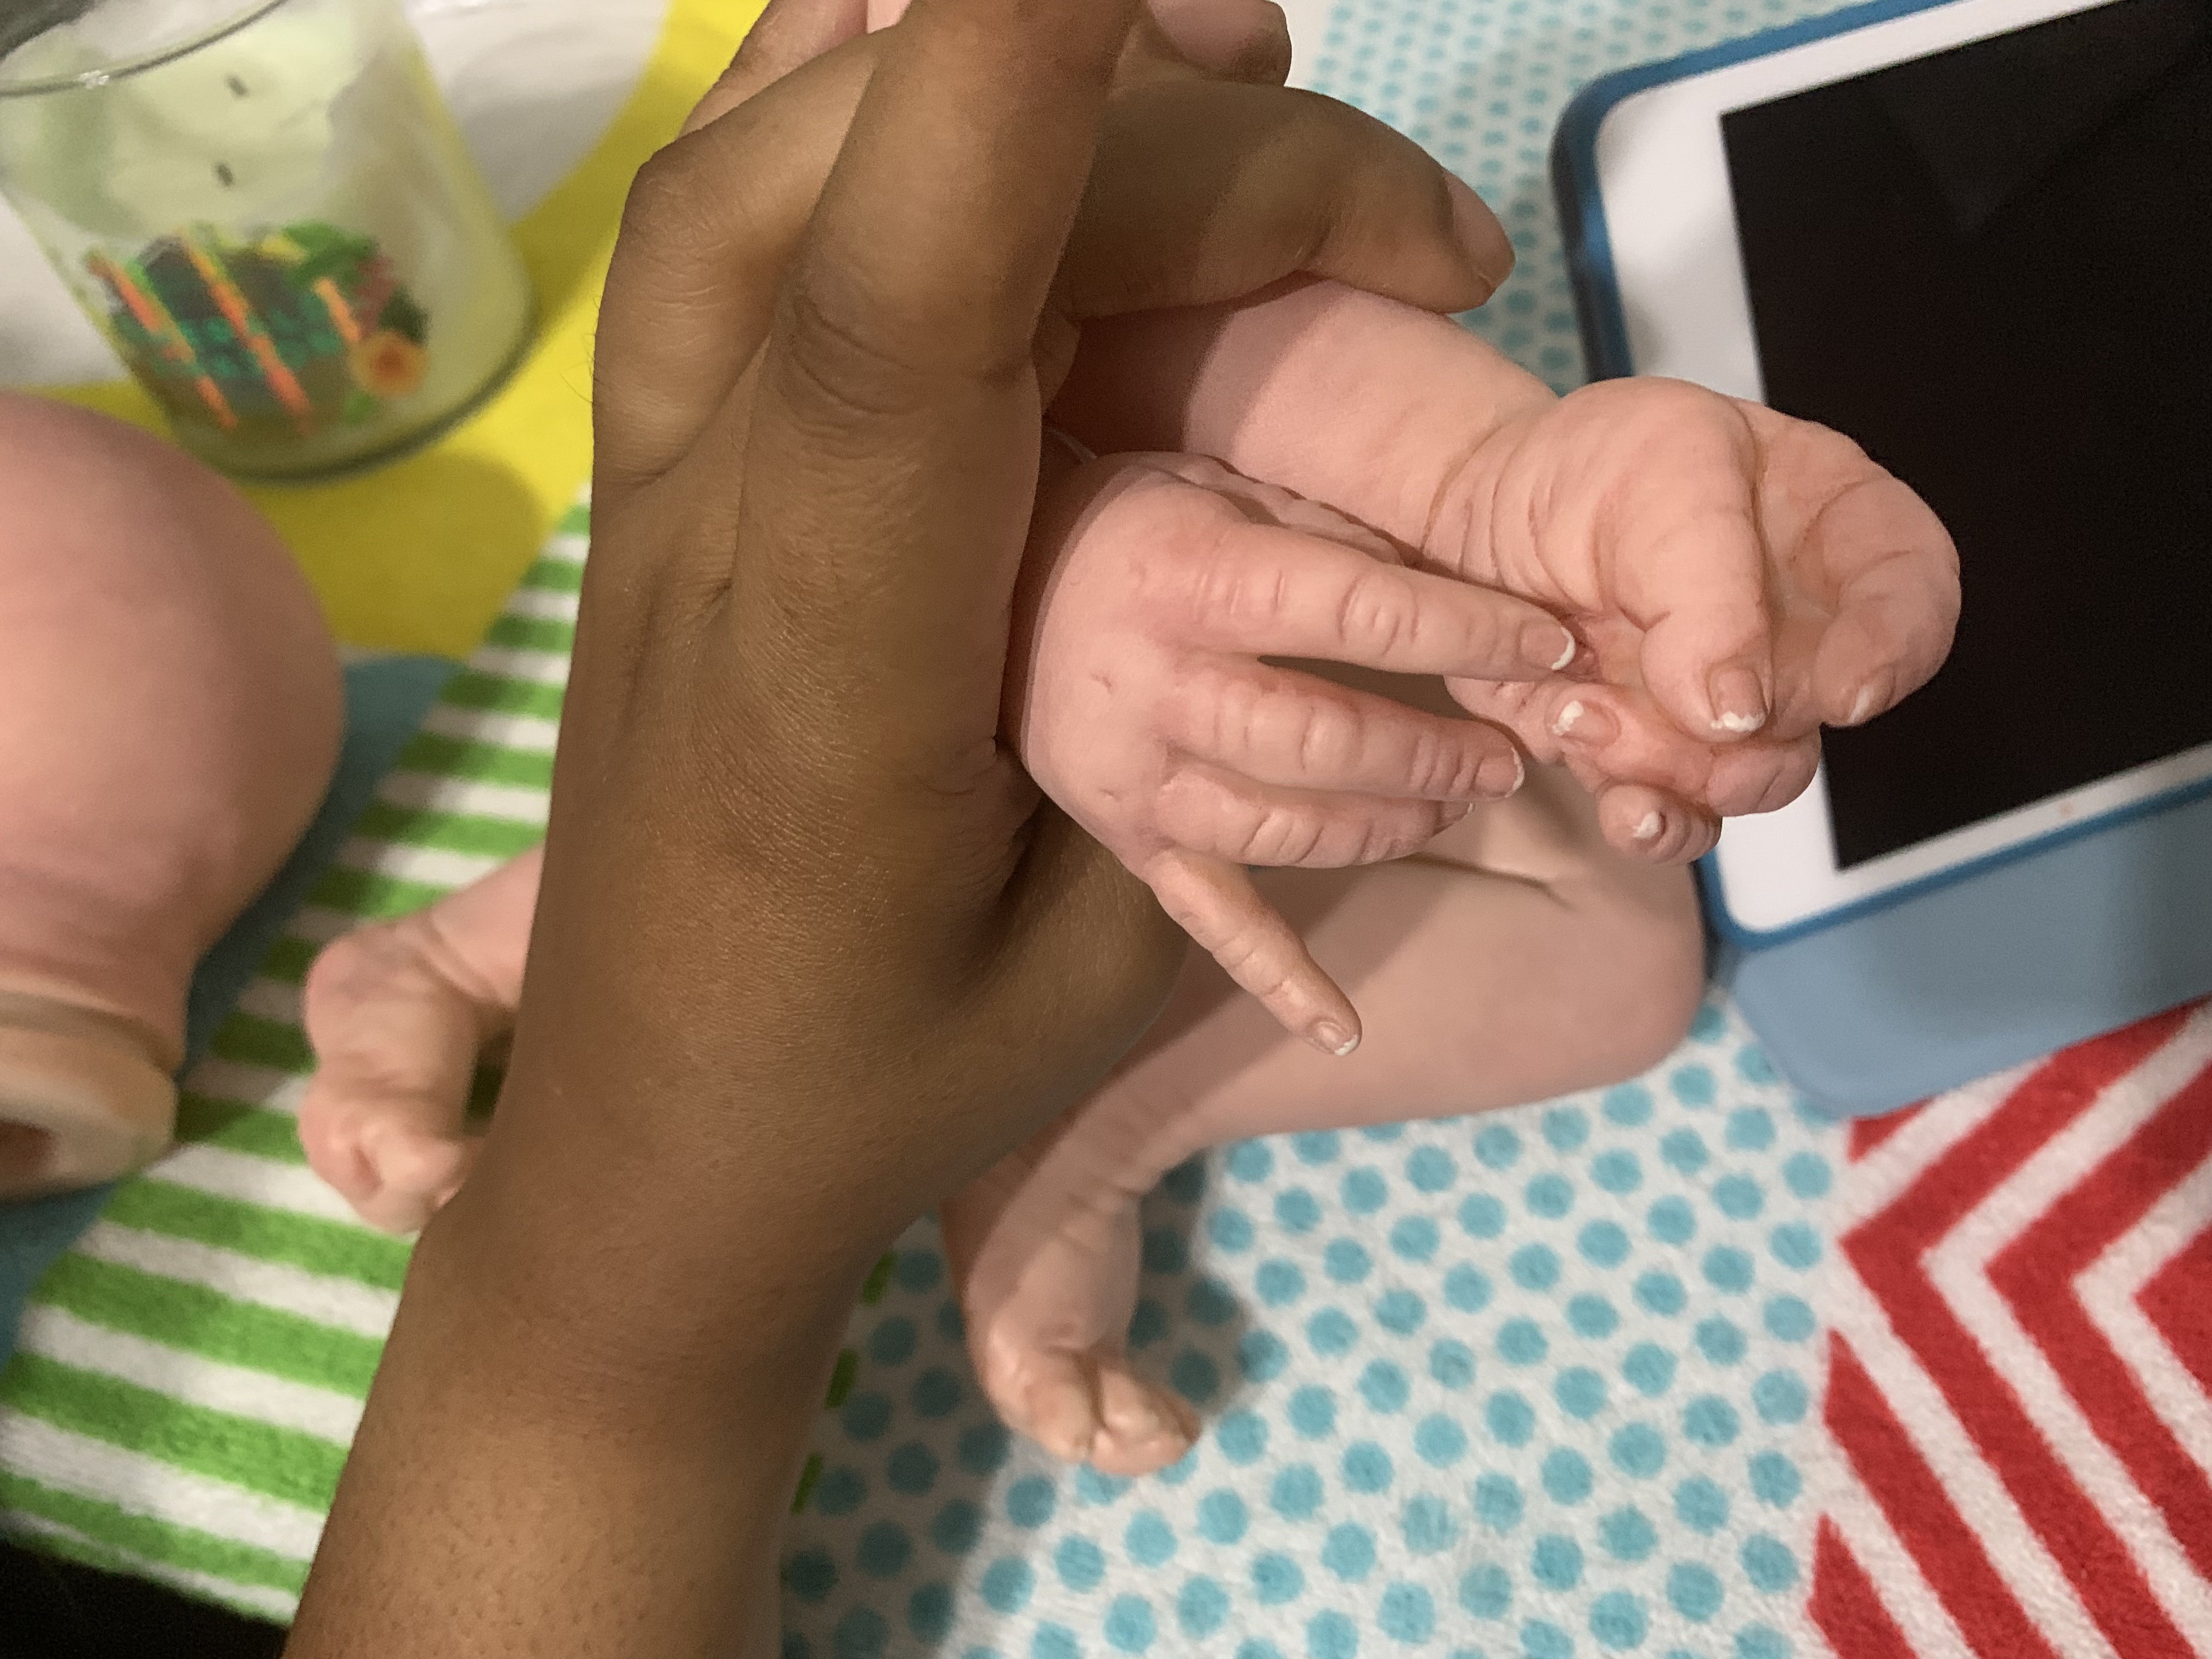
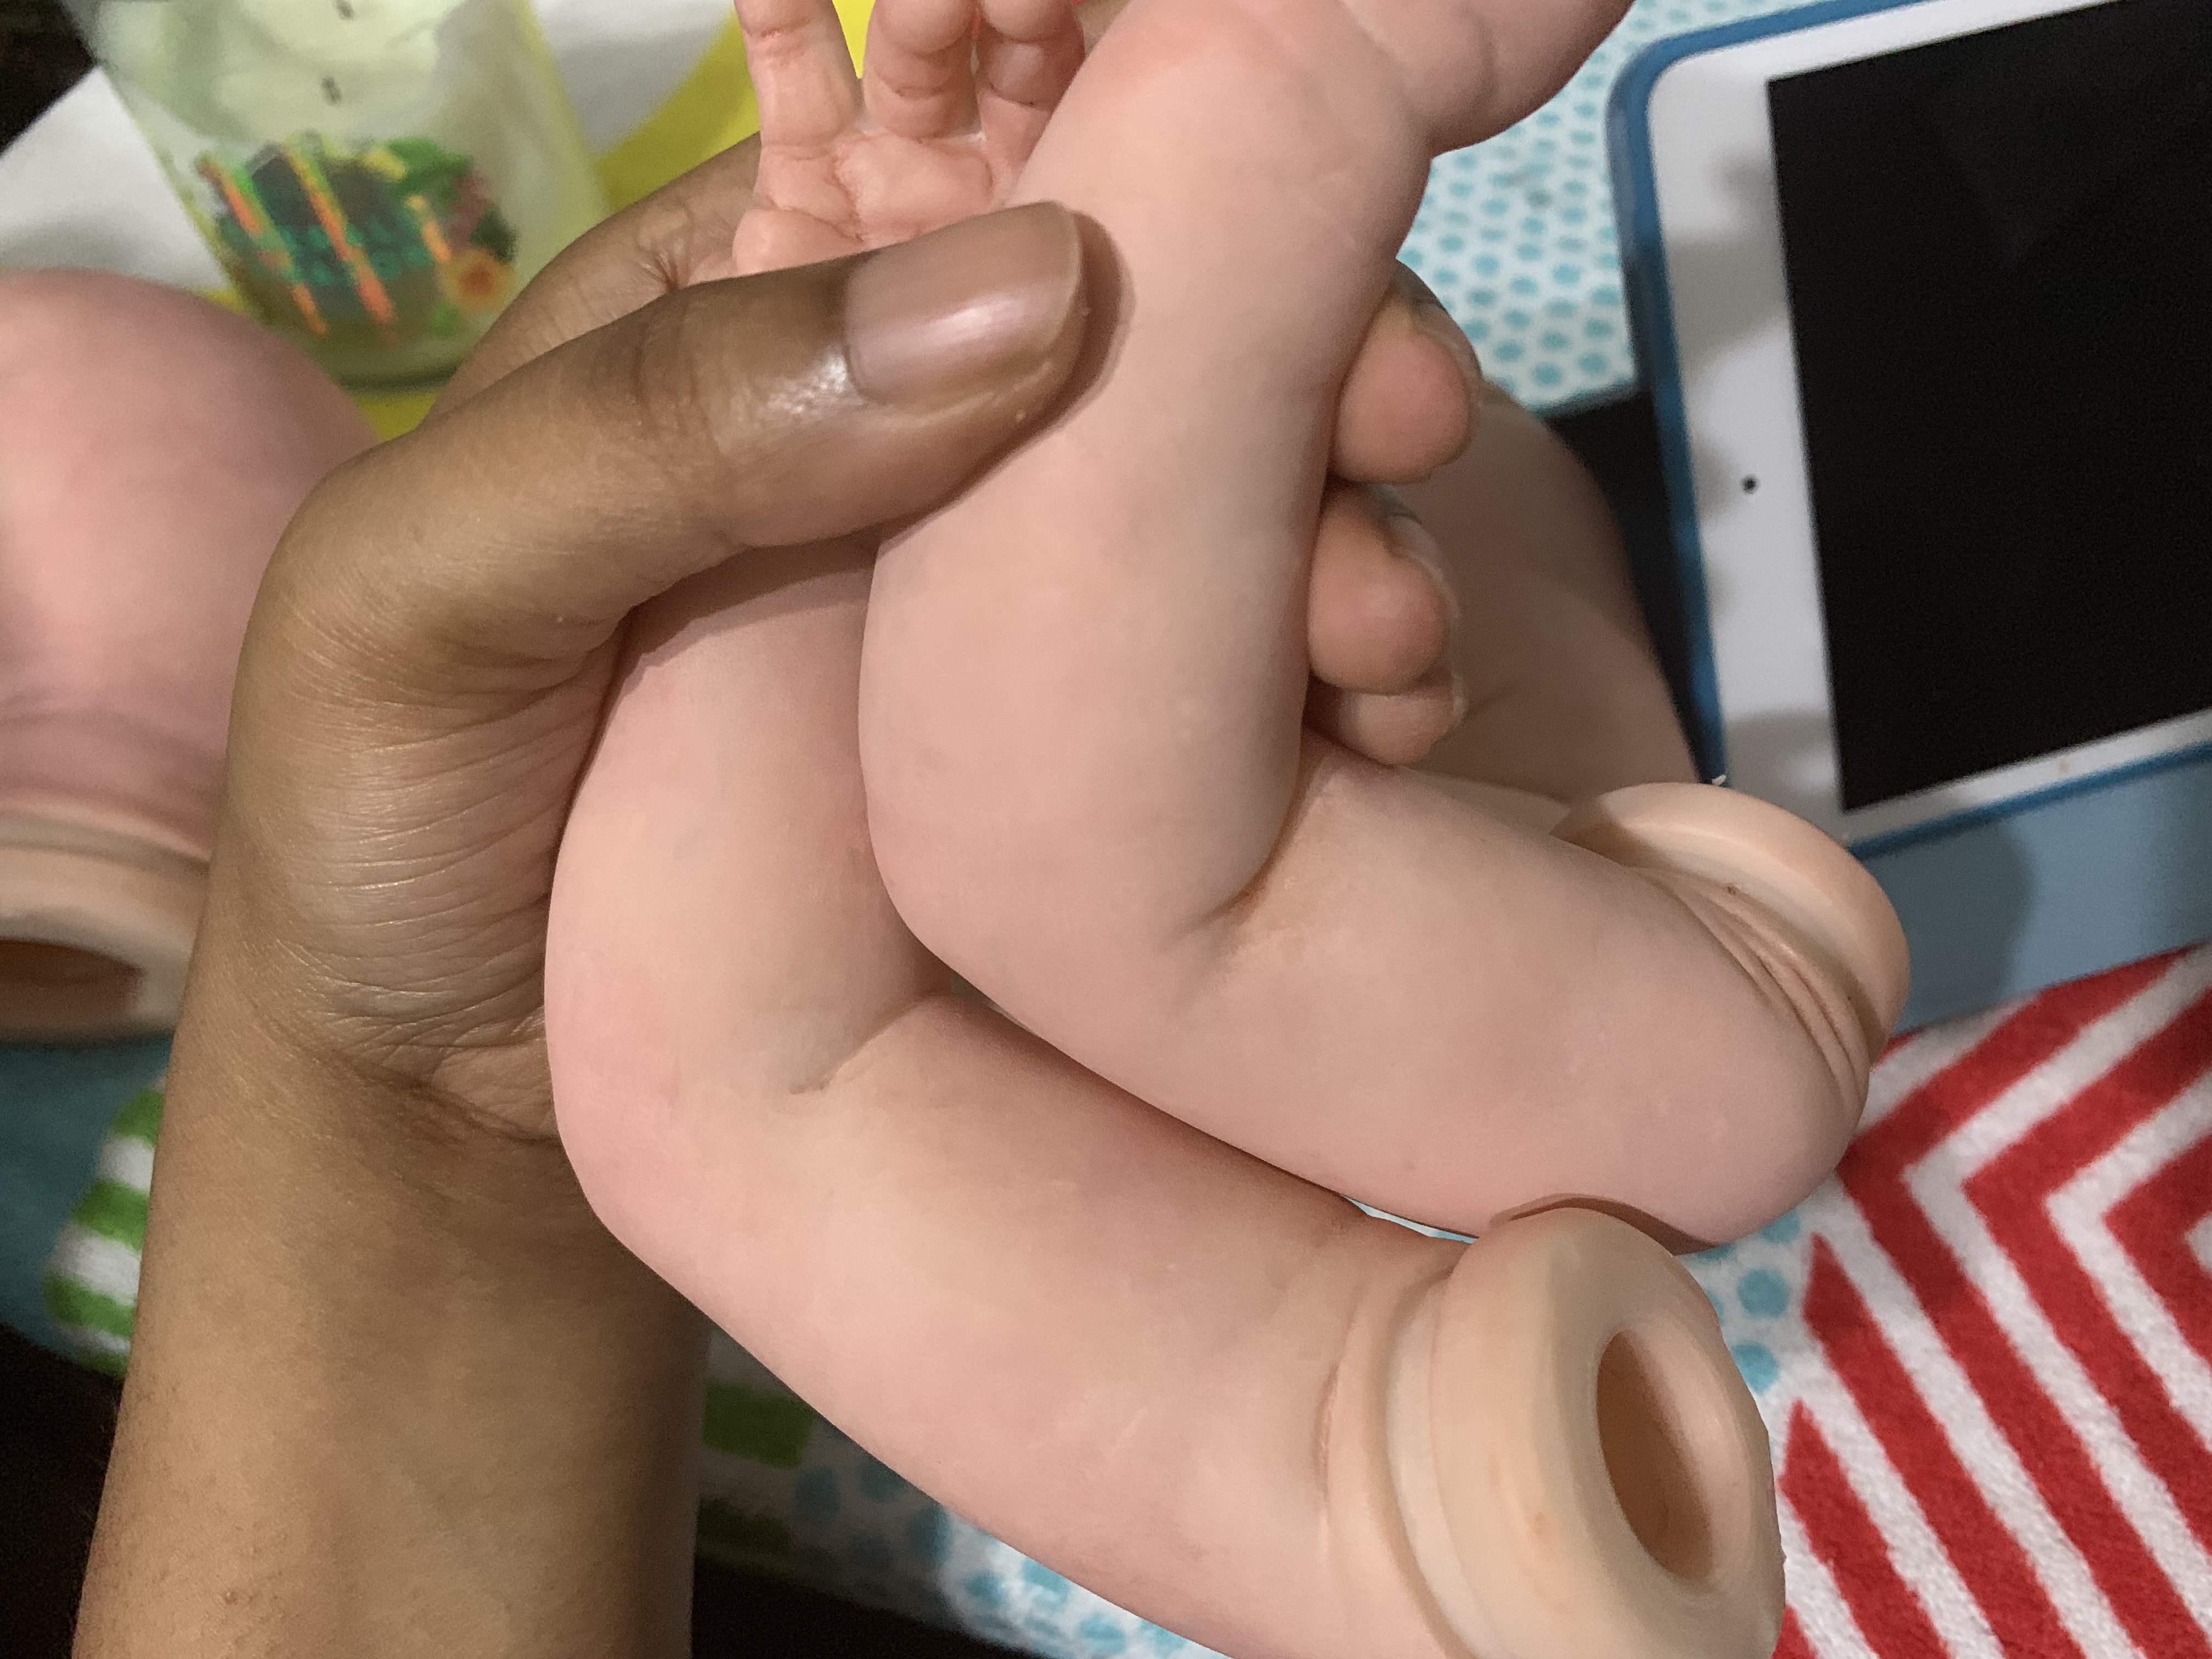
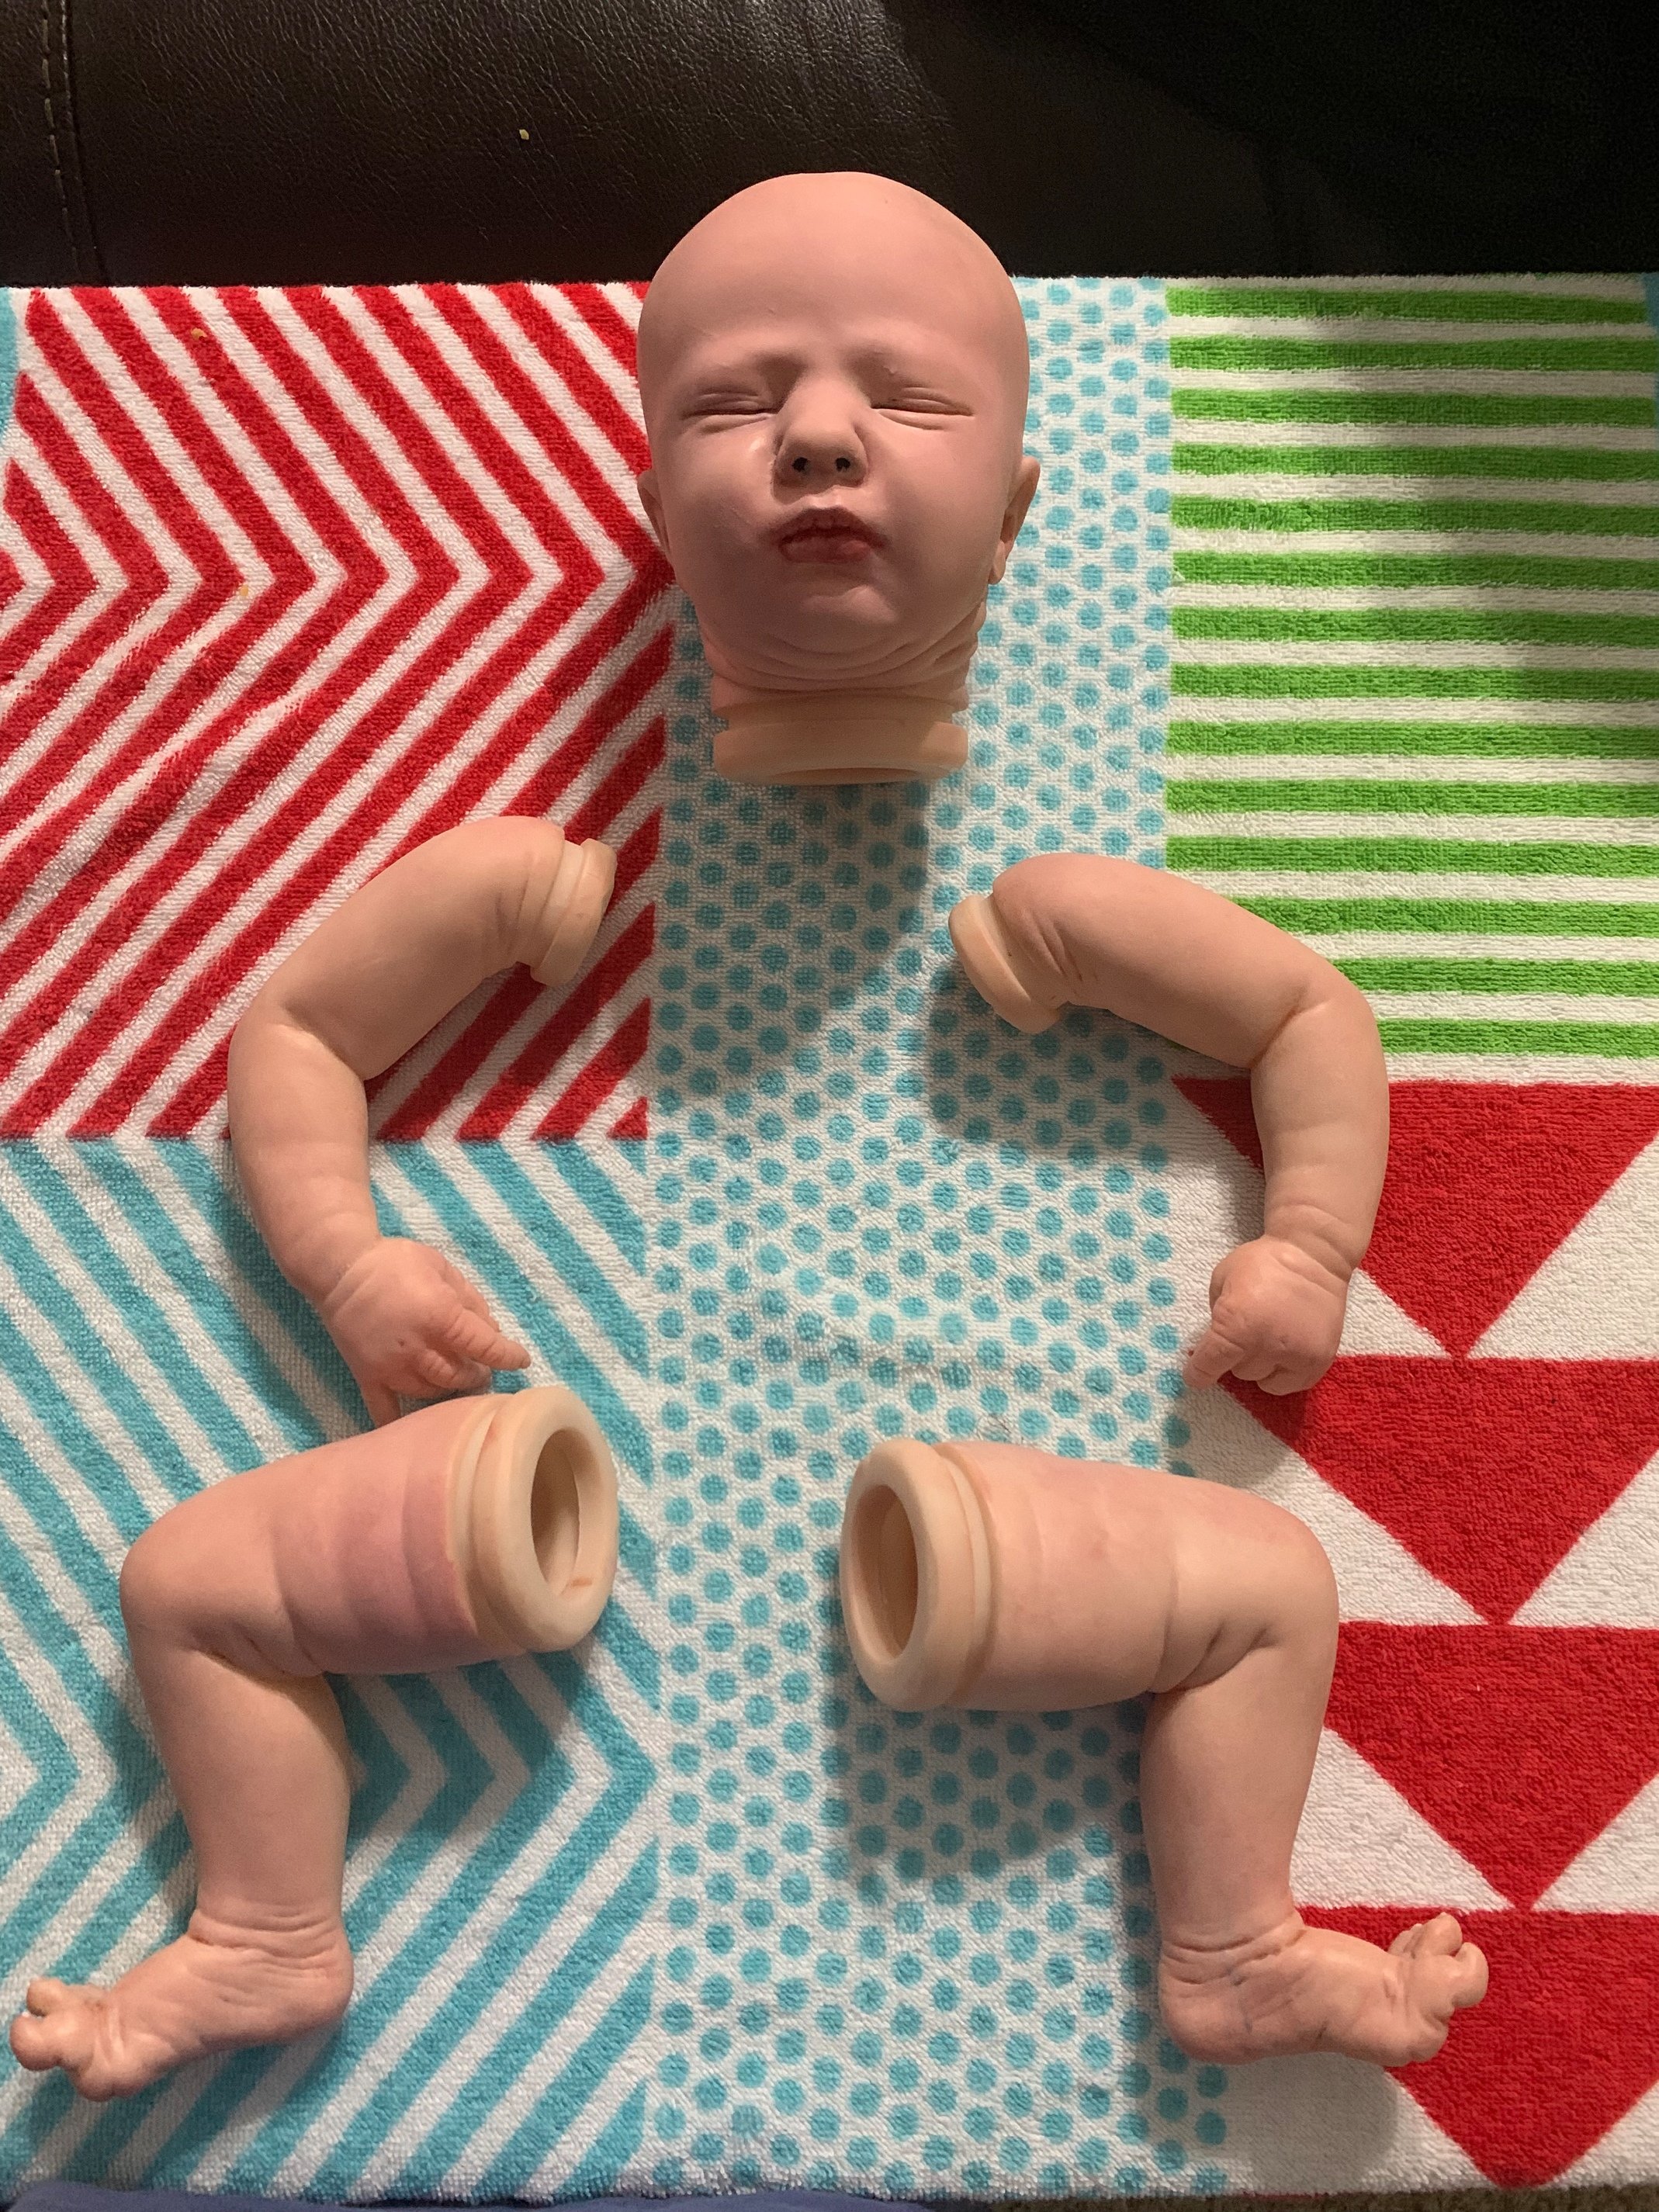
Well I purchased the starter kit and golly, I swear I used half the baby skin already. I added 3 layers of skin: as a base under veins, on veins, then on top of baked mottling and blush.
I’m happier than the legs and arms more than the face. It looks like he or she got make up on. The face was a bit chalky after baking but it’s not the end. It’s better than what I thought I’d make for the first shot.
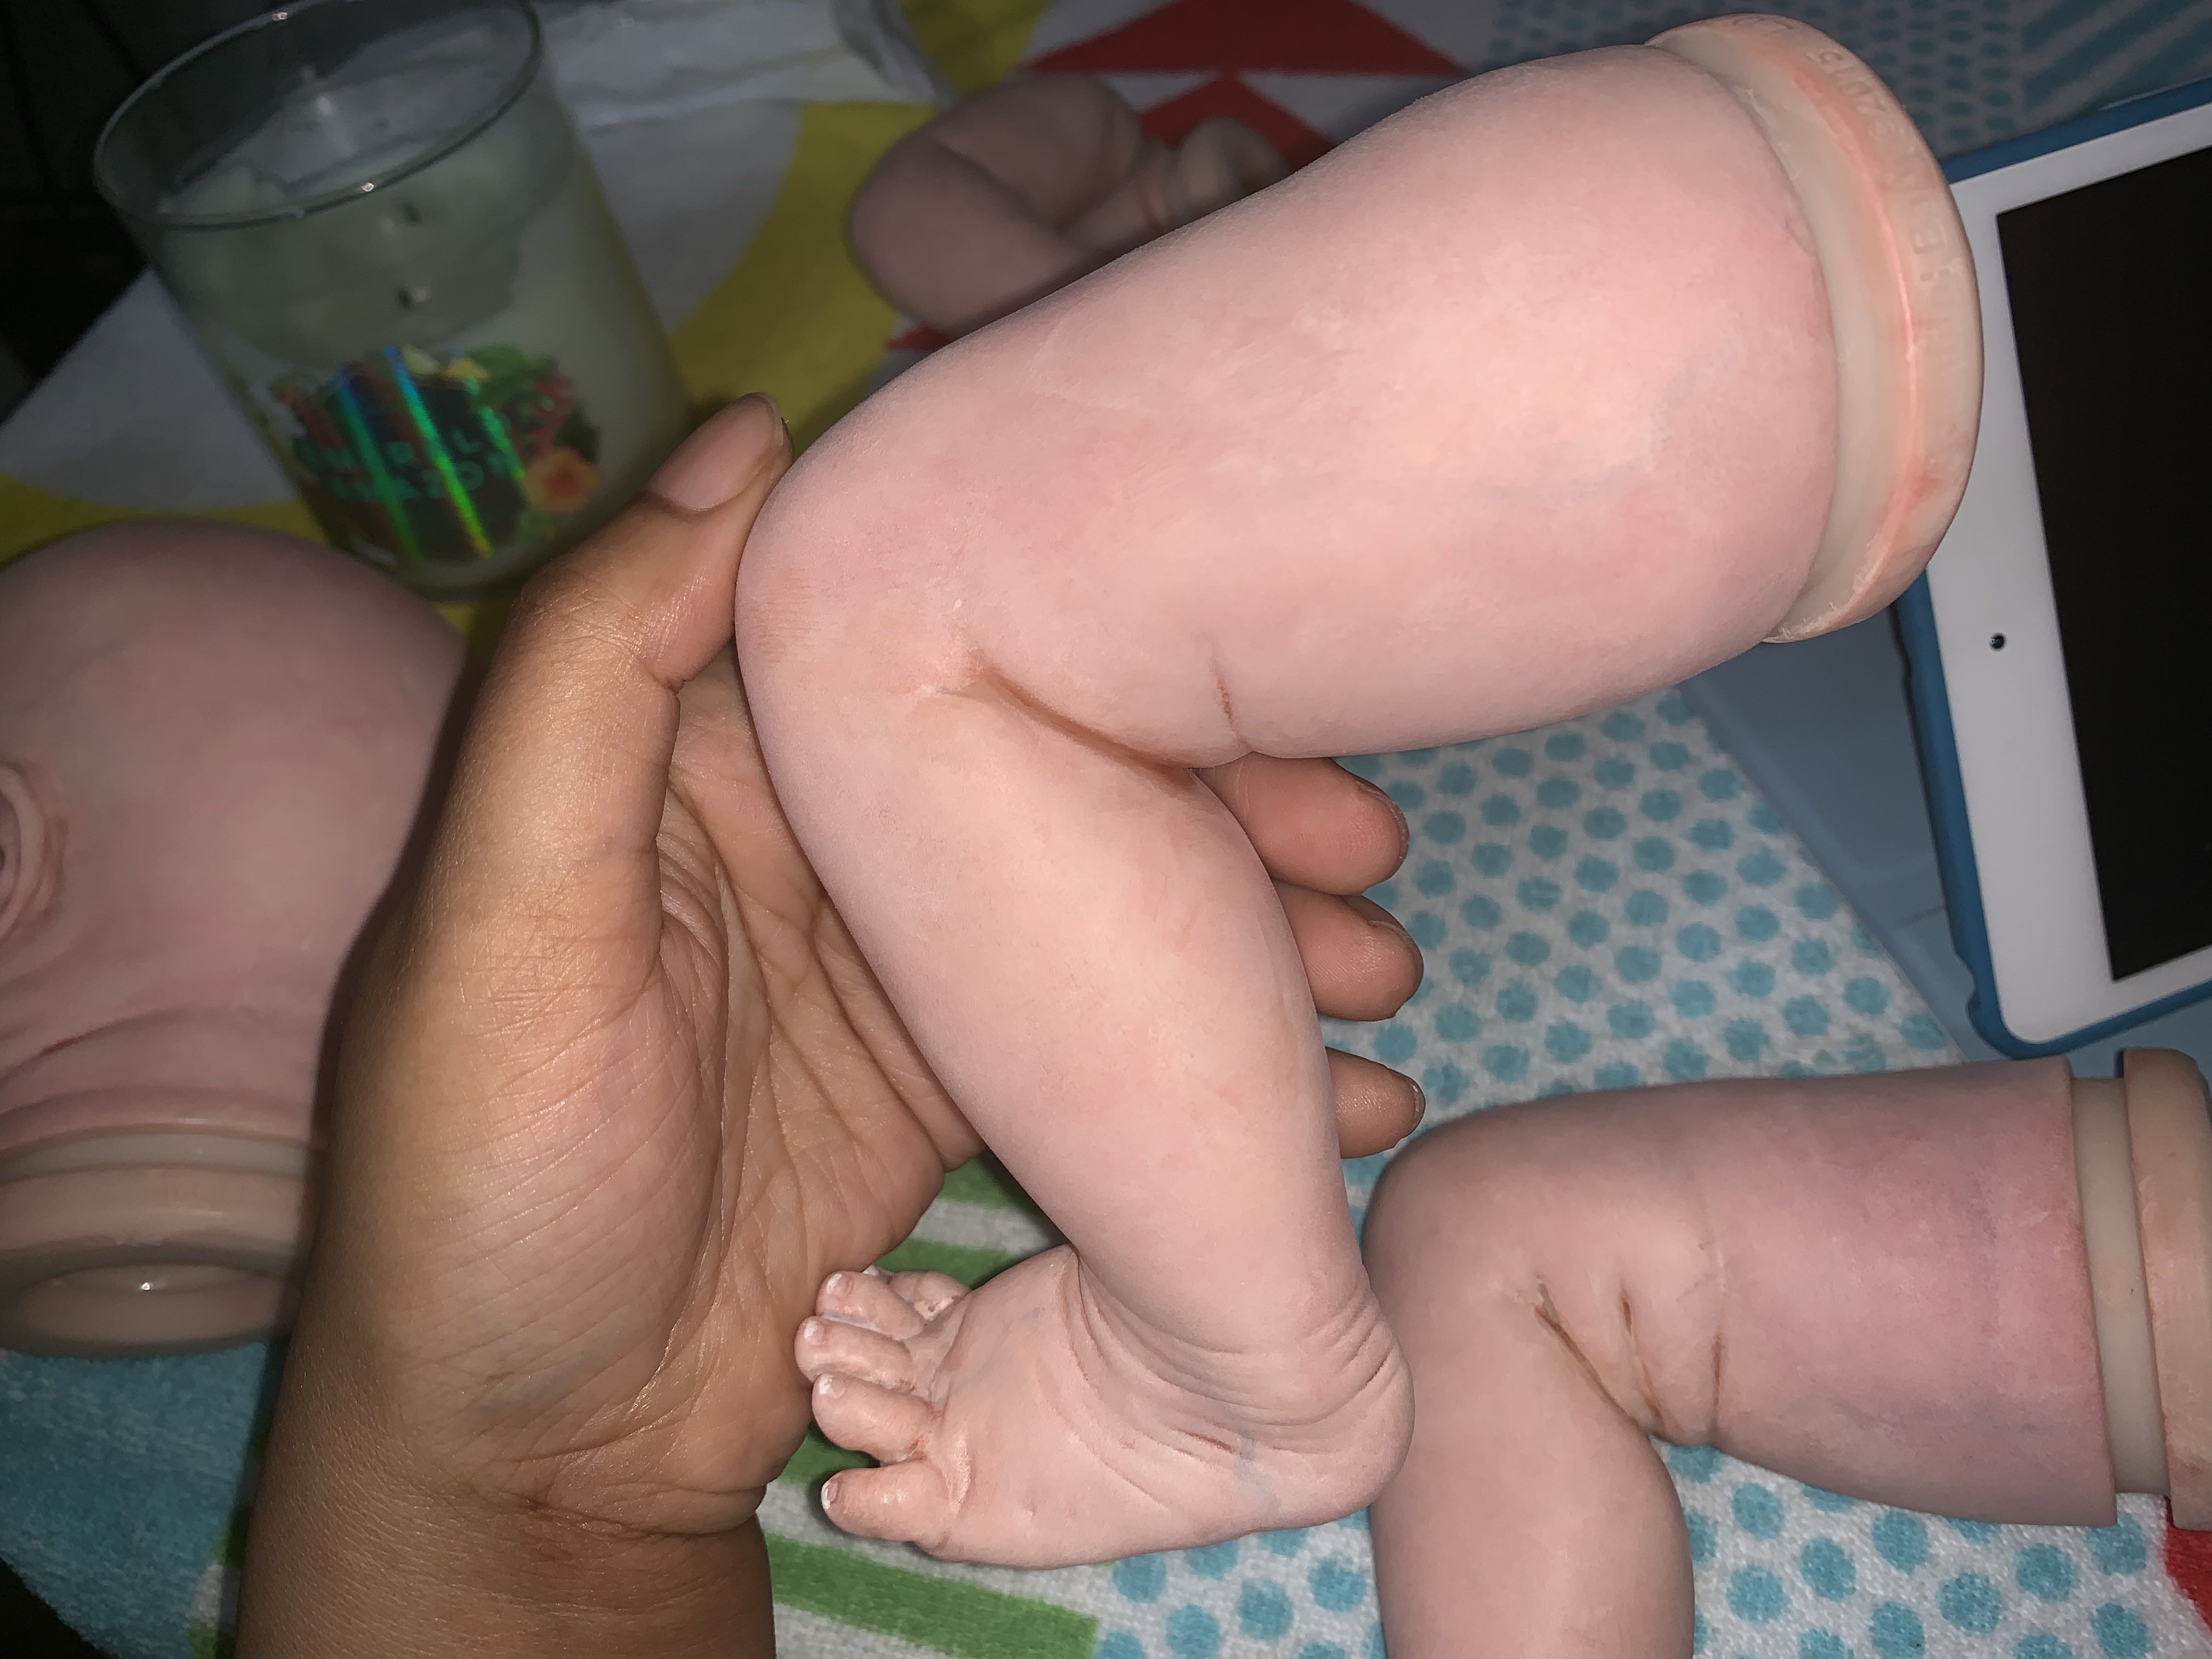
I’ll likely keep it since it’s a sentimental first. I plan on rooting soon. But any criticism is fine or tips. I know I need to work on the fingers and such.
I also see why making these dolls are so therapeutic. I suffer a lot with depression and it really helps take my mind off stuff with an art form. I crochet and knit too but it’s nice with reborning as an outlet too. Seeing results not super fast but sure quicker.
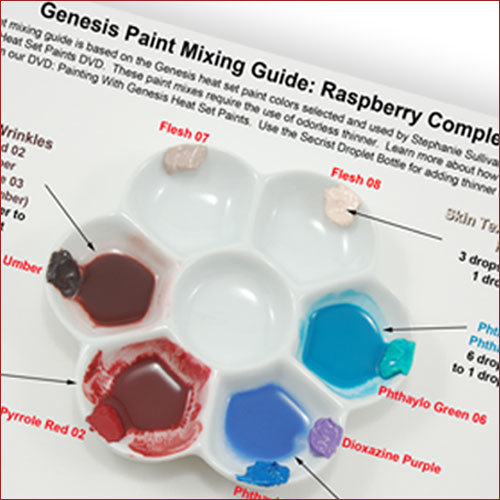
The Genesis baby skin paints. I added the paint thinner provided as instructed to watercolor consistency. I feel they don’t give us enough thinner. I used dot sized of both at a time…dab on or pounce with a sponge or wedge.
I felt it was thick. I guess add more thinner than paint instead of just to watercolor. Maybe my perception of water color was too thick still. I think I just made the paint runny.
Paint definitely needs to be thinned down more, but it looks like you did a good job with the mottling, which is something that usually takes some time to get right.
And yes, reborning is very therapeutic. It helps me manage anxiety.
Thanks for that! Yes I plan on purchasing another cheap kit. I don’t want to paint any of my 6 limited kits yet even though it is tempting because I wouldn’t have to spend money.
And yes I am so picky with mottling and I love medium to heavy mottling. So I made sure that was right. But yes I will for sure make sure paint is thinner on my next kit.
I guess add thinner until it’s kinda watery and runny, not just runny.
Are you using thinning medium or mineral spirits such as mona lisa or gamsol (looks like water?) When I got the starter kit, it did not come with mineral spirits, just the thinning medium (granted, it’s been almost 10 years, I dont know what they include now…) I used the medium thinking it was the correct thinner. What you want is a watercolor/skim milk consistancy. Your first does look better than my first though! I don’t even have pictures, but she was a frikkin monster… and she was supposed to be human…
You may have more success using odourless paint thinner rather than the medium!! You can buy it at any craft store. That’s what most people use for most paint layers. It’s a liquid.
I can see you are understanding shading and where each color is suppose to go and that is awesome but… Thinning medium creates a gel. You will need to go to your local craft store, hobby lobby and michaels both have 40% of coupons and get some mona lisa paint thinner.
You will use this paint thinner like you would water when you water color. You will use the smallest amount of paint with a lot of thinner.
If you have not baked you will be able to remove all that paint with the paint thinner and a paper towel.
Next time around you are going to water down you paint layers like tea.
Lots of layers that will build up color. You want it to be see through, like you are putting lipgloss on the baby. The wet thinner will evaporate and the tiny bits of color will stay on the vinyl.
The first baby is for learning…I would use a super cheap sculpt that your don’t mind trashing if you have to.
If you have only done a few layers the baby might be saved by just doing lots of think layers and some good blending in creases.
If you have baked you can strip the baby, it takes a long time, you will need gloves, acetone, and good ventilation. It is just like removing nail polish and it takes time. I rinse between layers with warm soapy water so the vinyl doesn’t start to break down as you are removing paint.
I am making a youtube tutorial series specifically for beginners but it wont be ready for at least a couple weeks.
Sorry you wasted all that baby skin, that stuff is expensive, the good news is that you will find your paints will last a long time, lots of babies once you buy the paint thinner.
You are good Miss Lesser. The only paints that I have not had to re-purchase are the BB mix creases and warm blush (never use them, hate them). Maybe I need to lighten up a bit, in a lot of ways (smile).
“Reborn With Me’ tutorials could be very helpful. You can find them on Youtube - from beginning to the end.
" Basics of Life” tutorials are great also.
And Annette from Australia even shows how much paint and odorless thinner to use for each leyer
You need to paint your layers with a tea/ cofe consistency, almost like water.
And welcome to reborning!

 Definitely thin until watery!! Like this consistency. Essentially as thin as water, or just a tiny bit thicker. You’re doing great

 LOL
LOL