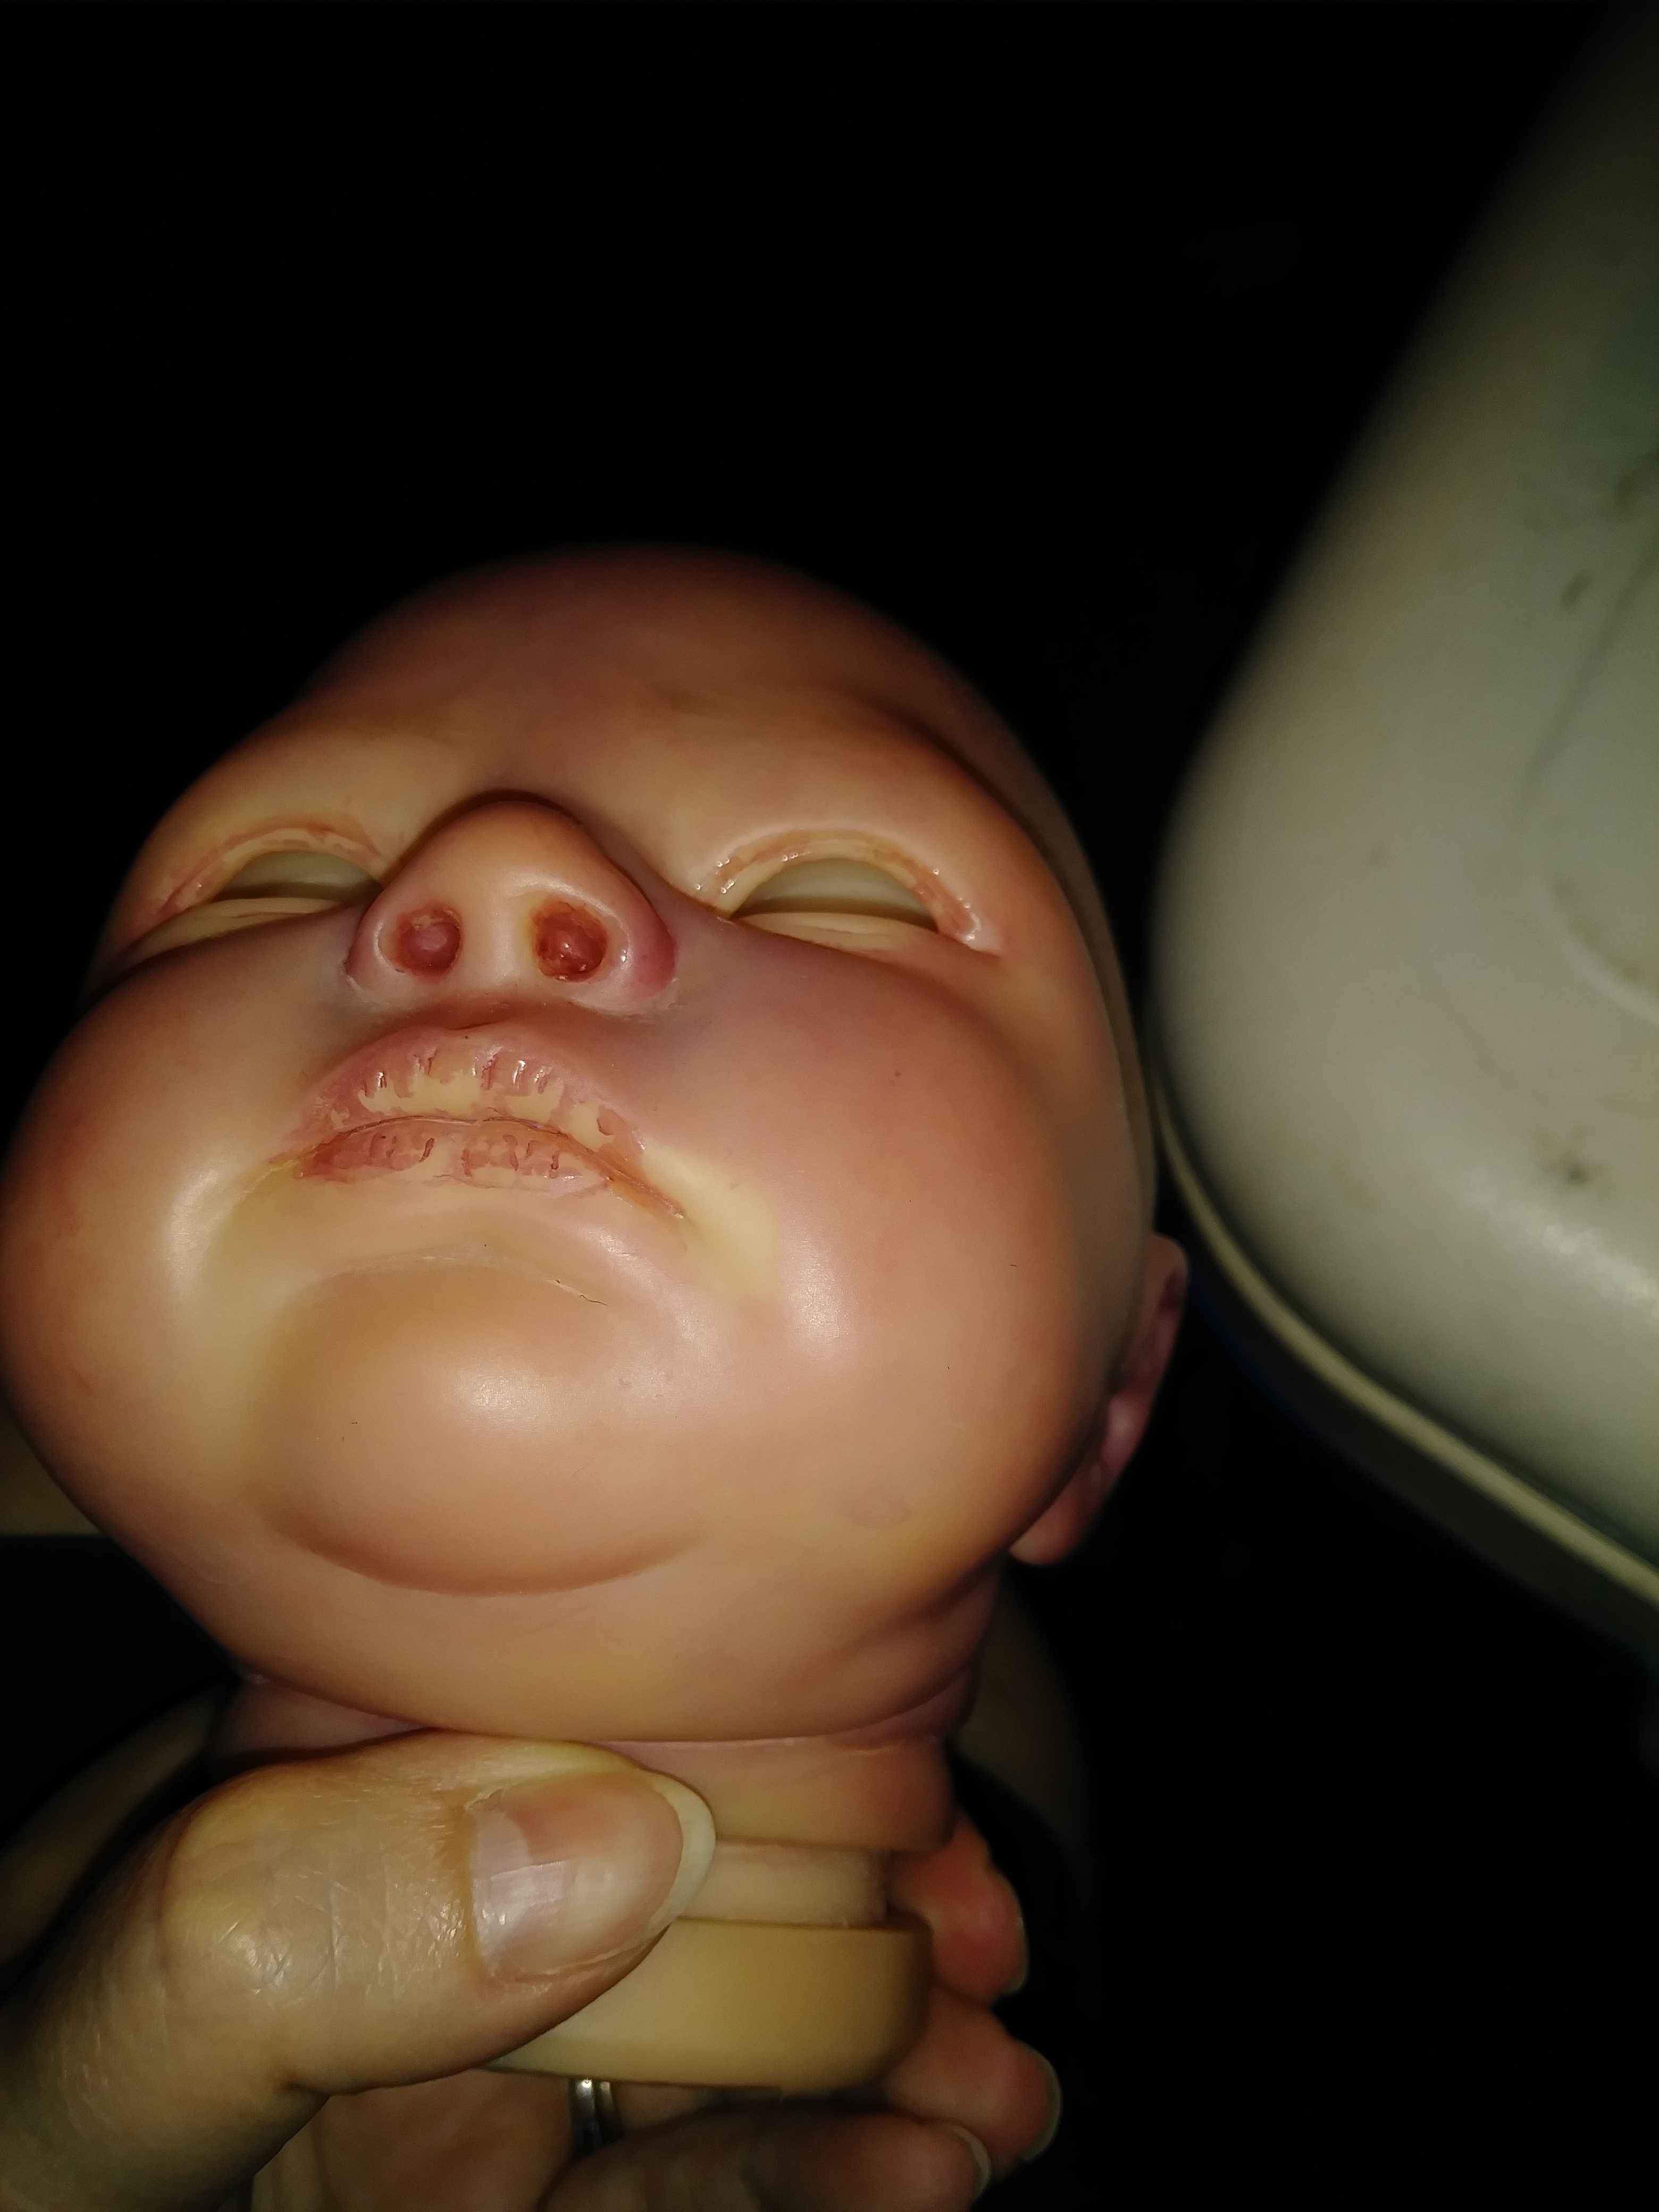
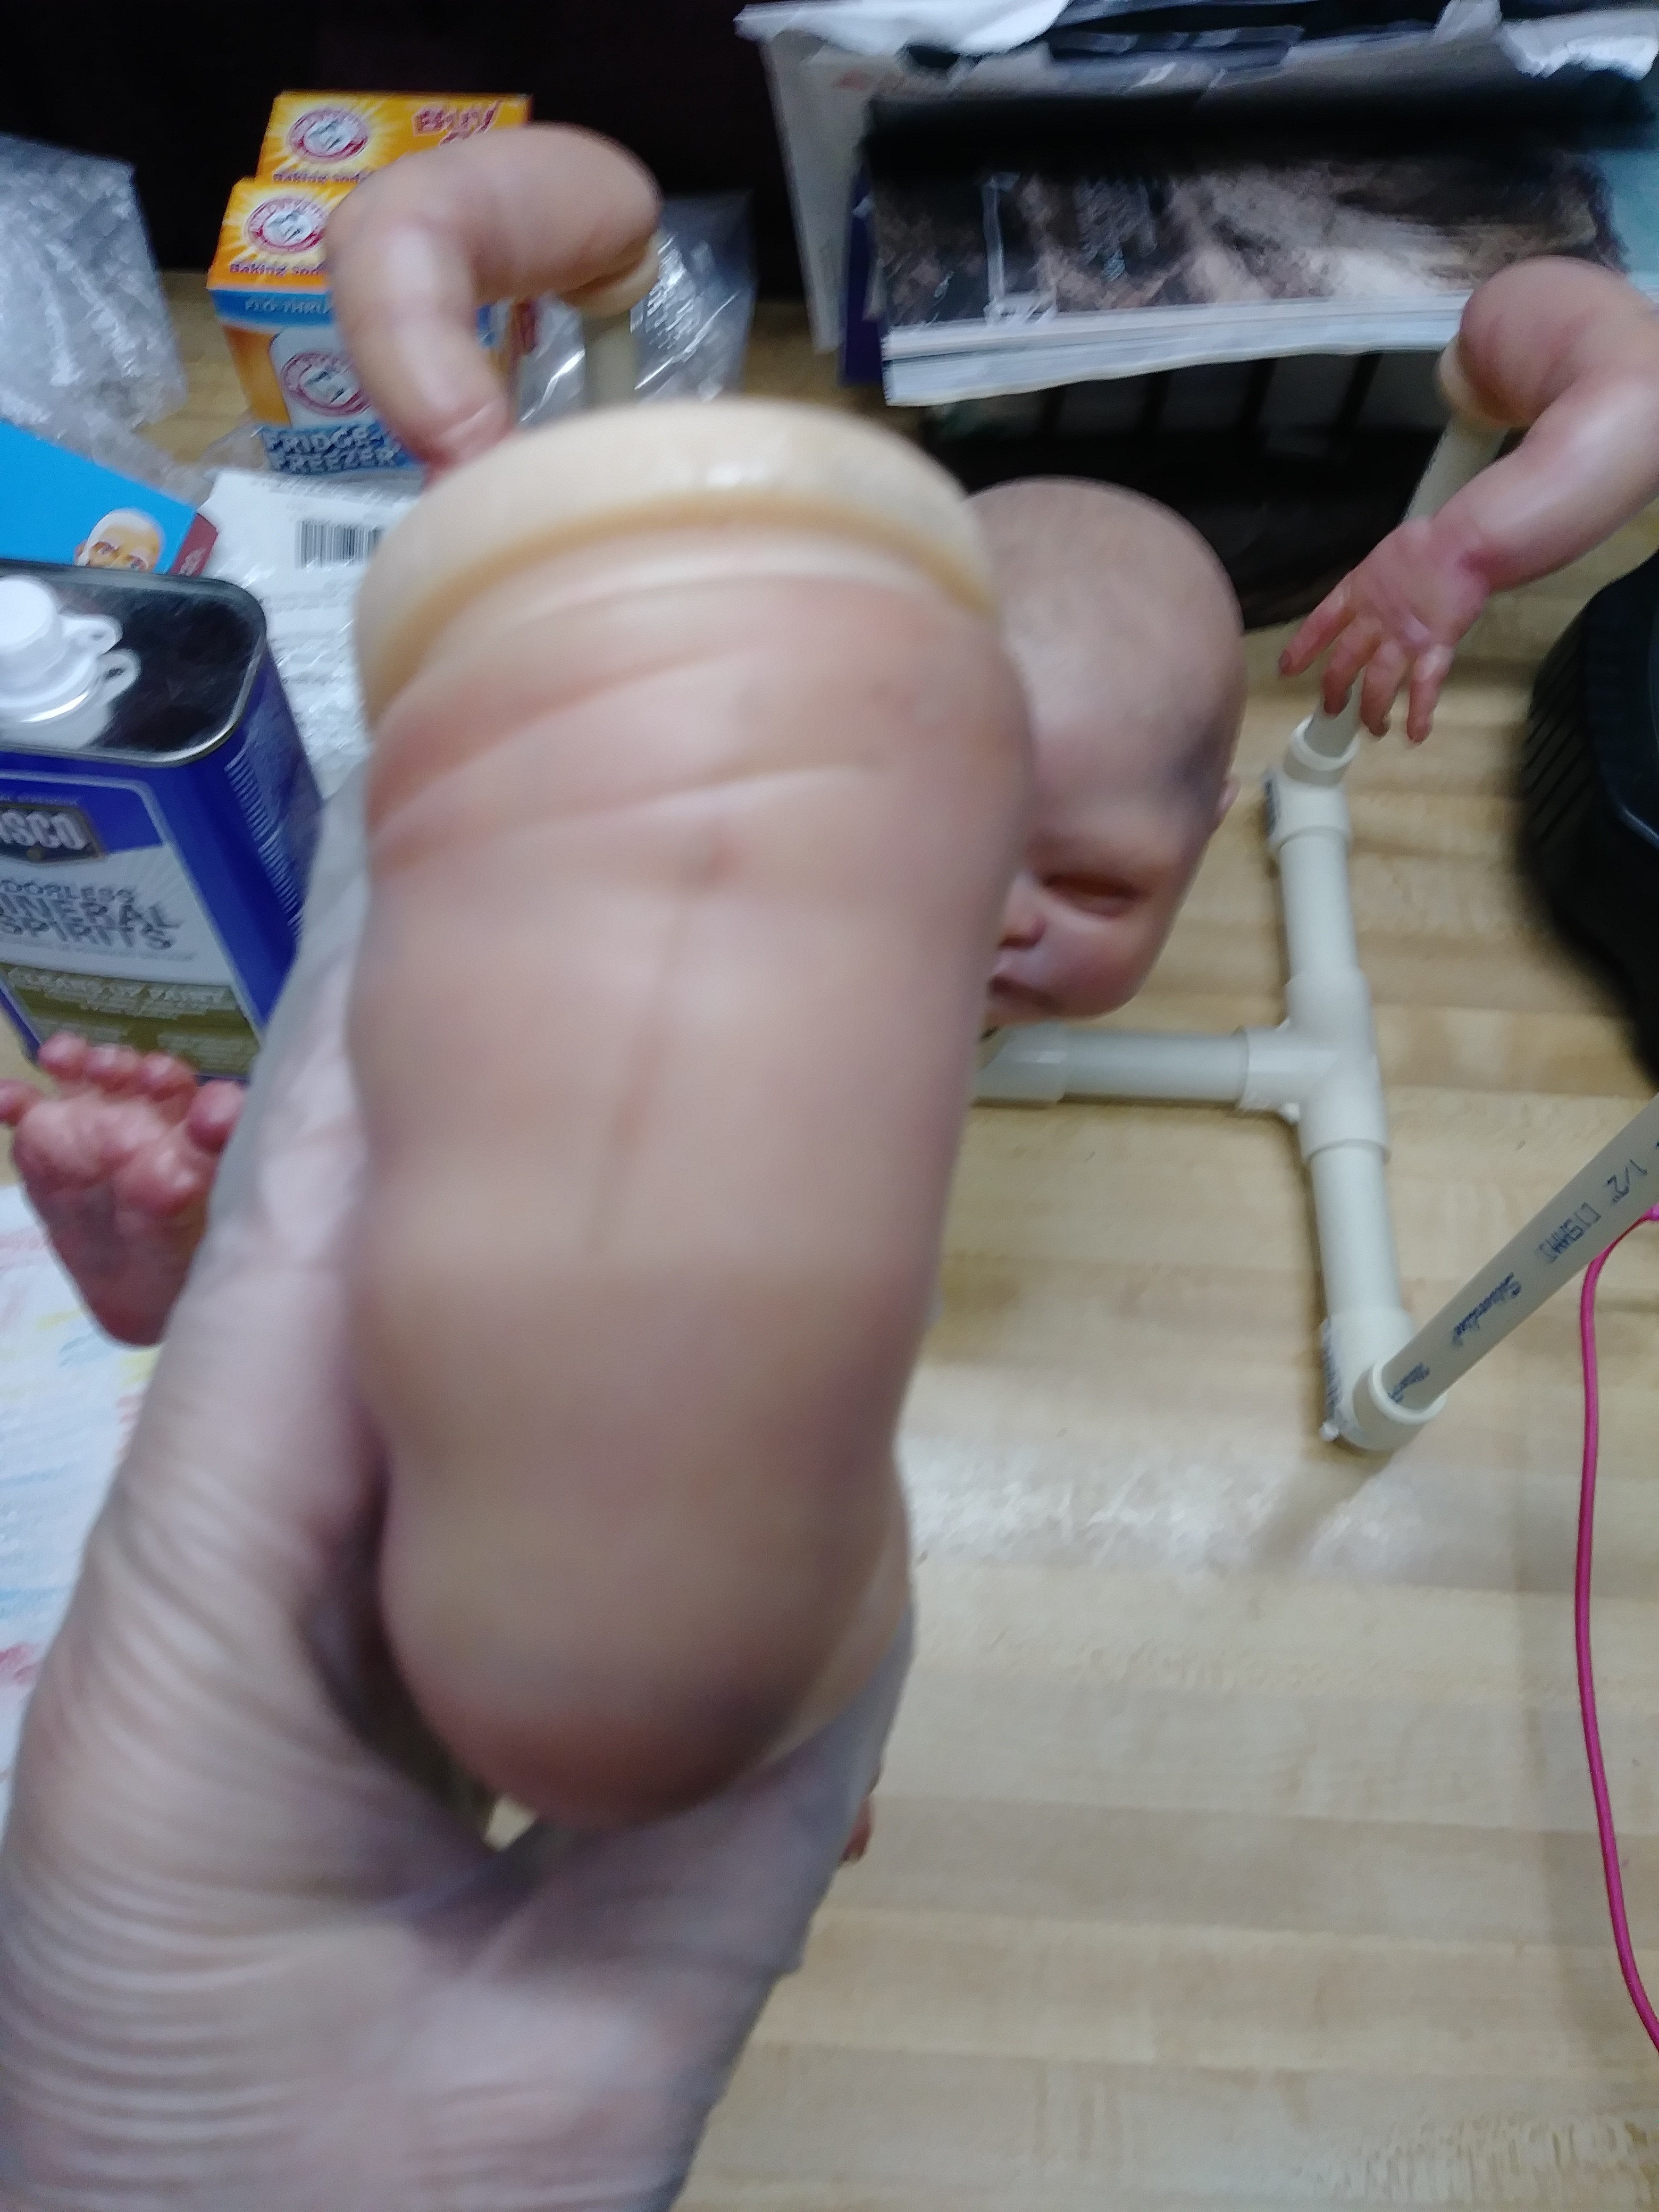
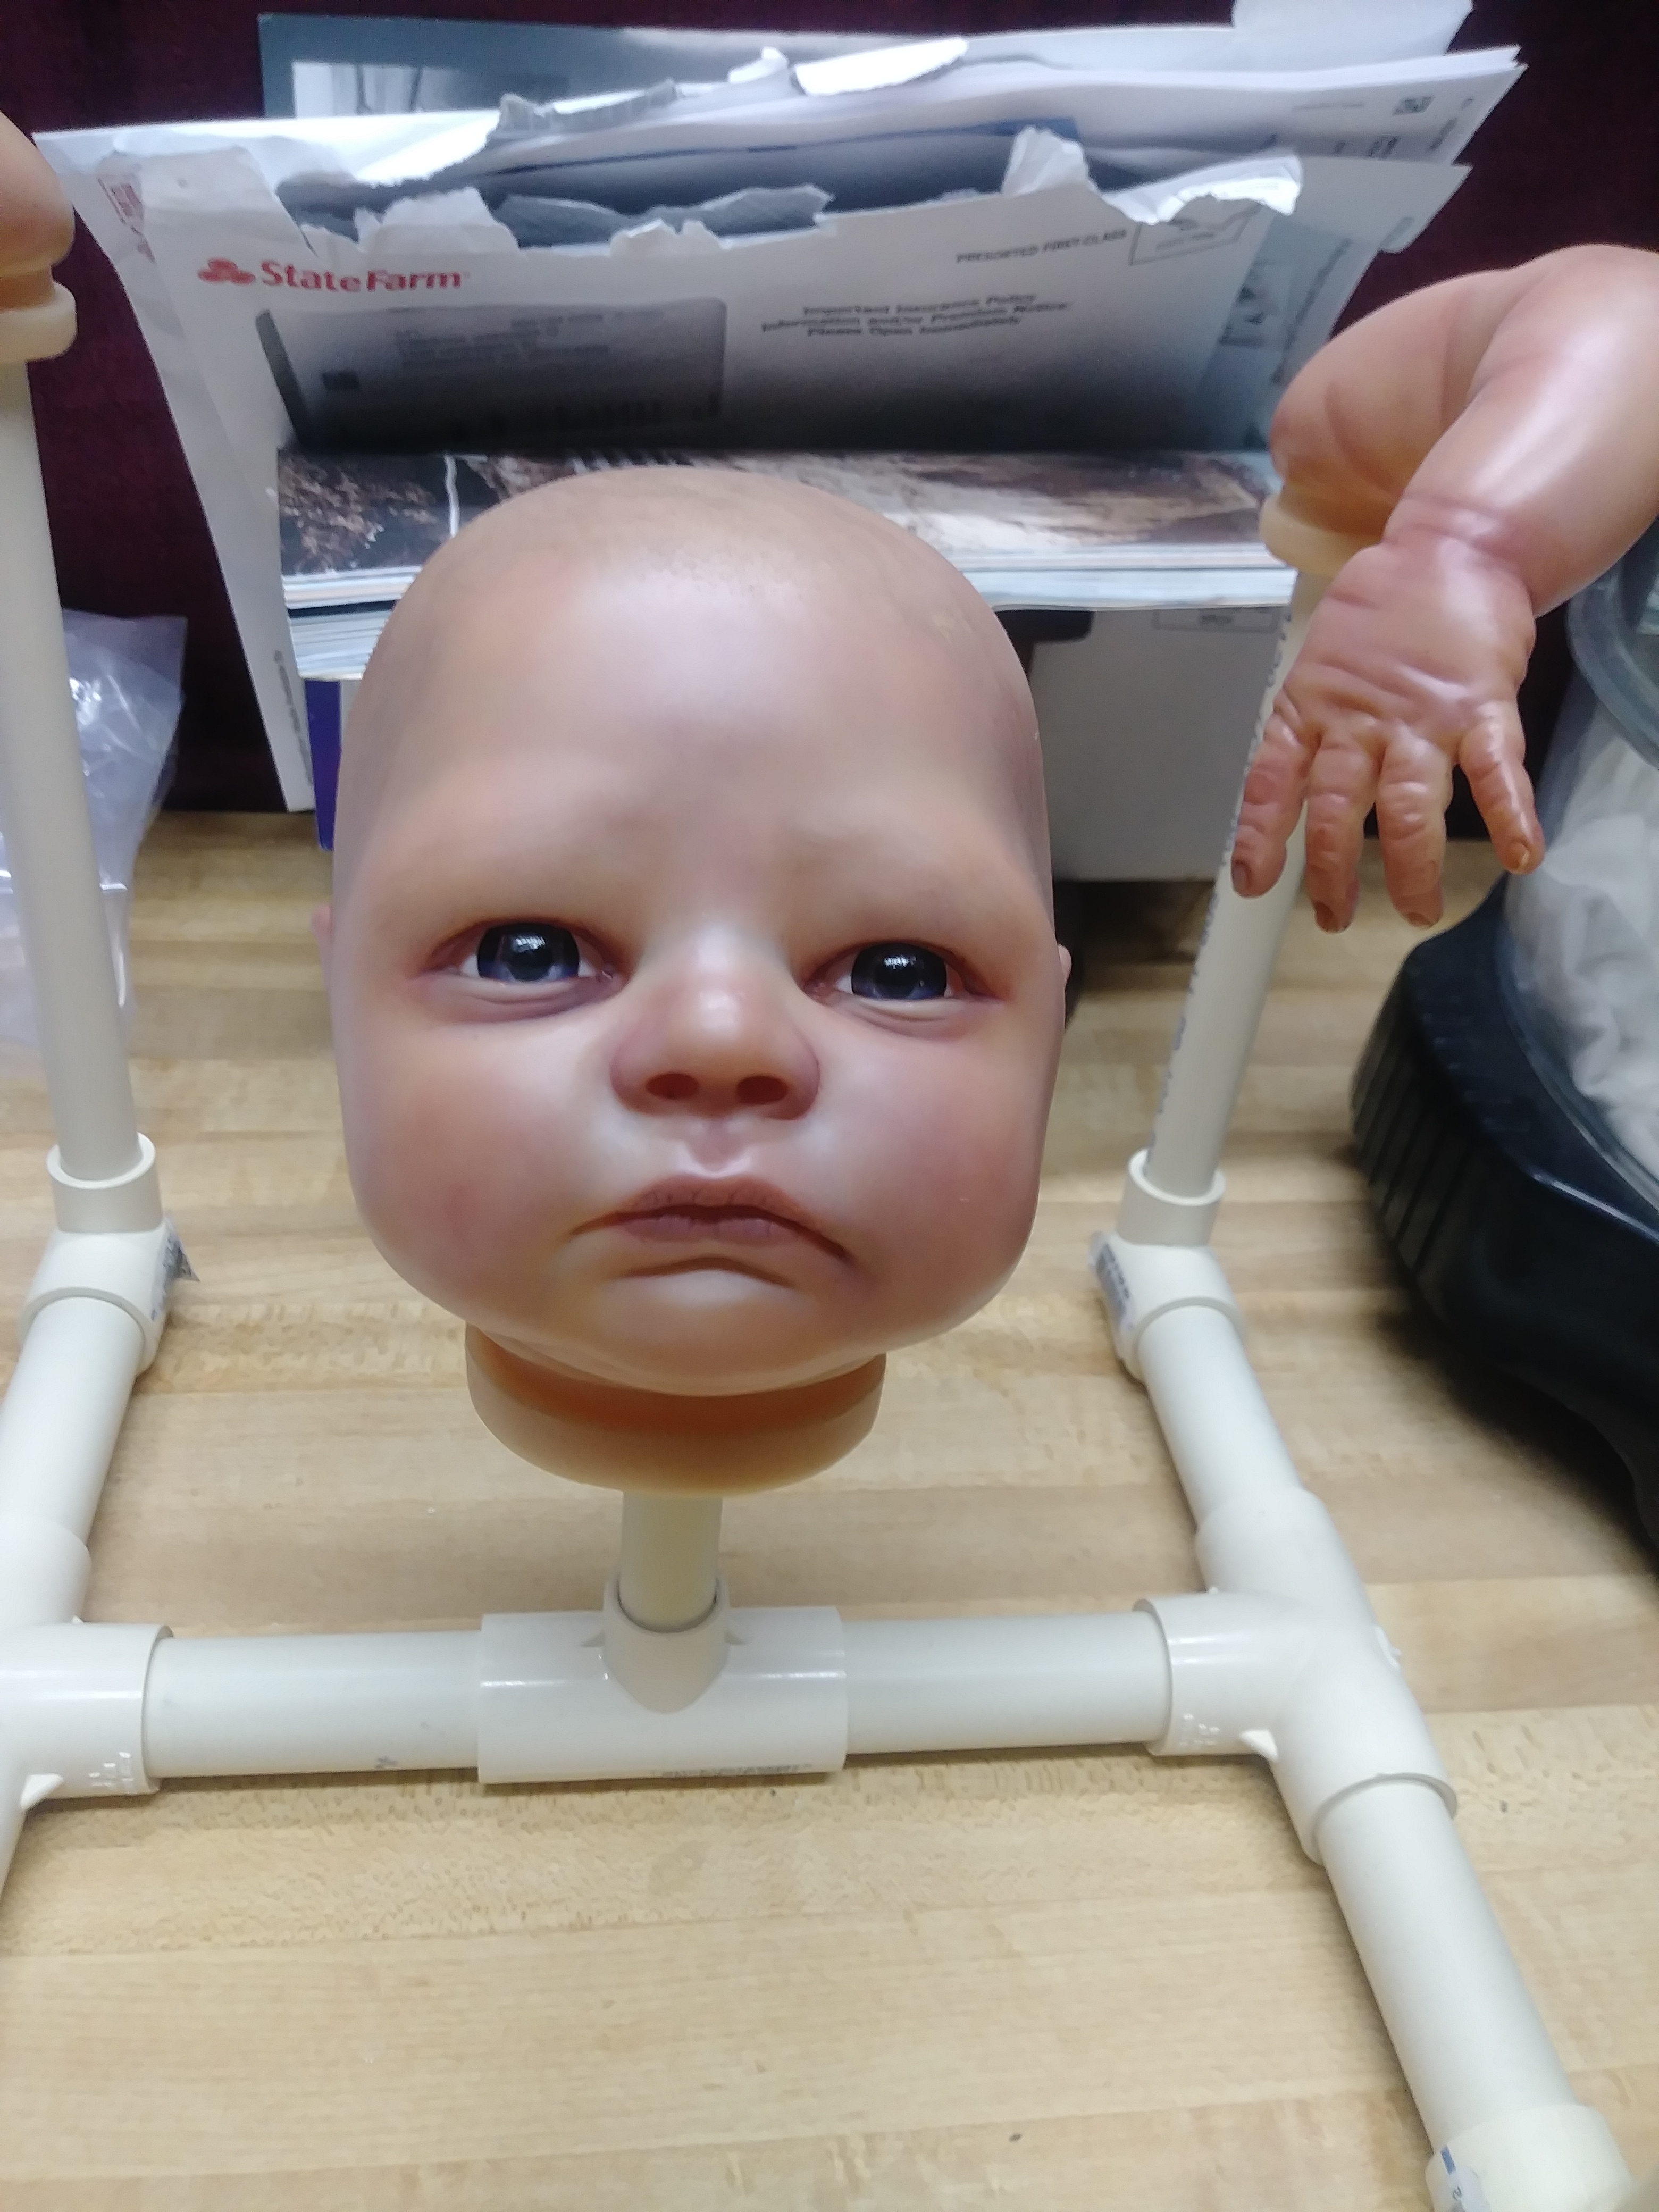
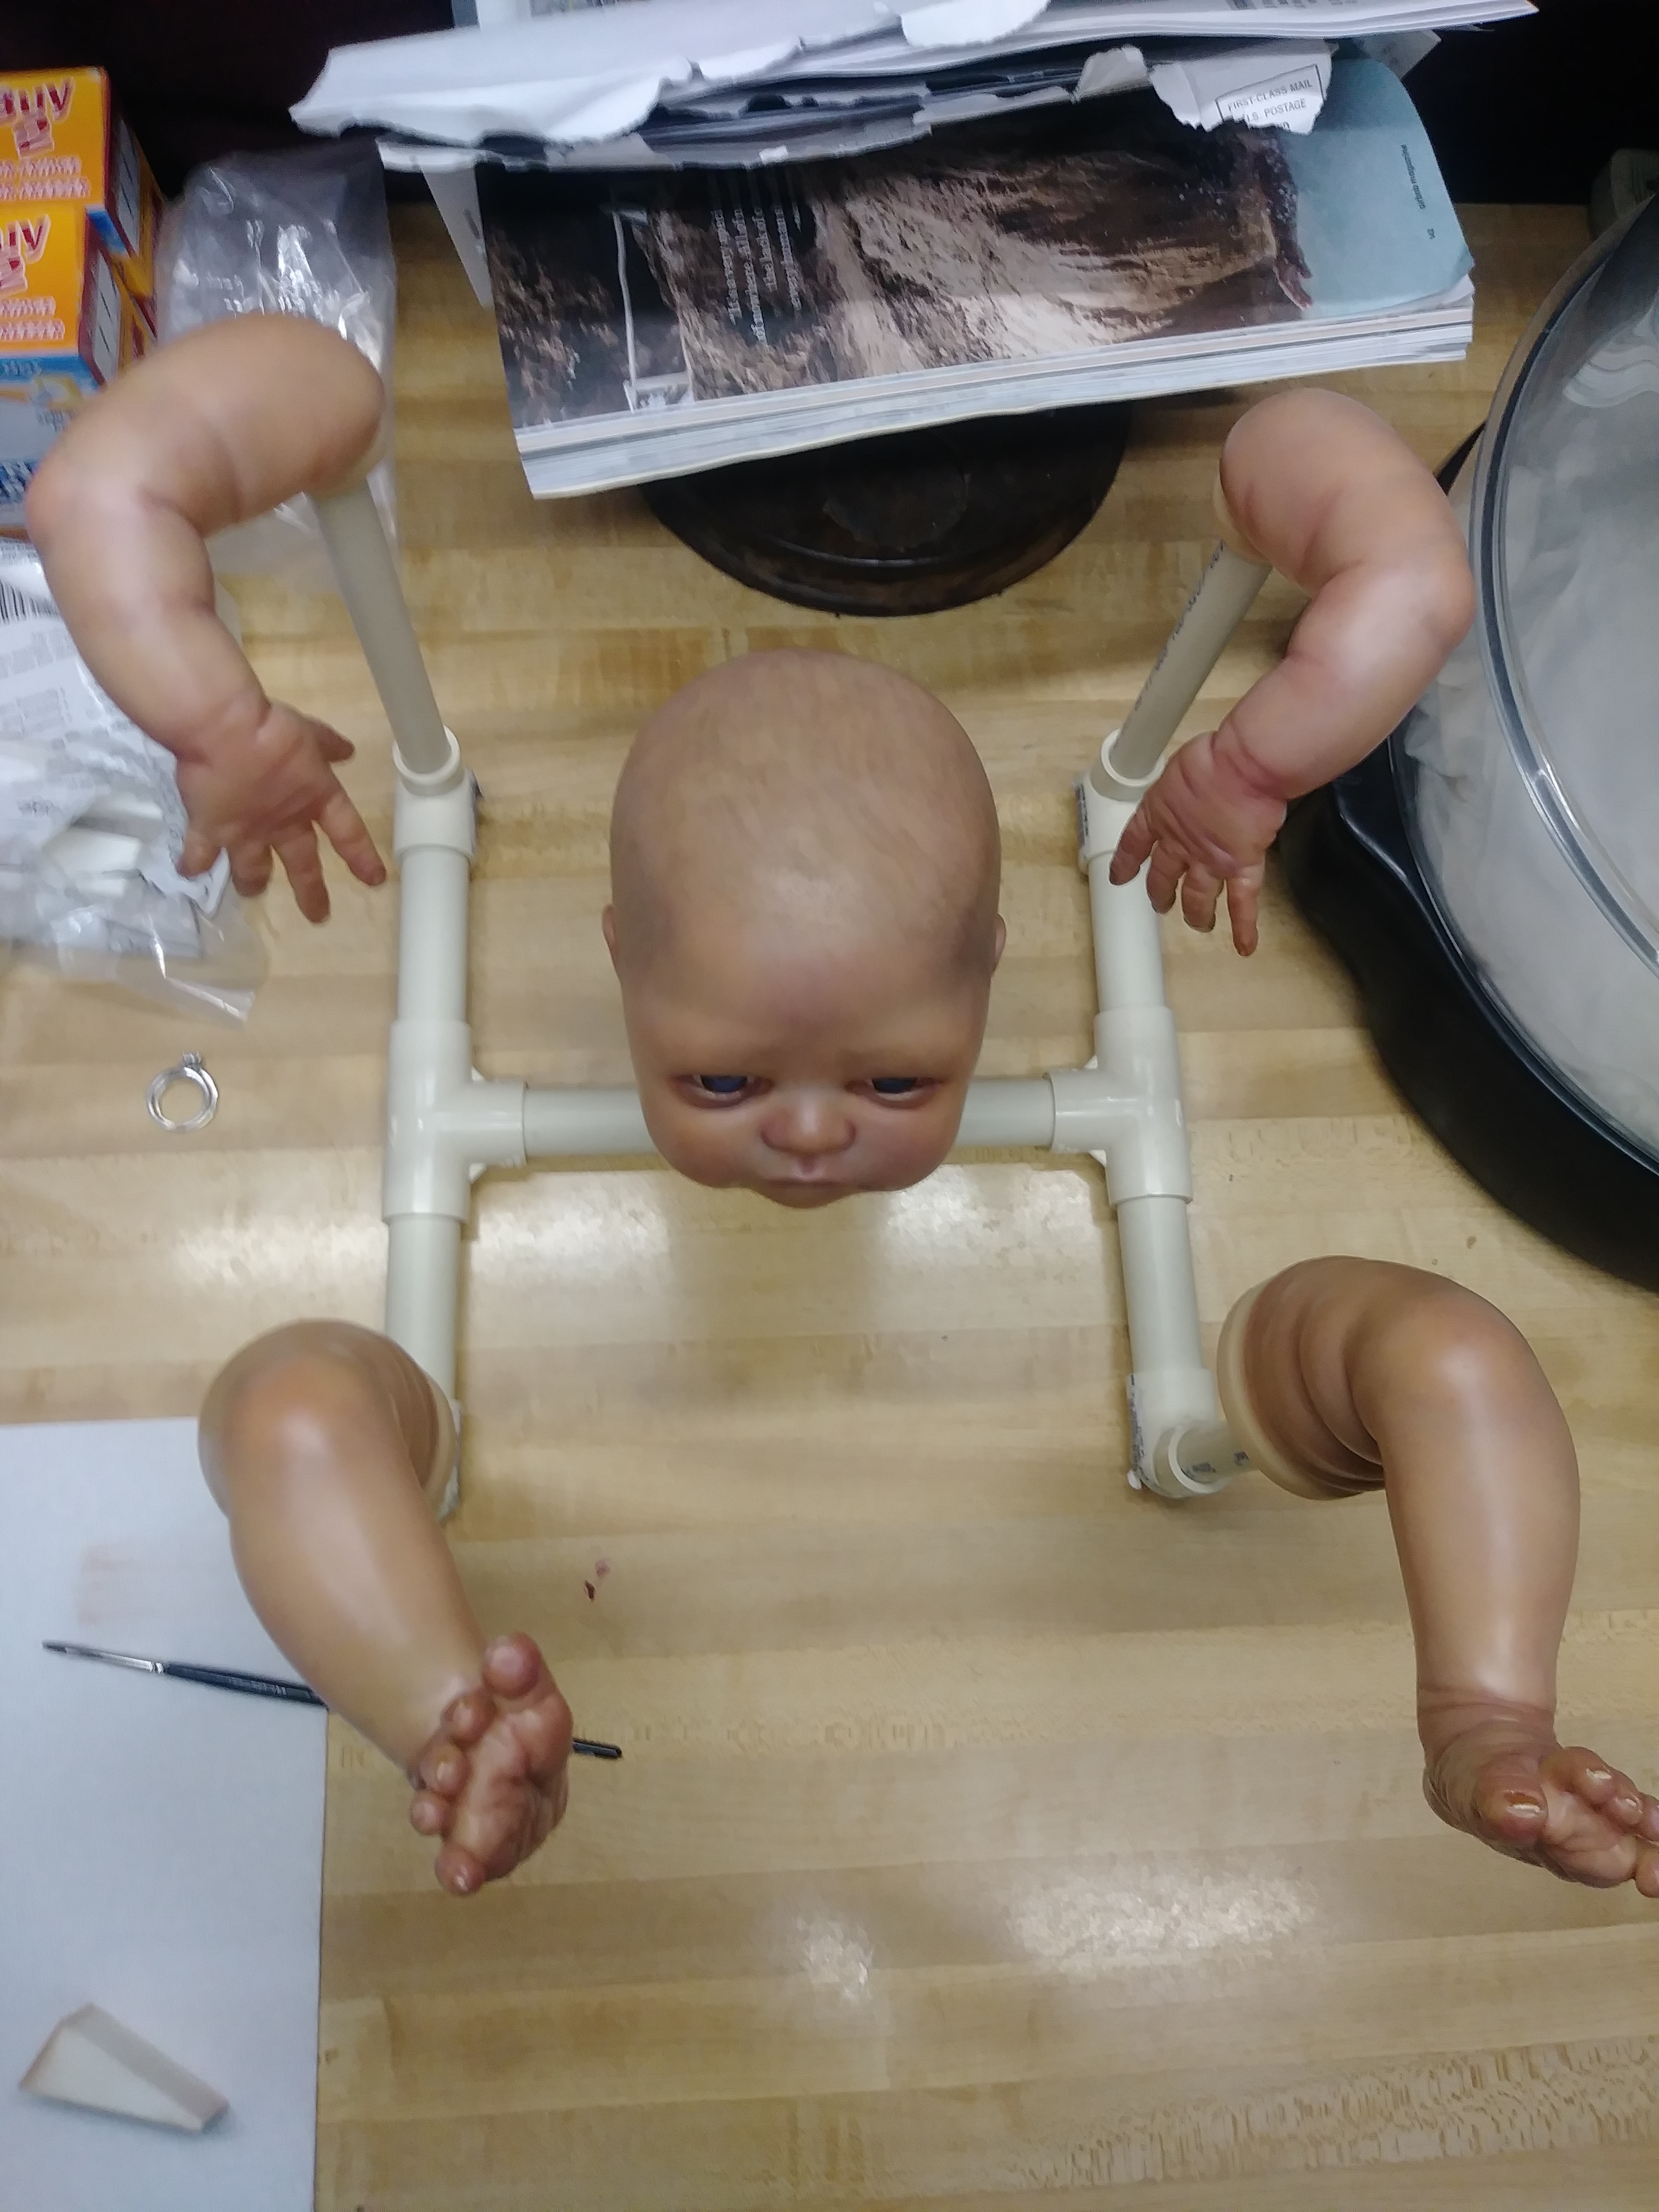
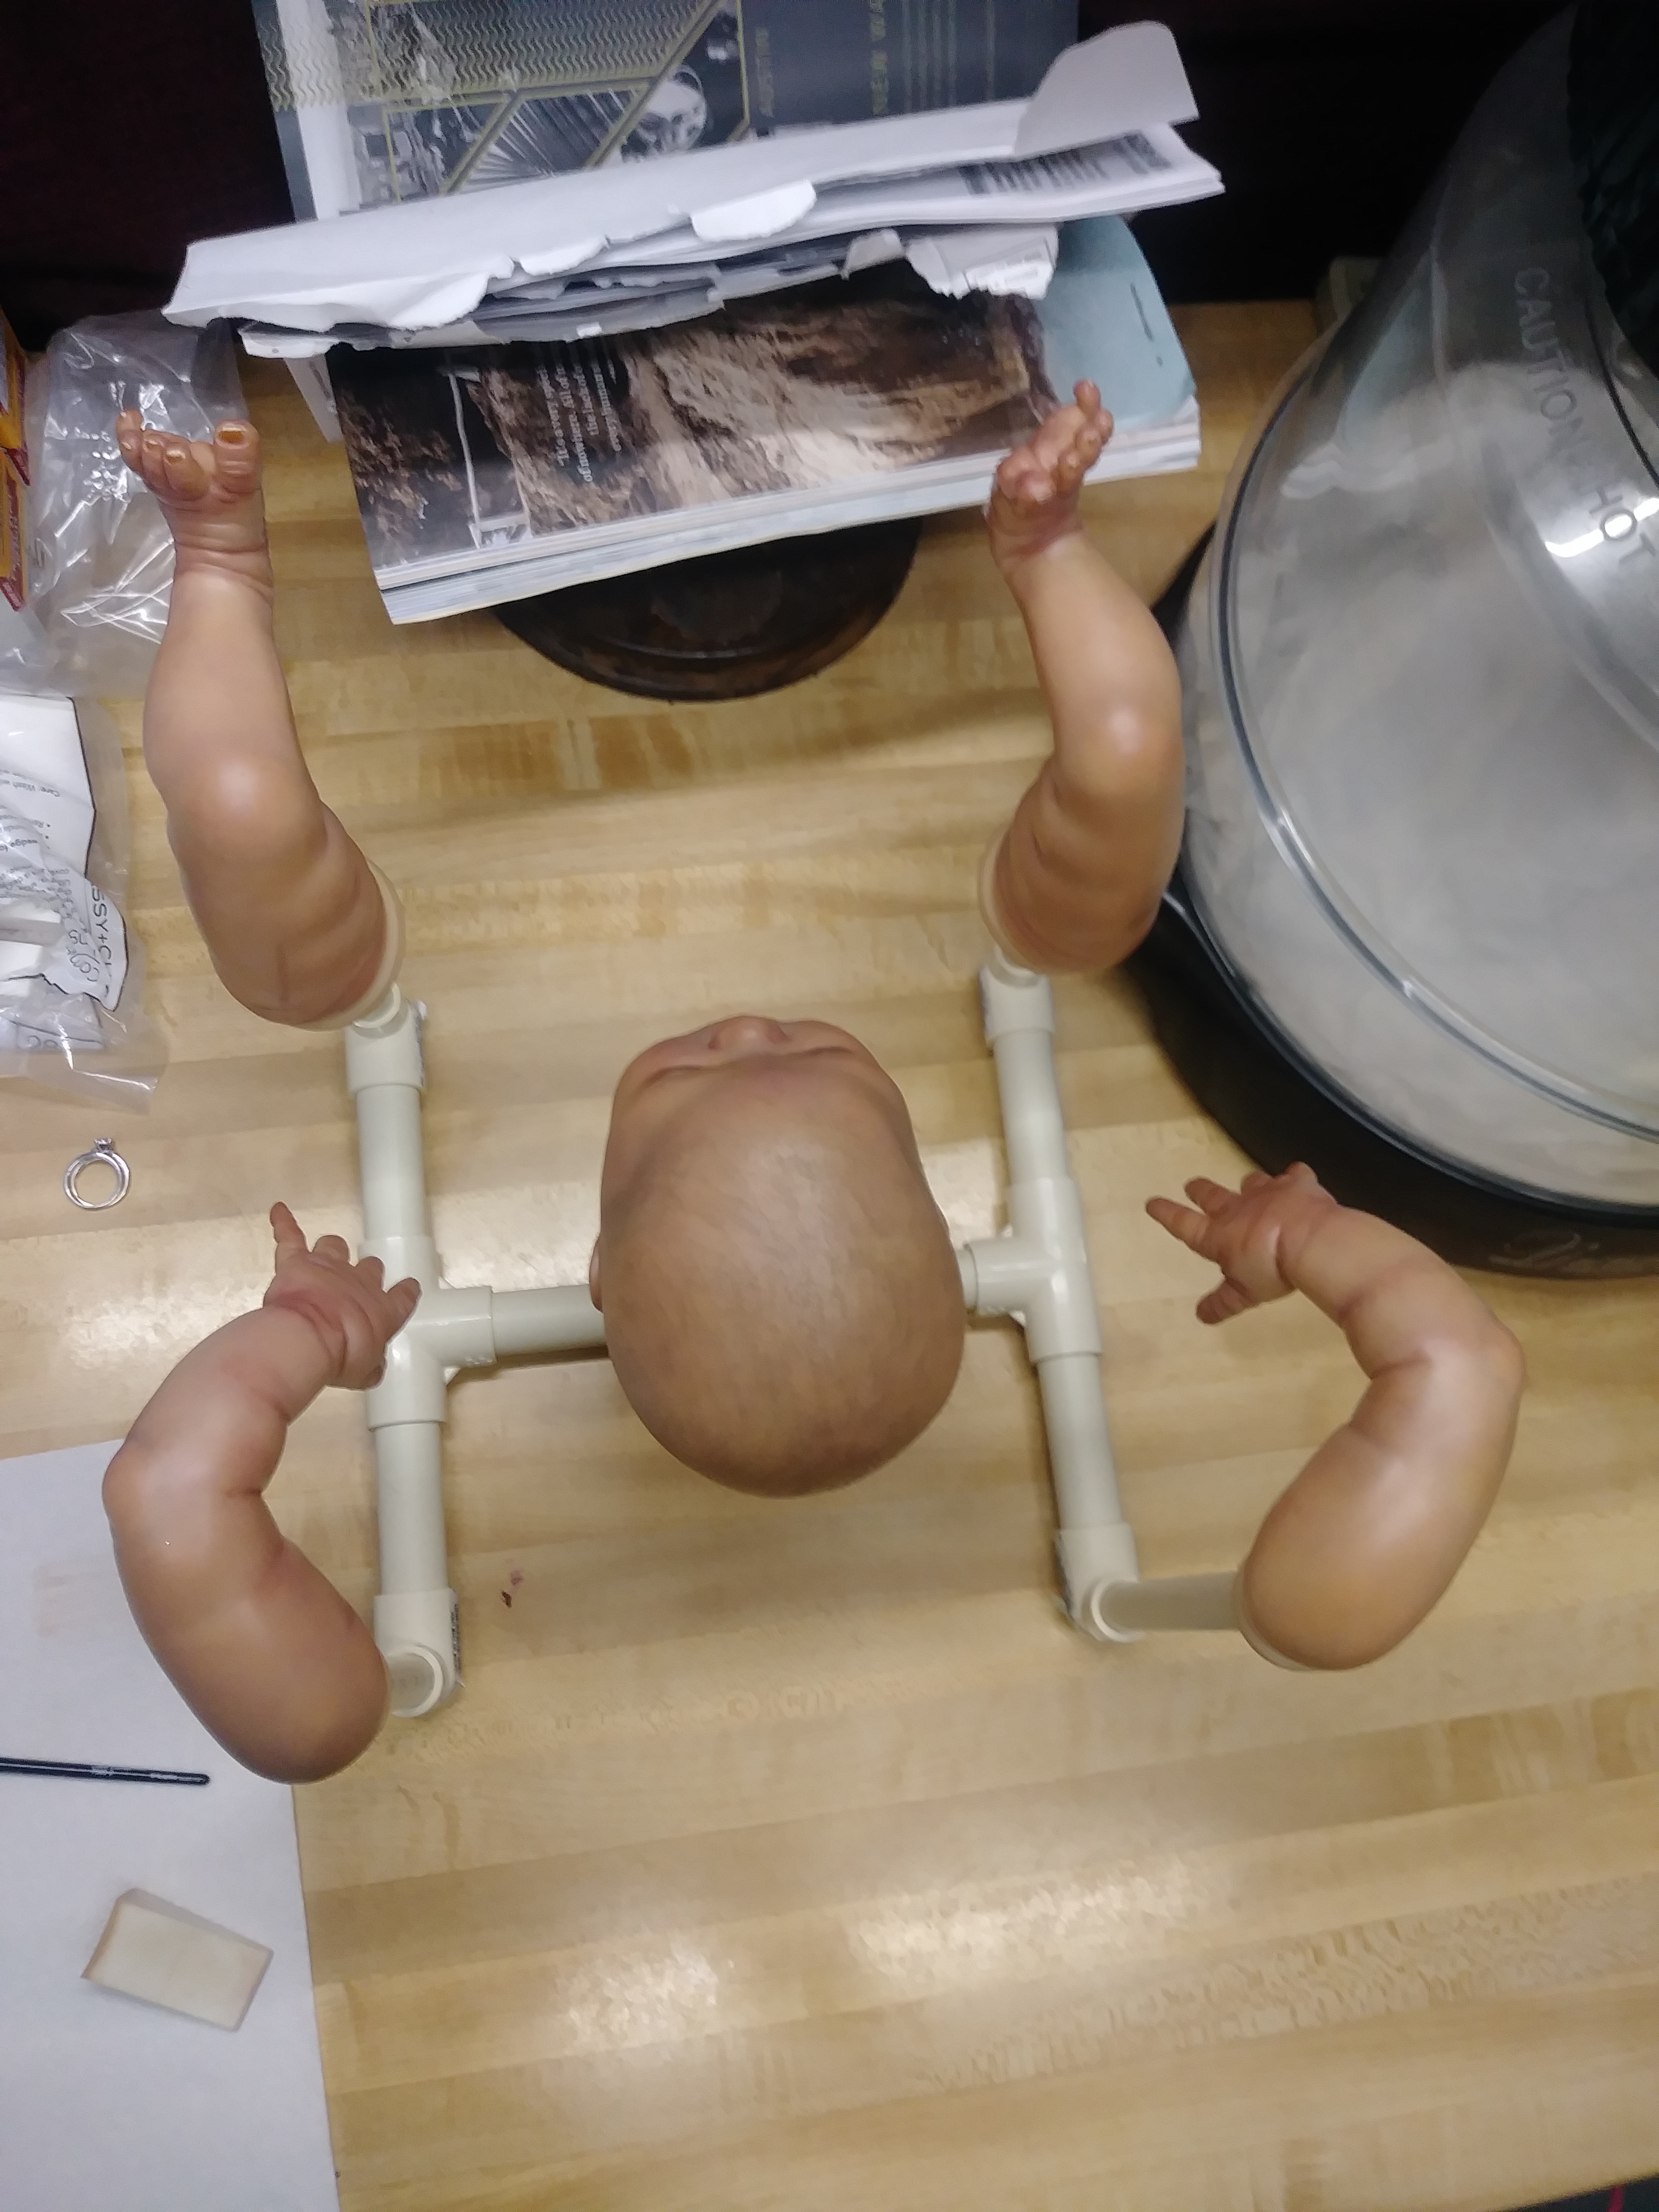
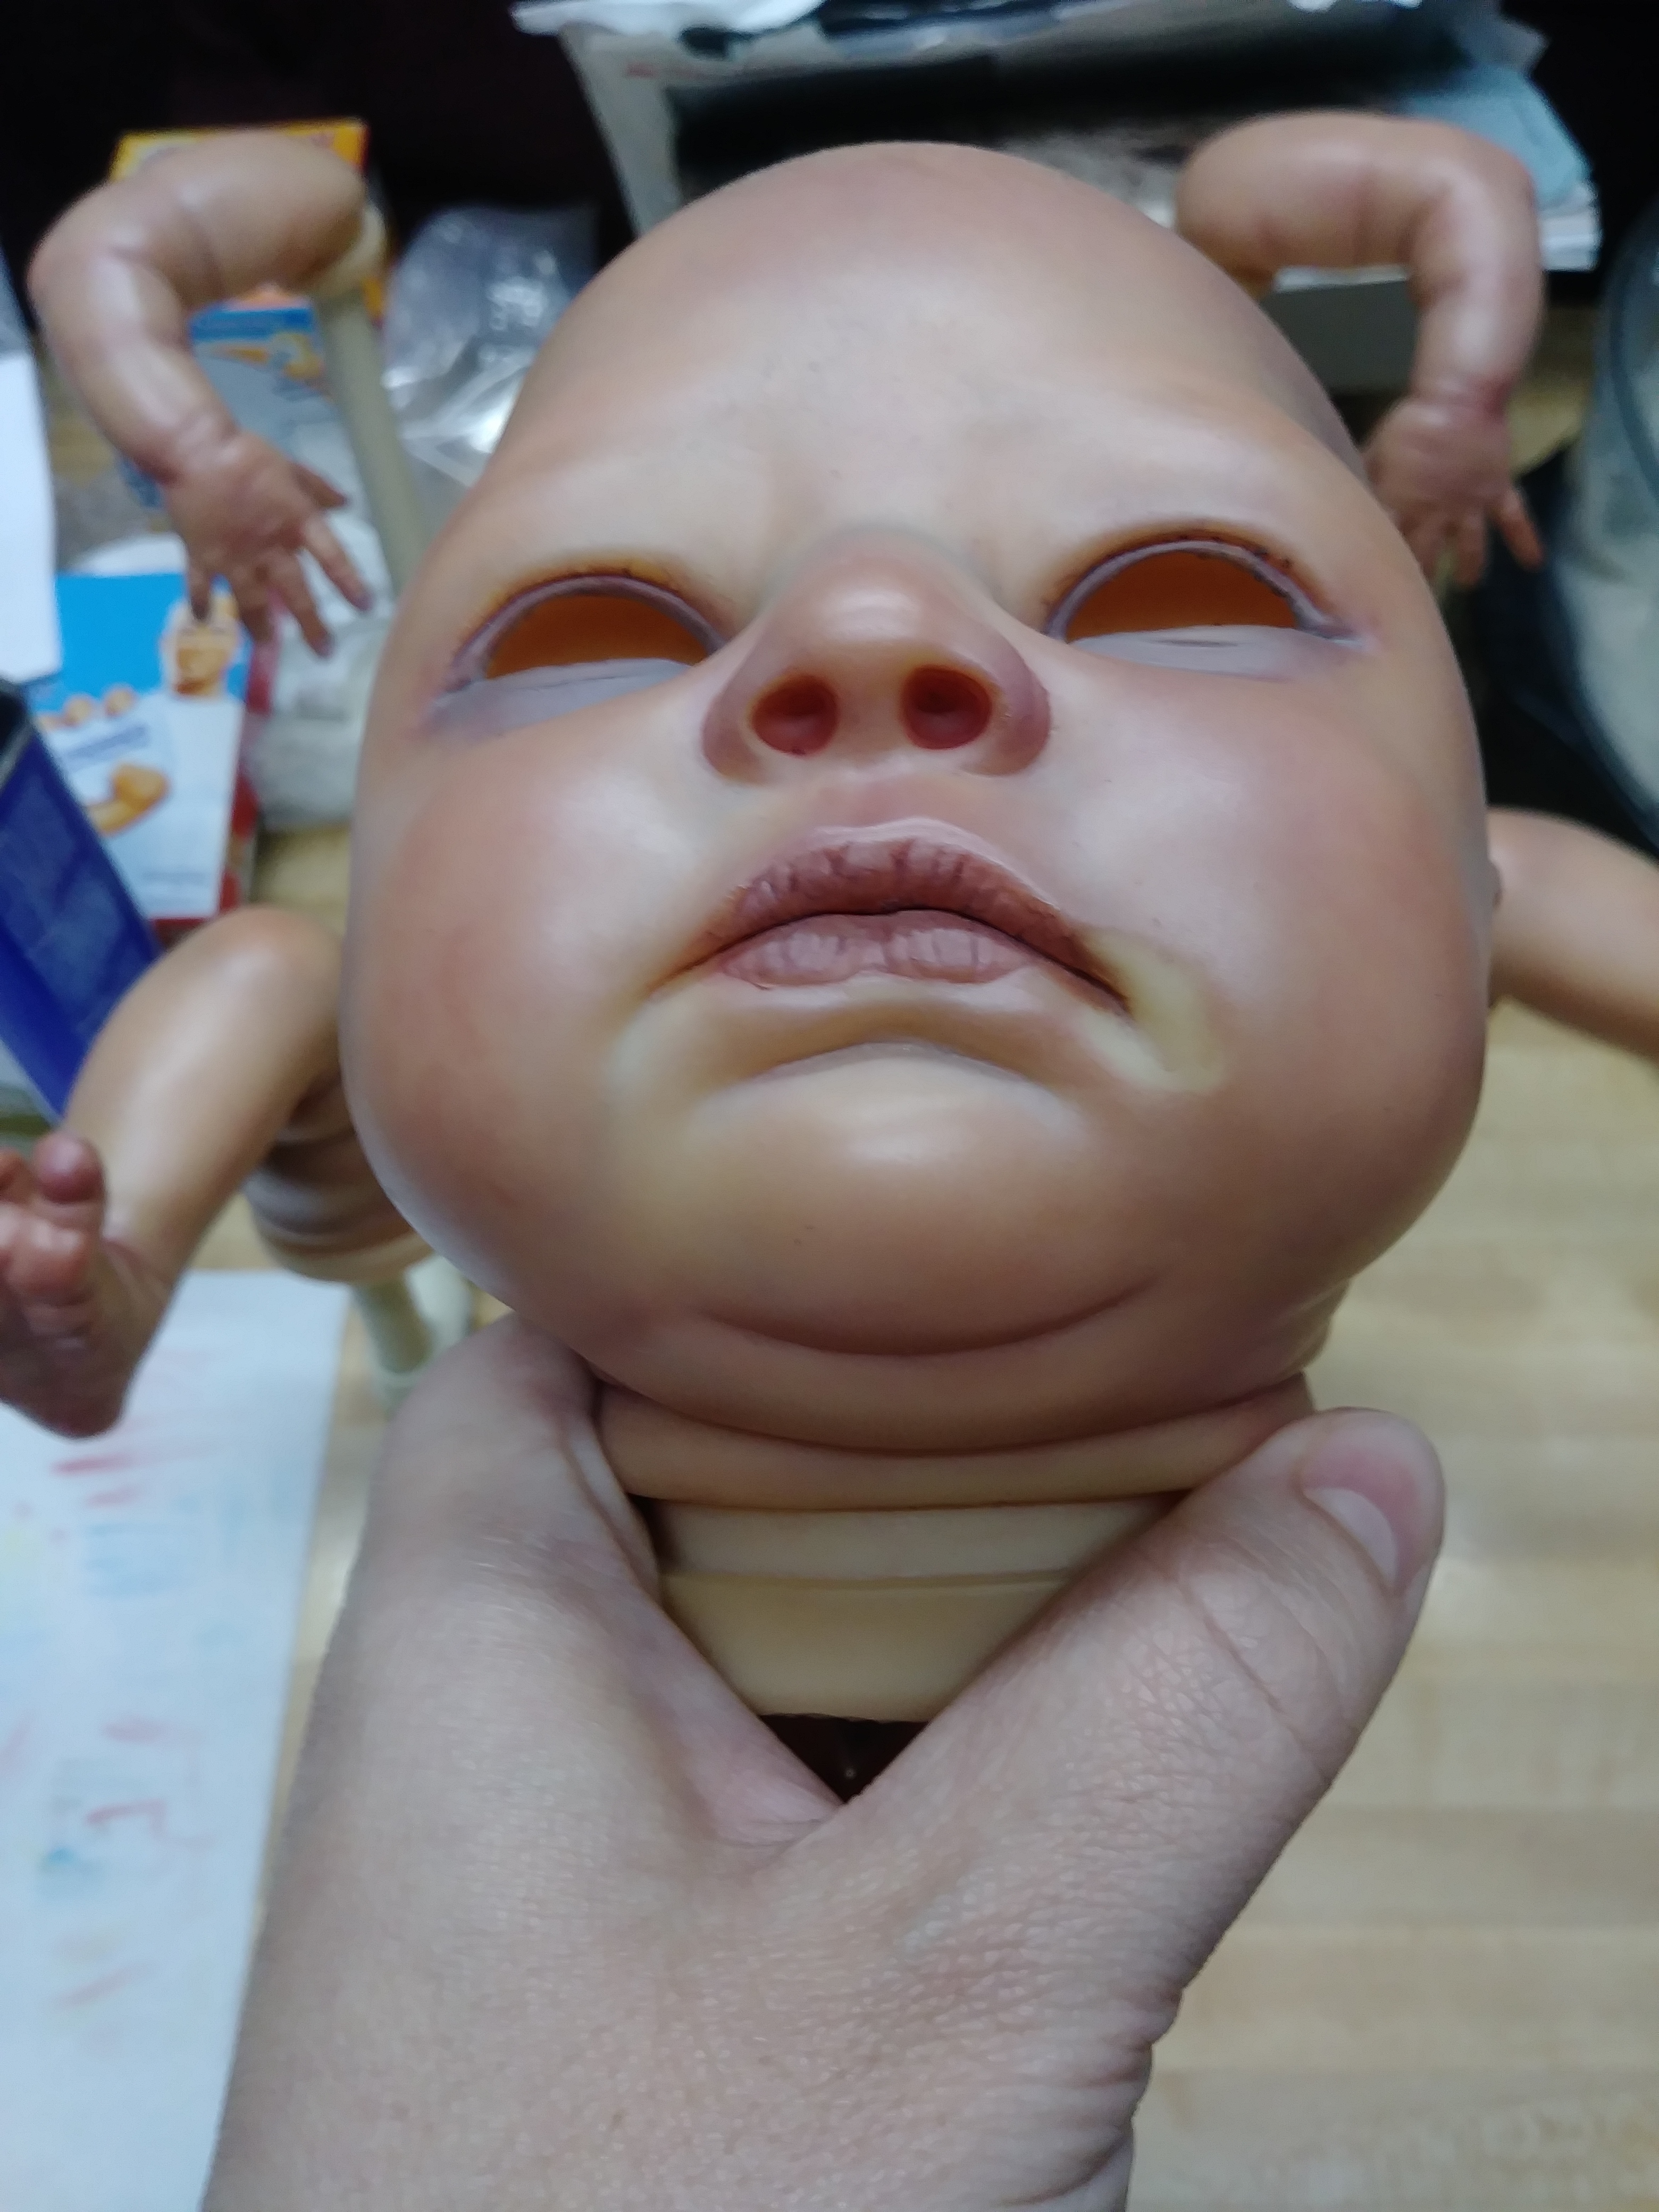
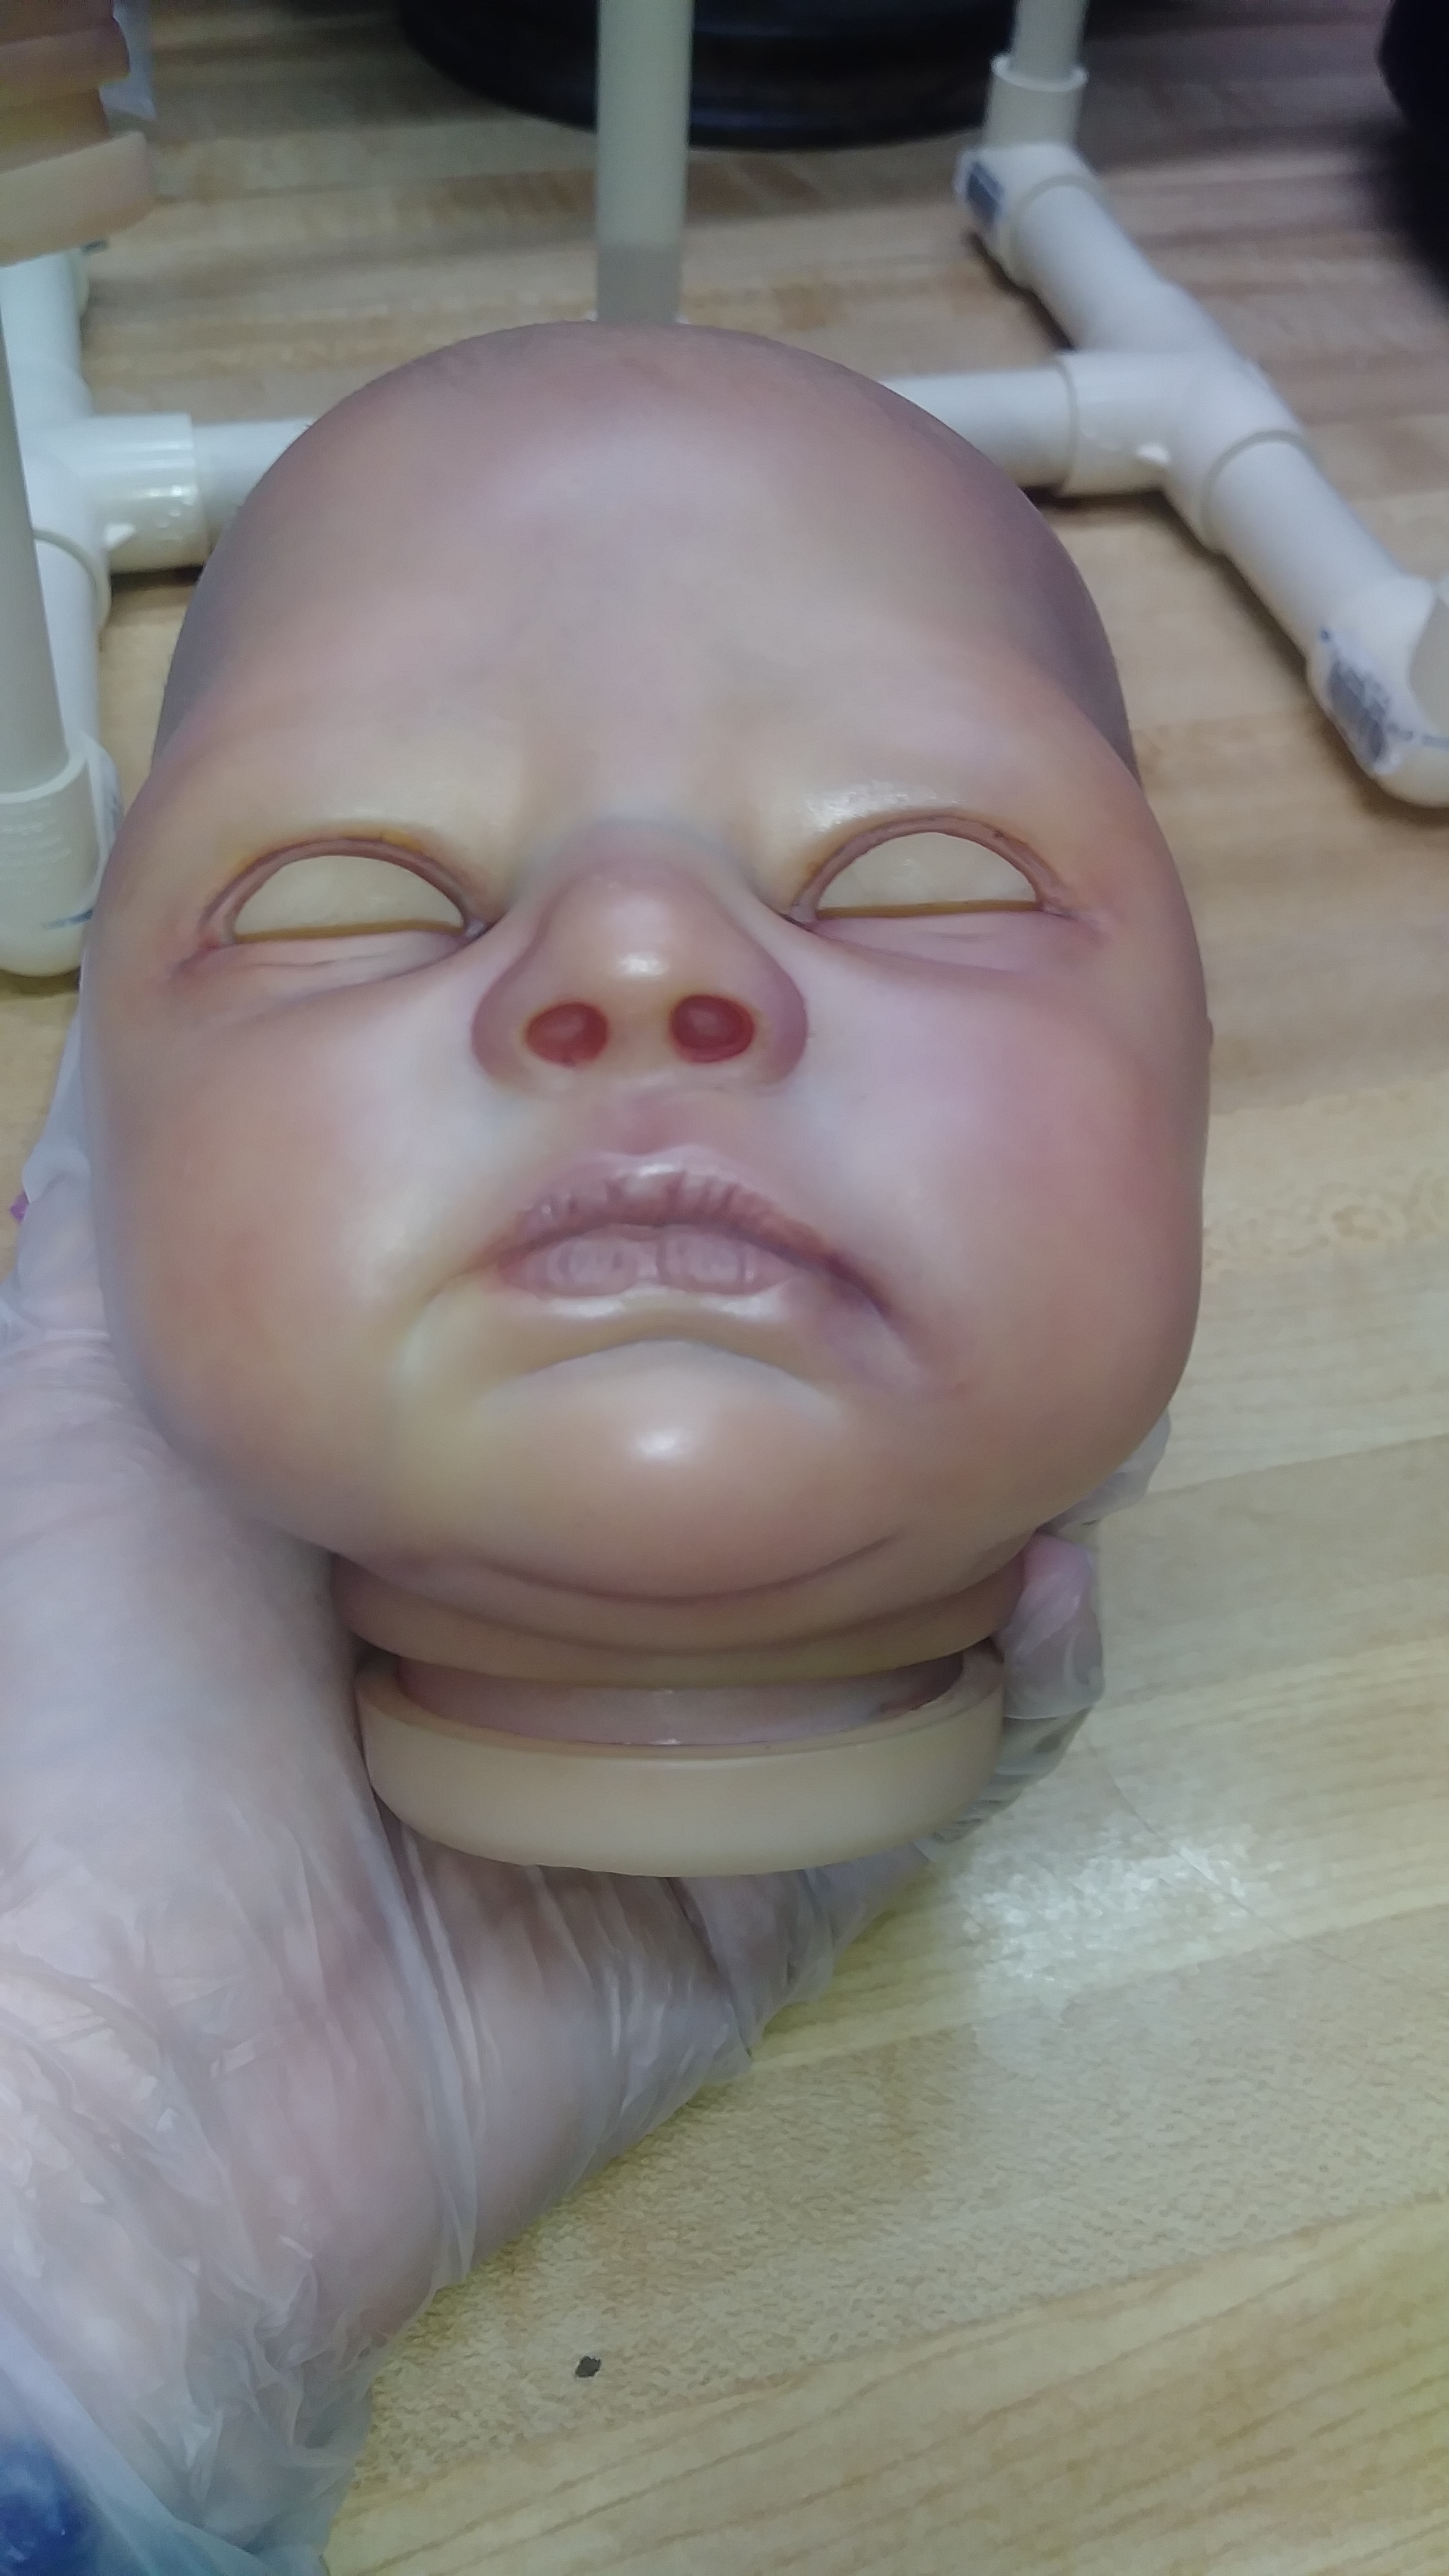
Since I decided to try to paint match and only using stripping as a last resort…things are finally moving. I know it ain’t close to perfect, but I feel like I’m actually, slowly progressing. The lips are coming along nicely…I did remove the thick paint inside the nose and started repainting that again. Under the eyes and the corner of the mouth where the paint came off are becoming less and less noticeable (might be a little dark around the eyes, but I can slowly color correct to lighten it up)…I’ve slowly been using the primary color method…slowly building up the color to get at least the same tone before I go in with some blushing to help blend. The missing paint on the legs are brought up to a similar tone, but I will probably make the one long mark a scratch if when I use the primary color method with mottling/blushing on the whole leg to try and blend doesn’t work. Just wanted to give everyone an update. Thank you all for your help!
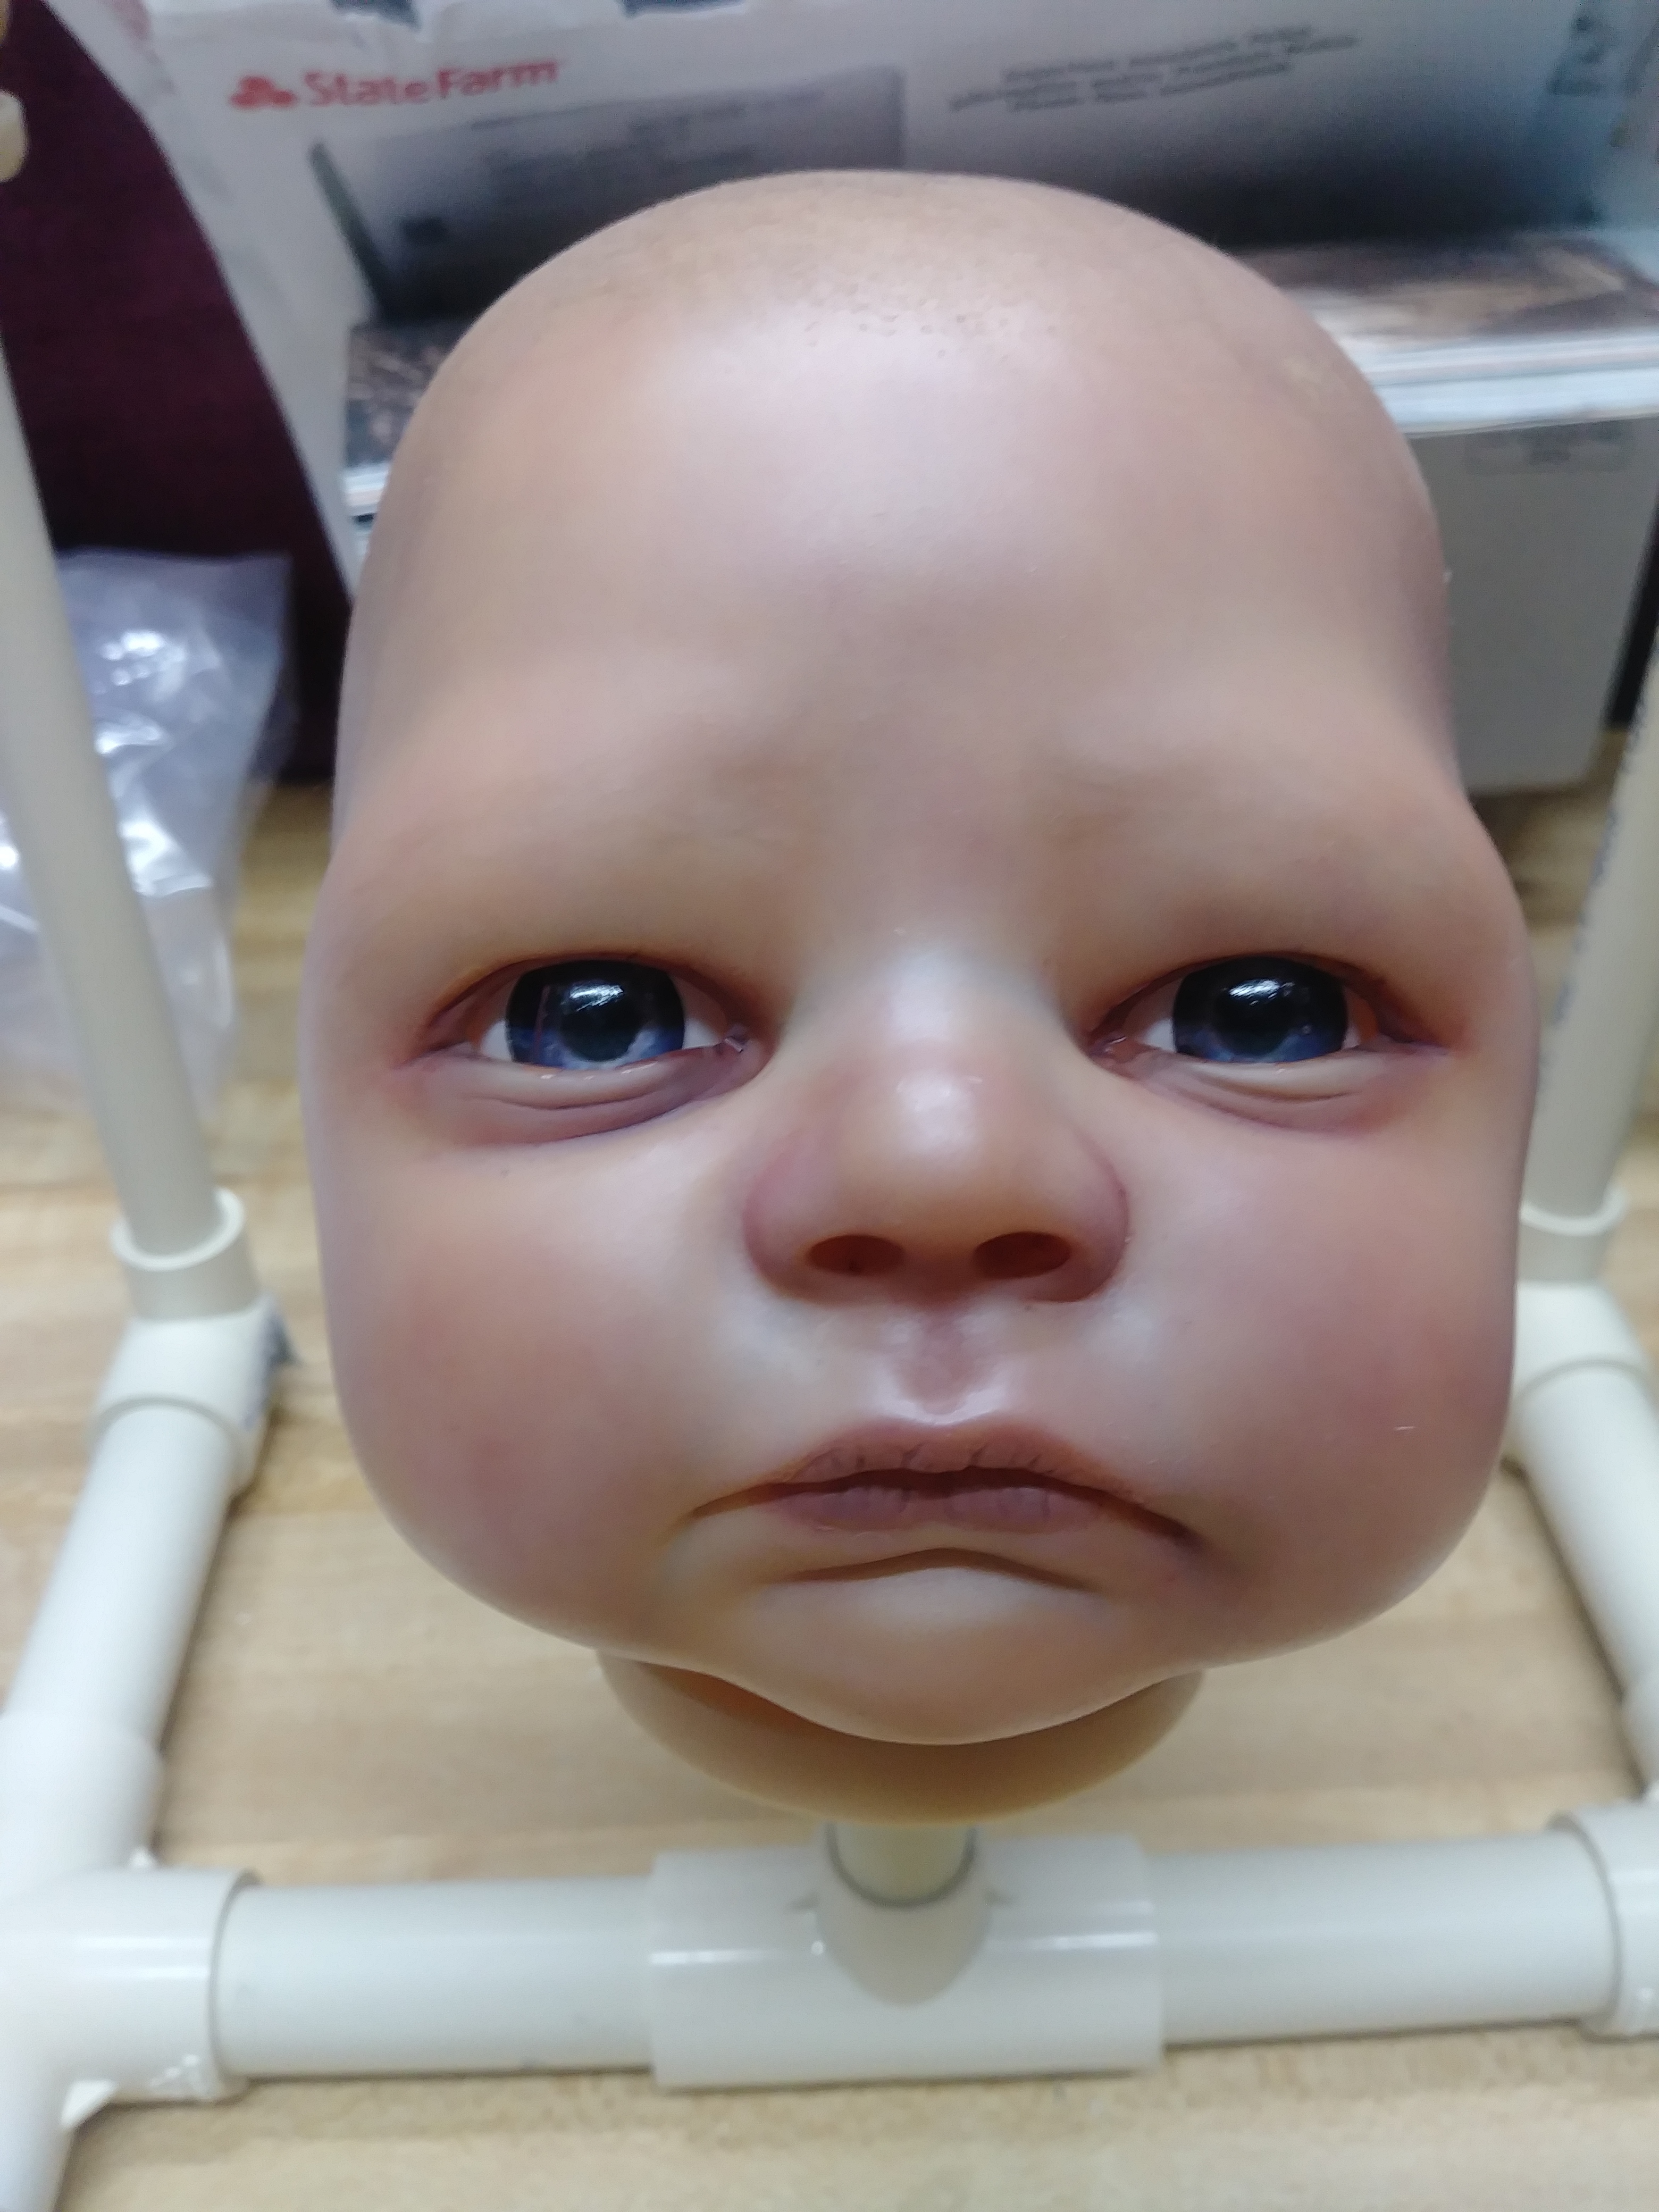
In some of my photos I’ve just taken…there are spots that still look very reddish/pinkish…should I do a mint green wash to tone it down a little?
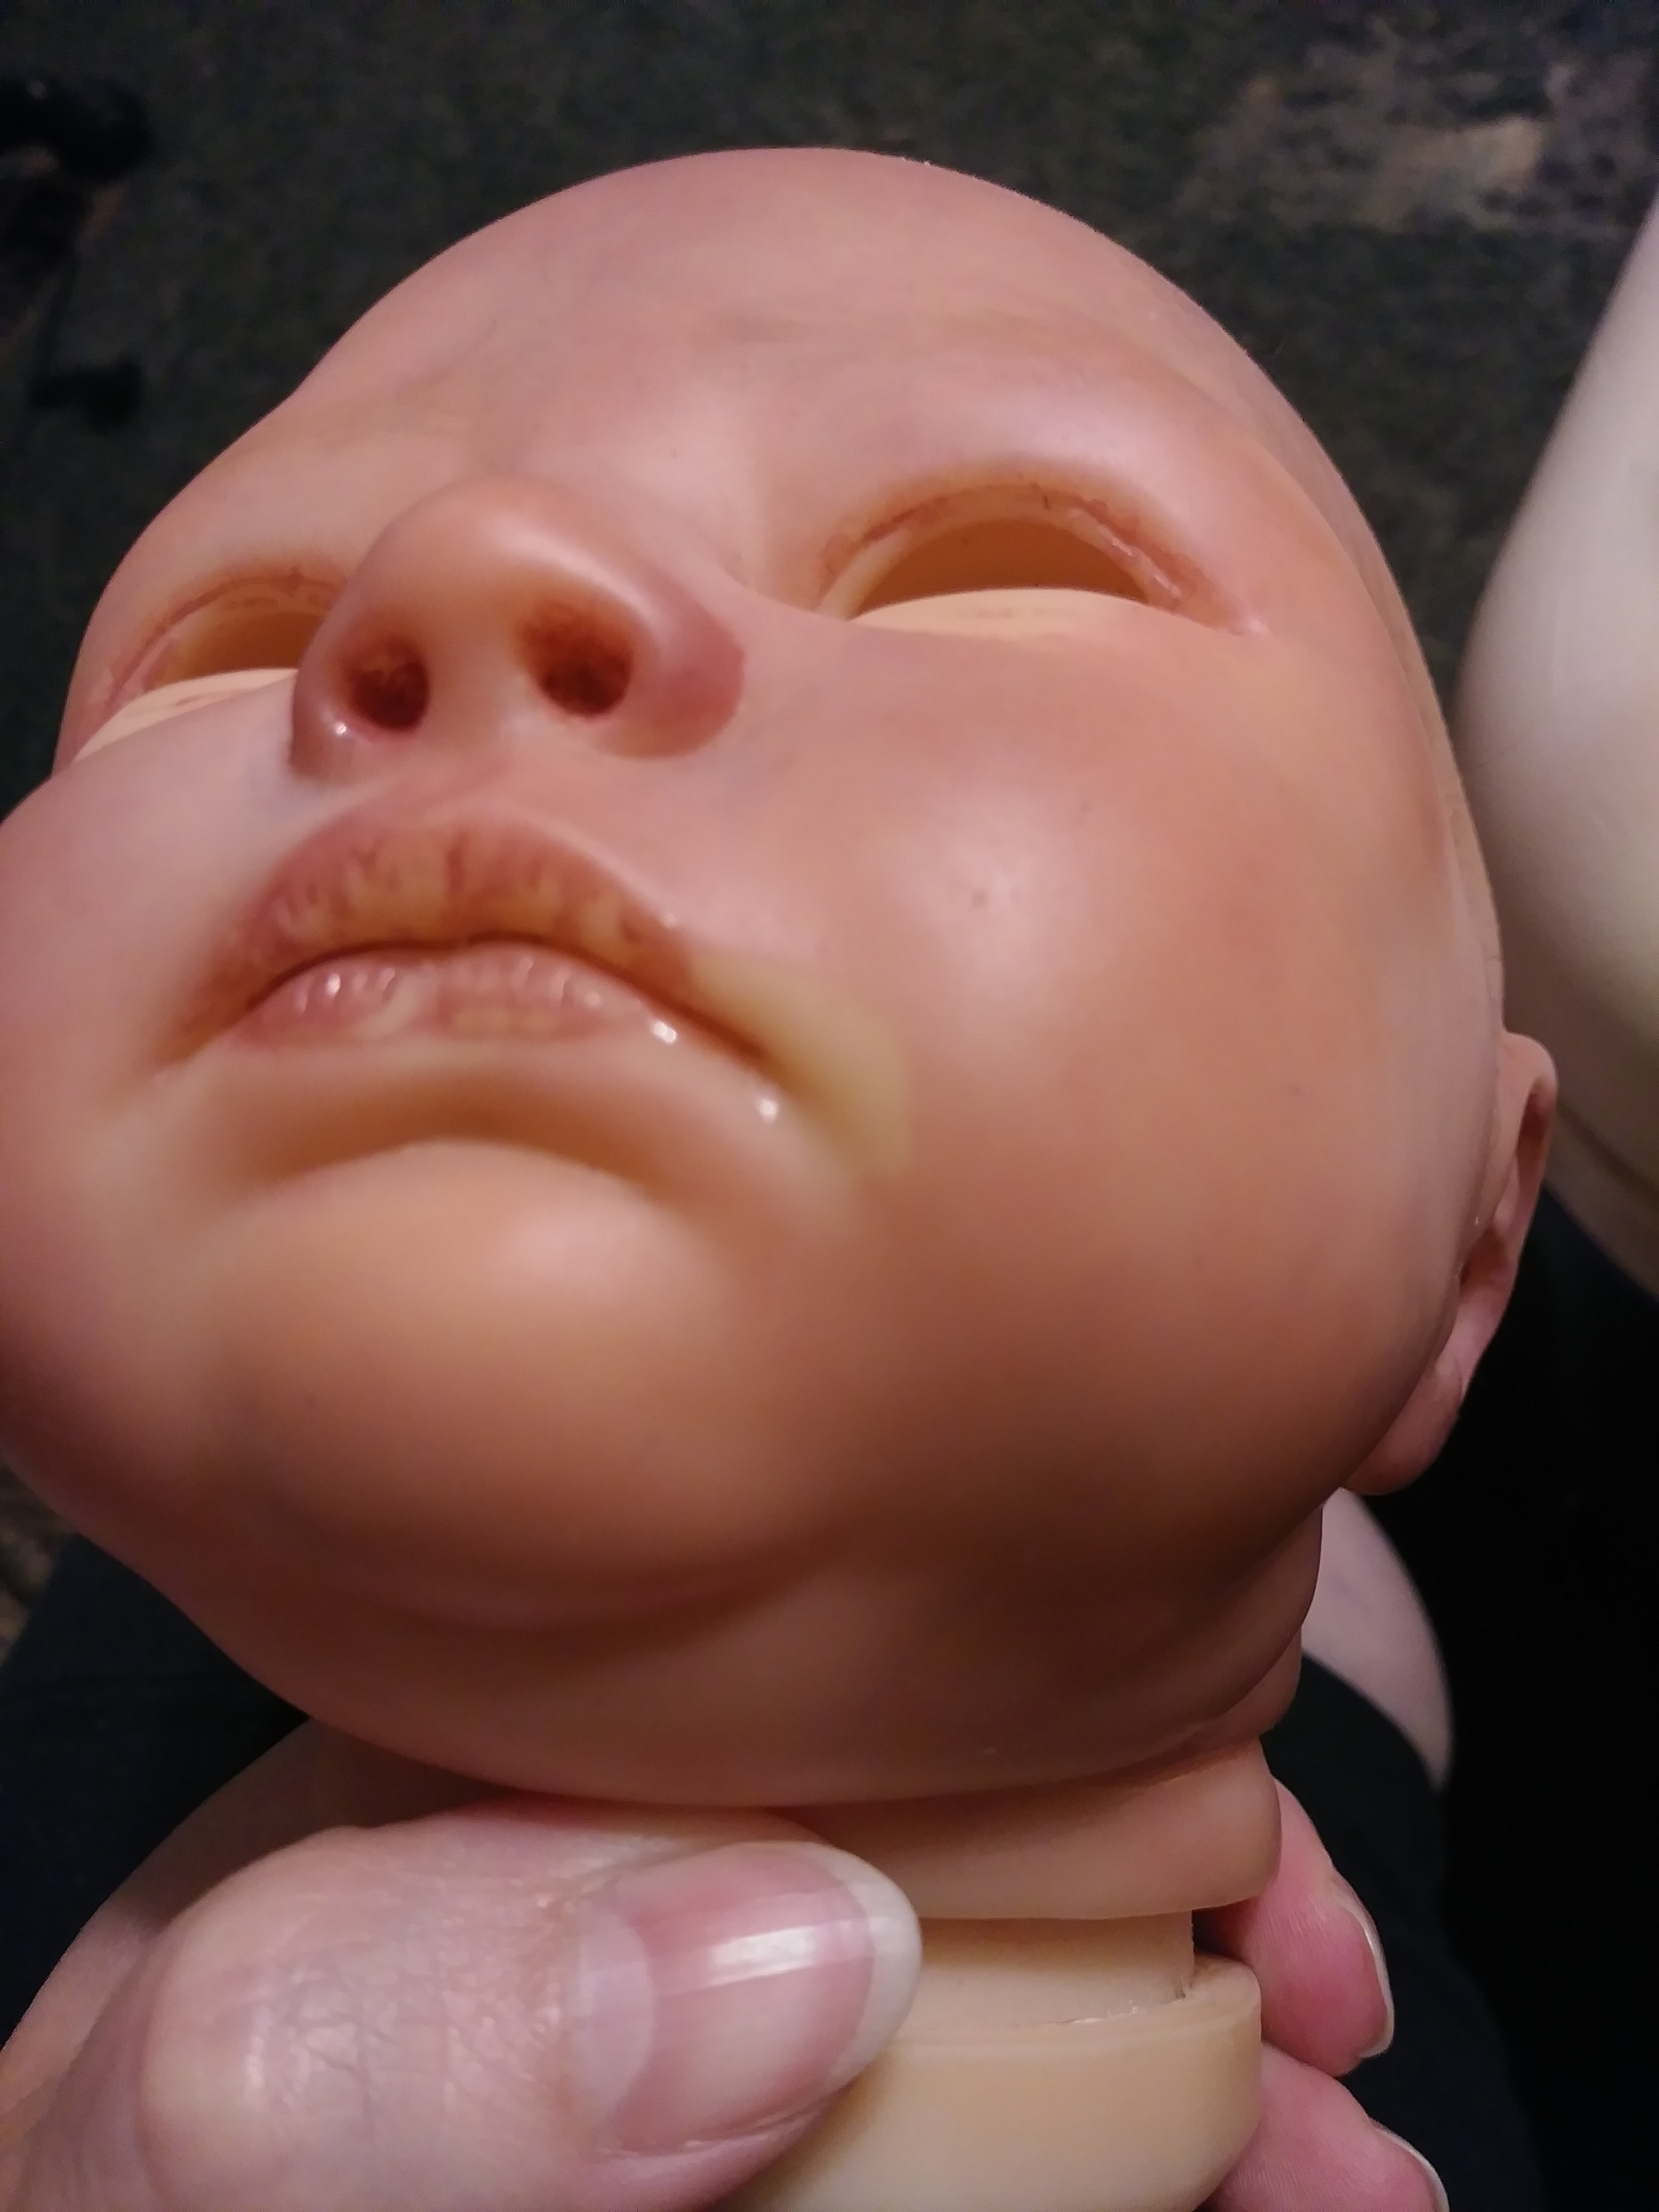
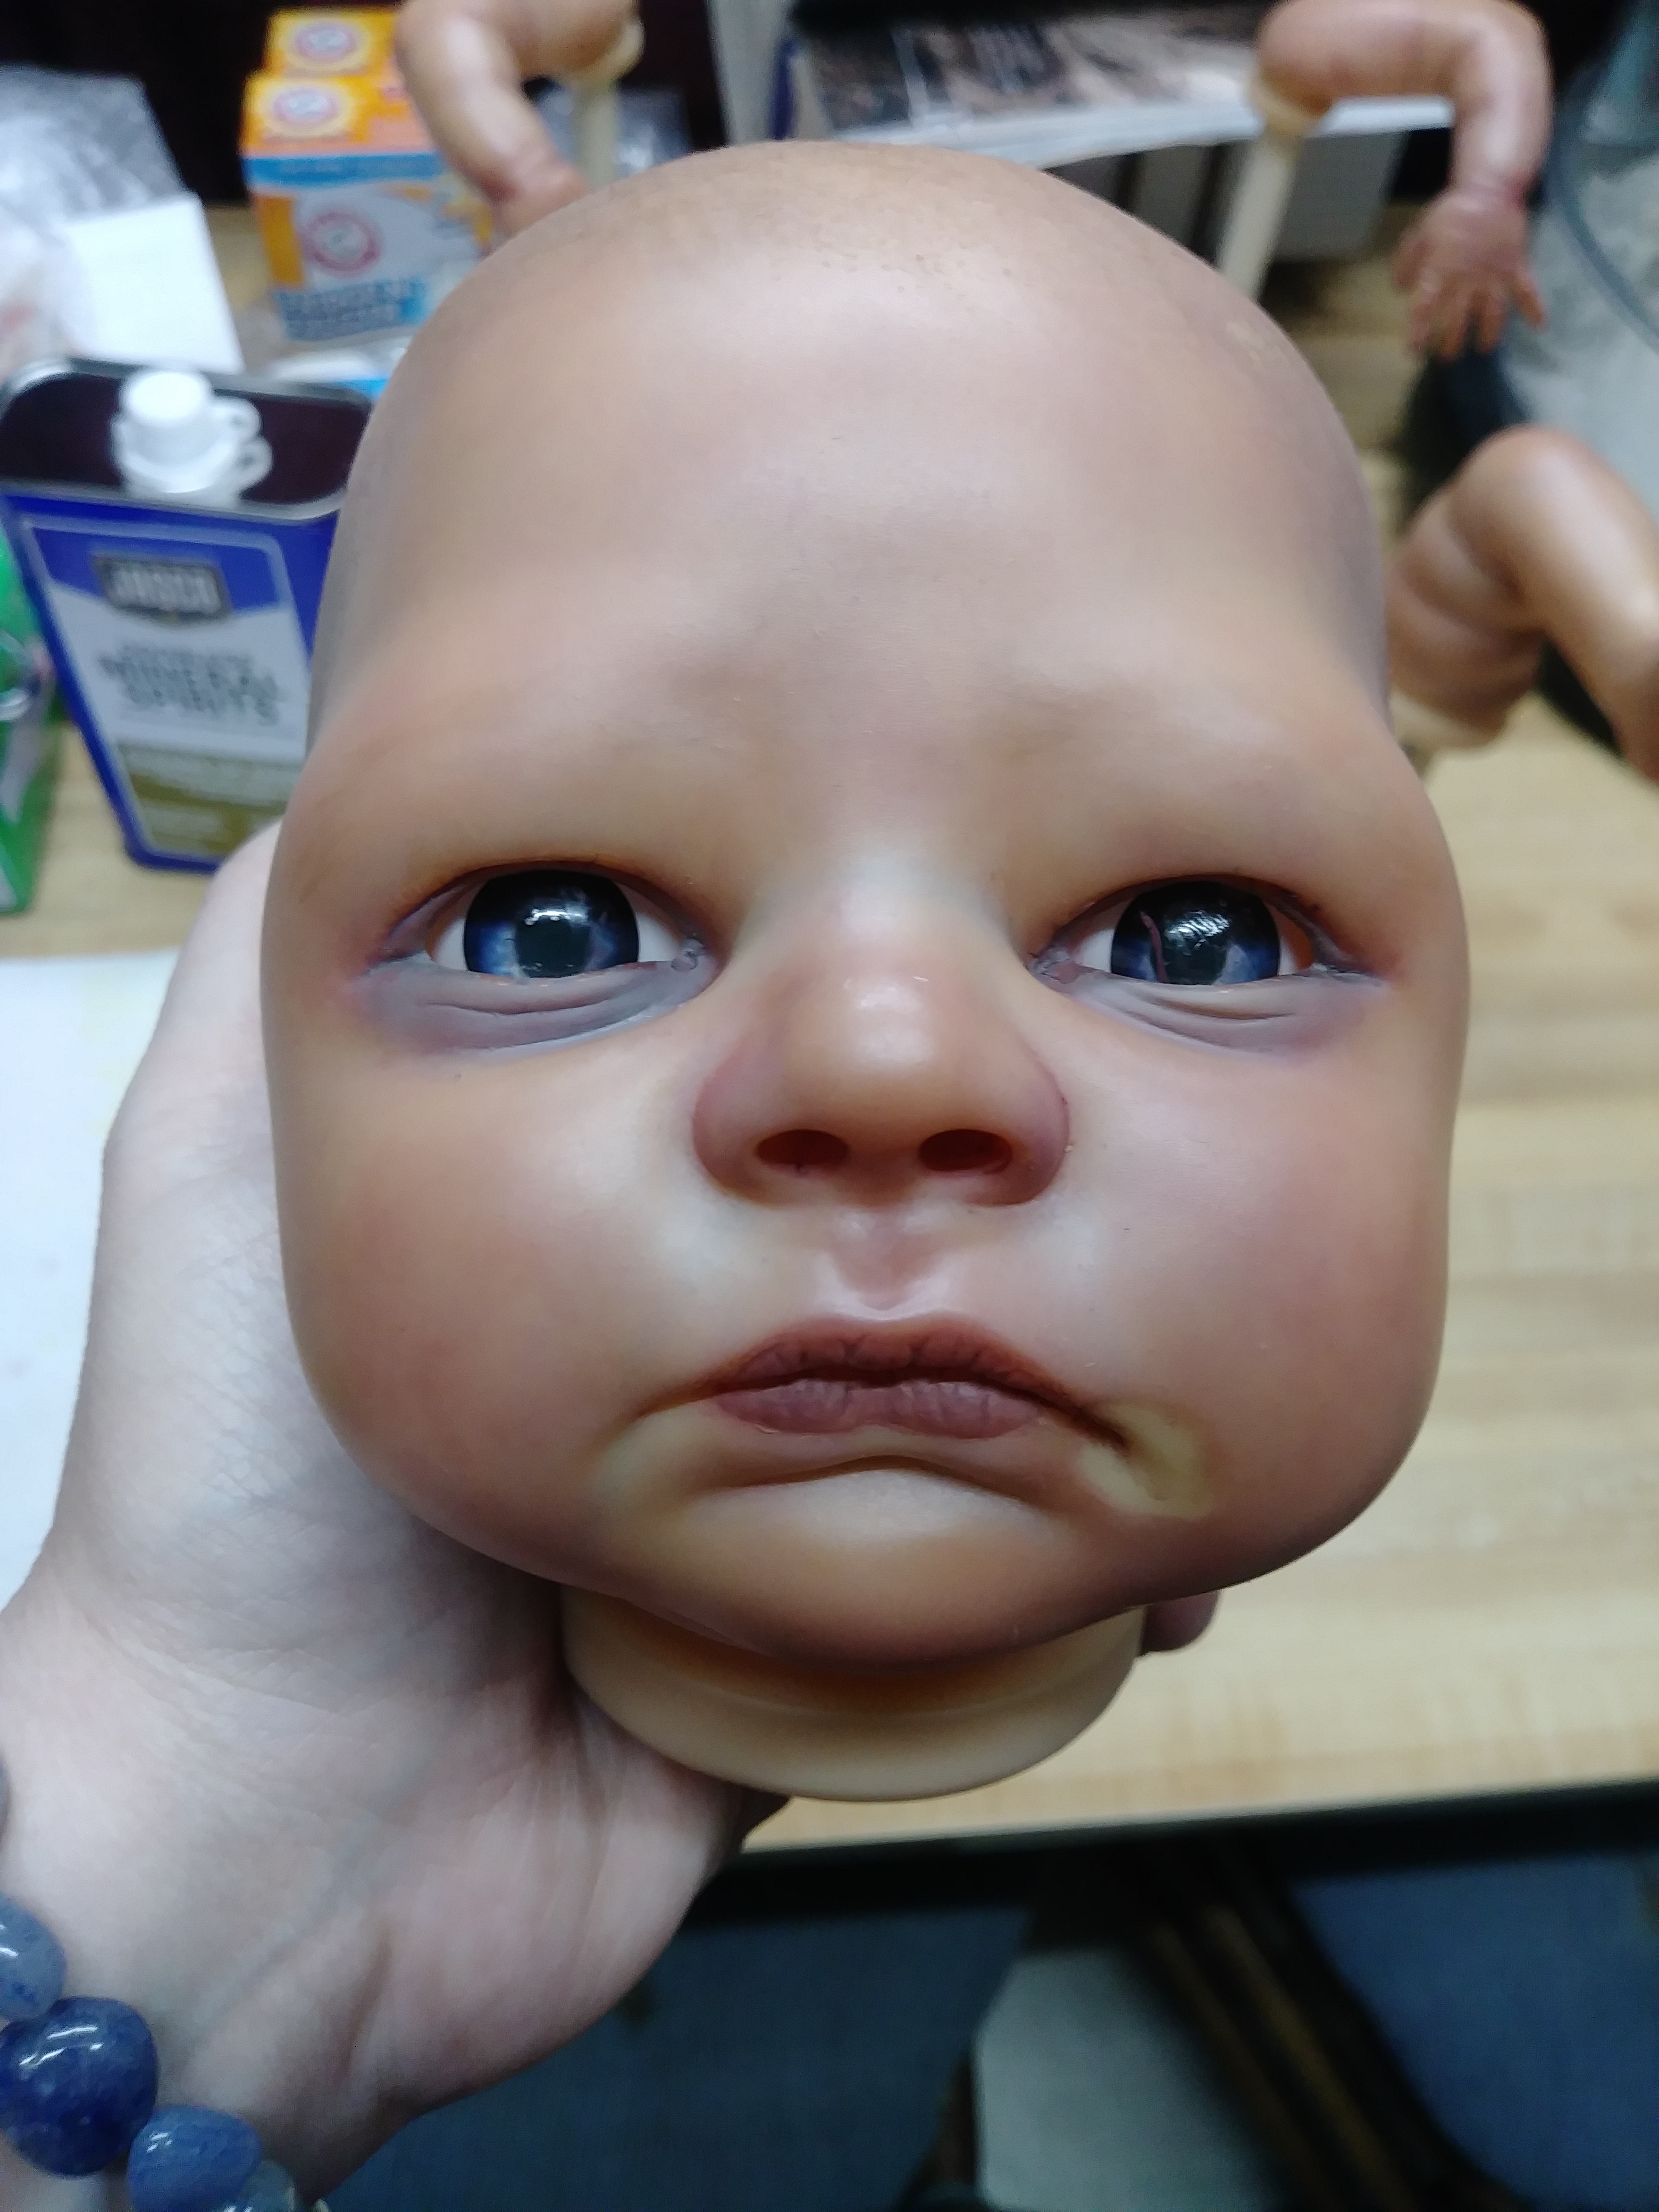
I also just put the old eyes back in to see how it looks and underneath the eyes doesn’t look as dark when the eyes are in. Right now I’m doing a flesh wash under the eyes to see if that will help lighten it up a bit. I might do a light flesh wash on the entire kit and then go back in with a mint green on the super pink parts and a yellowish green under the eyes (it’s more reddish purple there). I’m still open to suggestions if anyone has any.
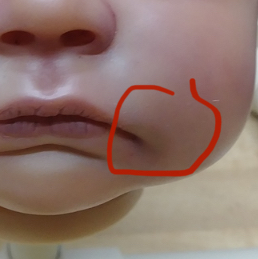
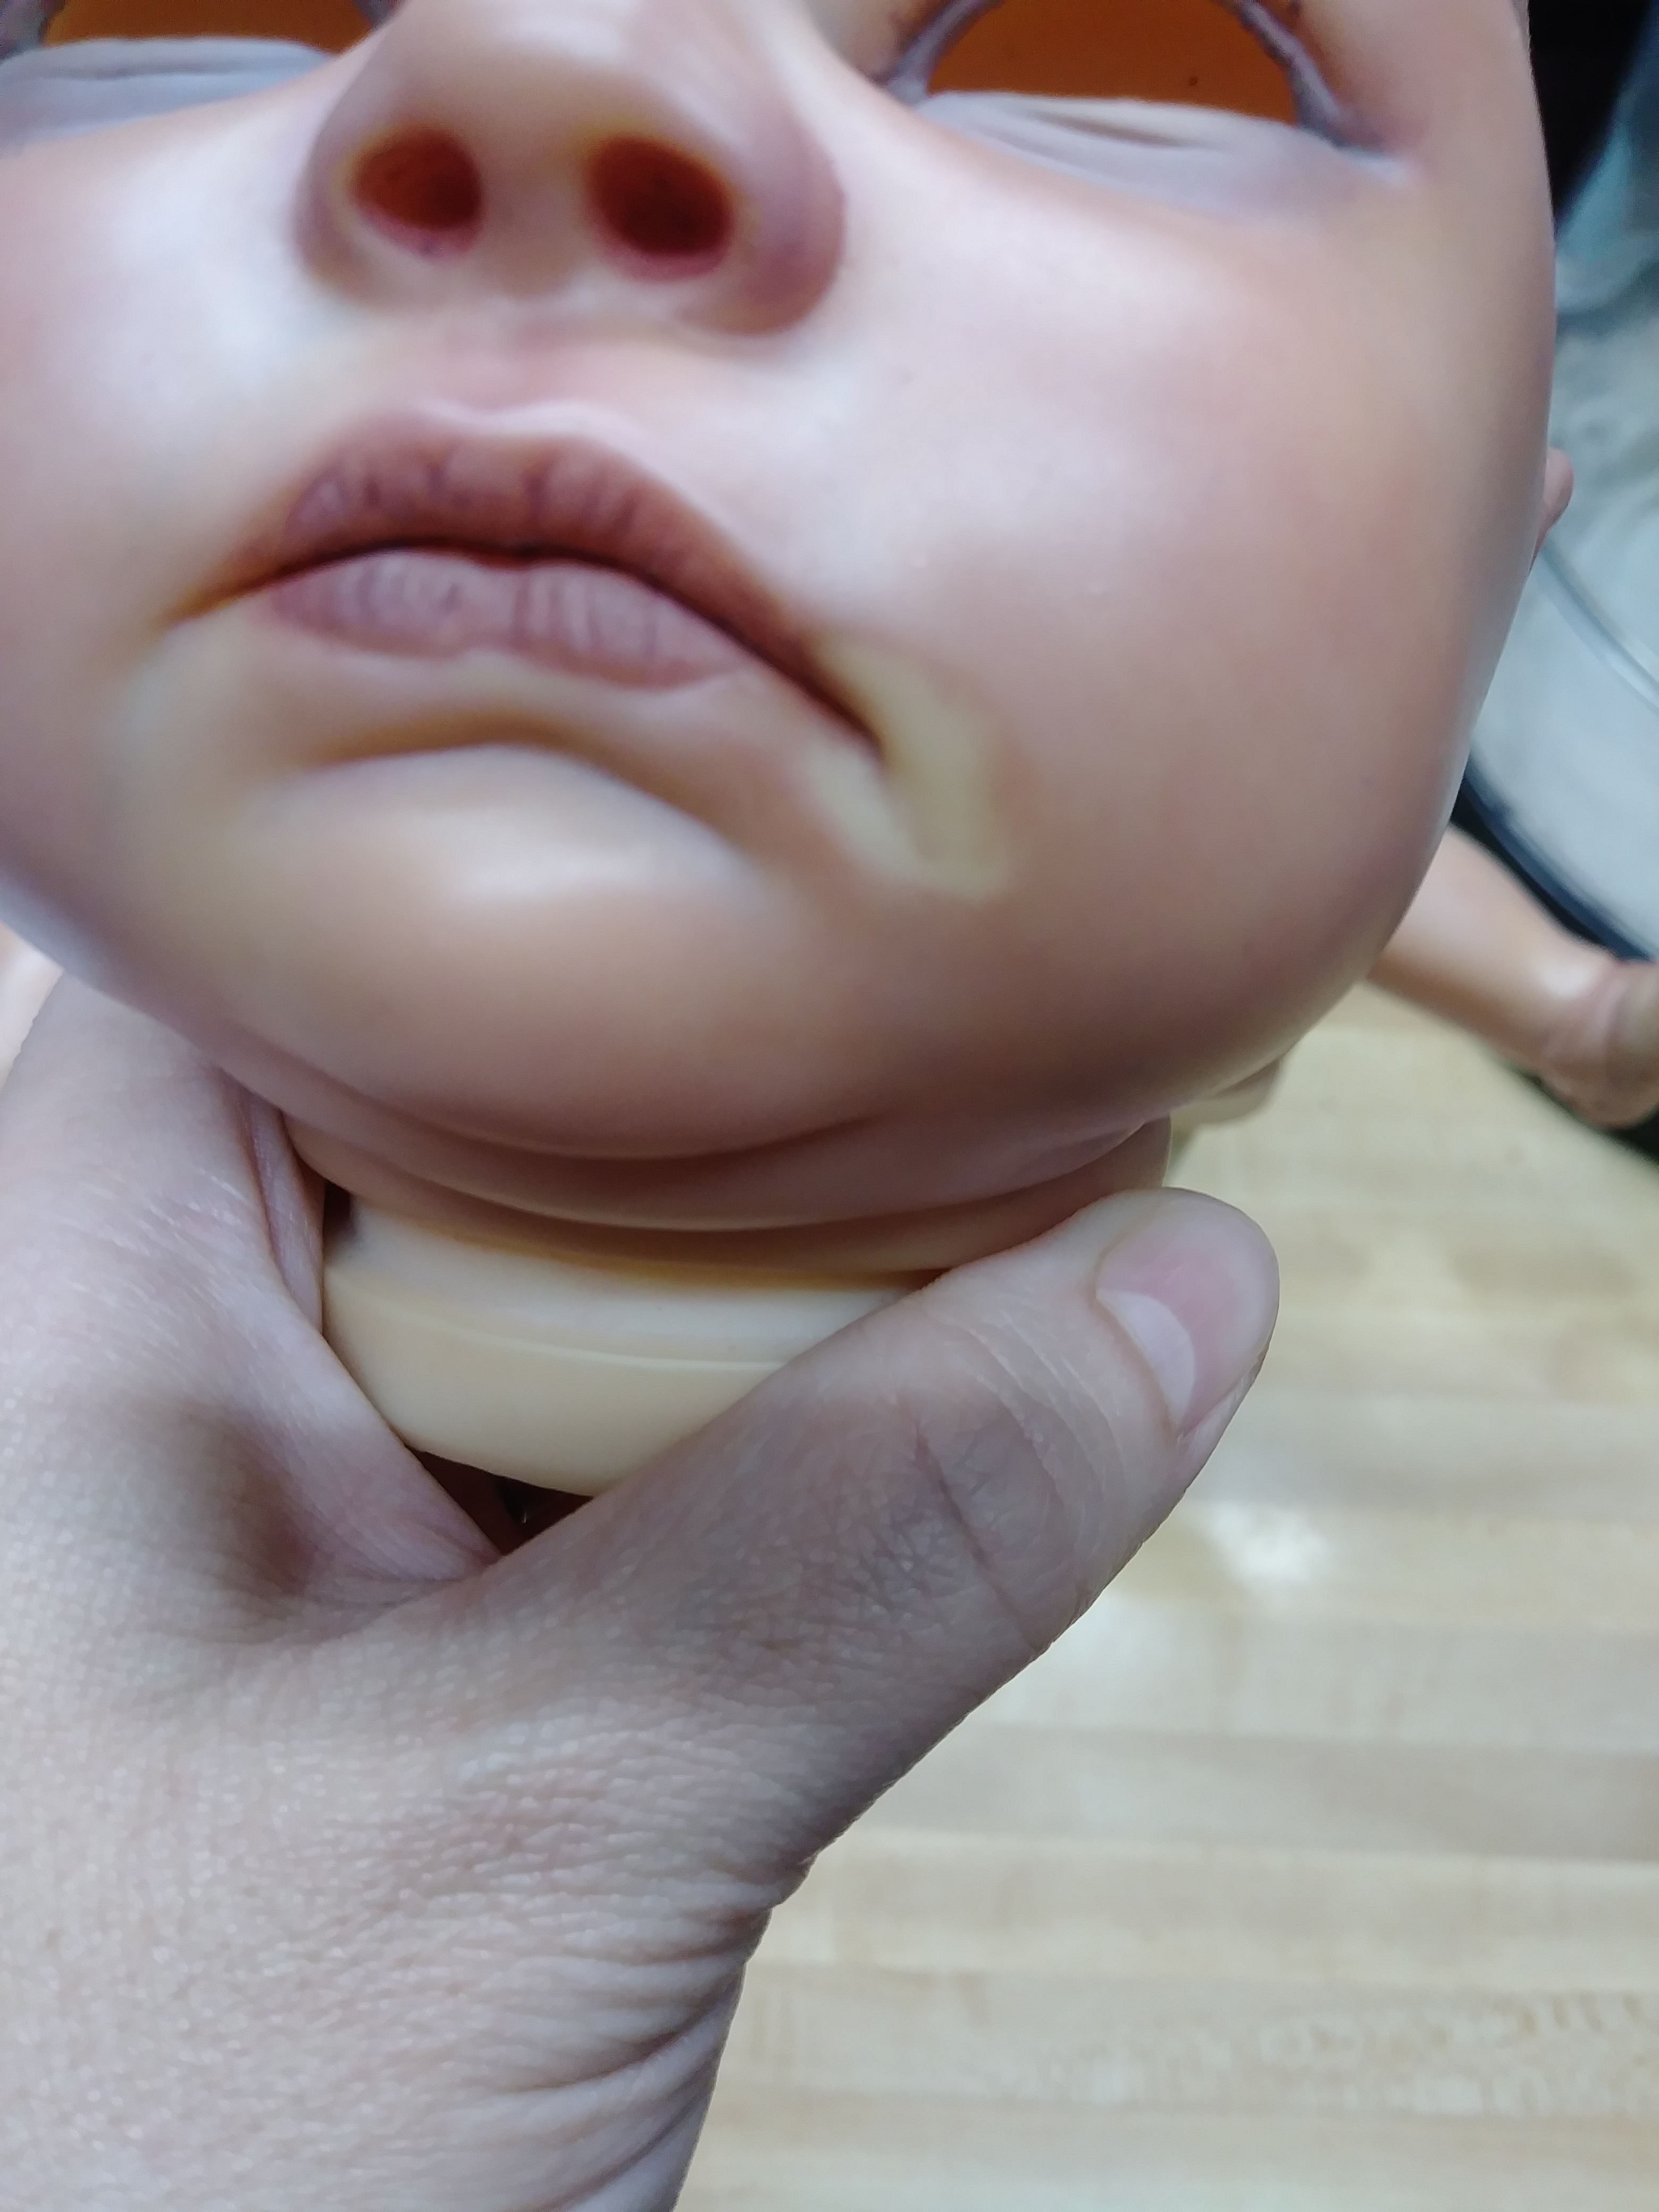
Looks great! You’ve done an amazing job! Maybe you could do milk bubbles or something to distract from the corner of the mouth? That part looks a little tan/greenish. Hard to say.
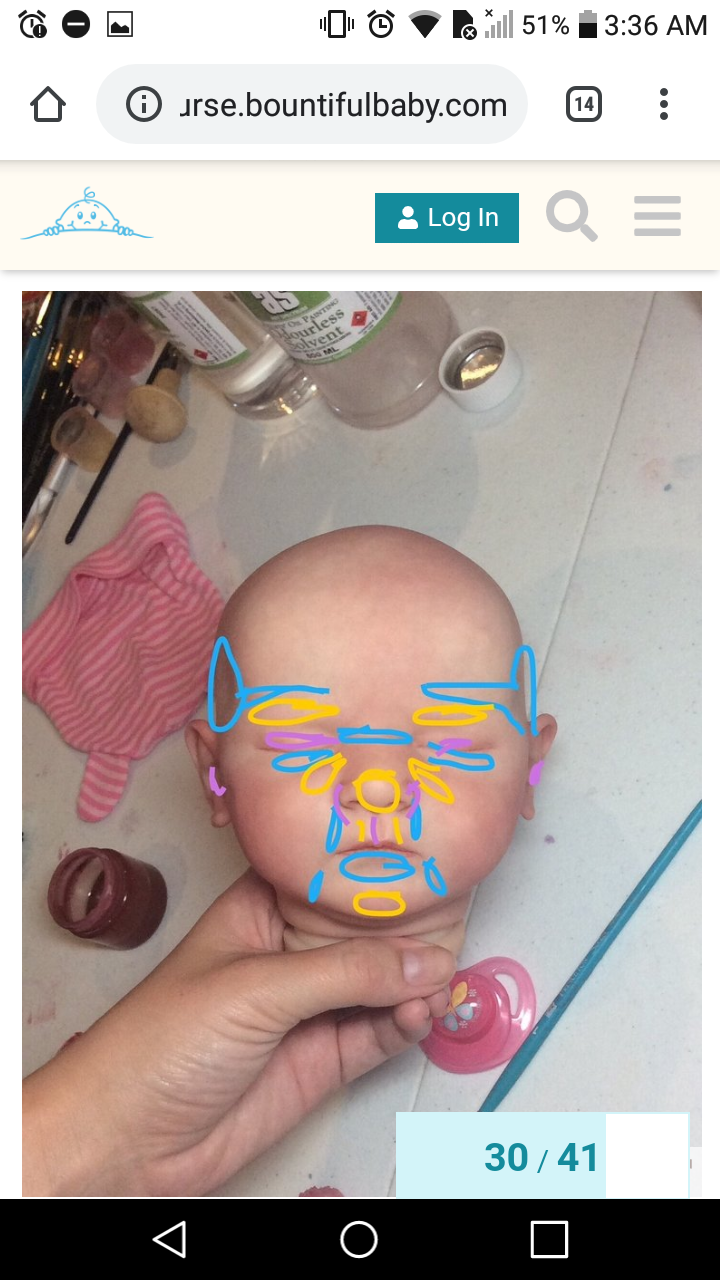
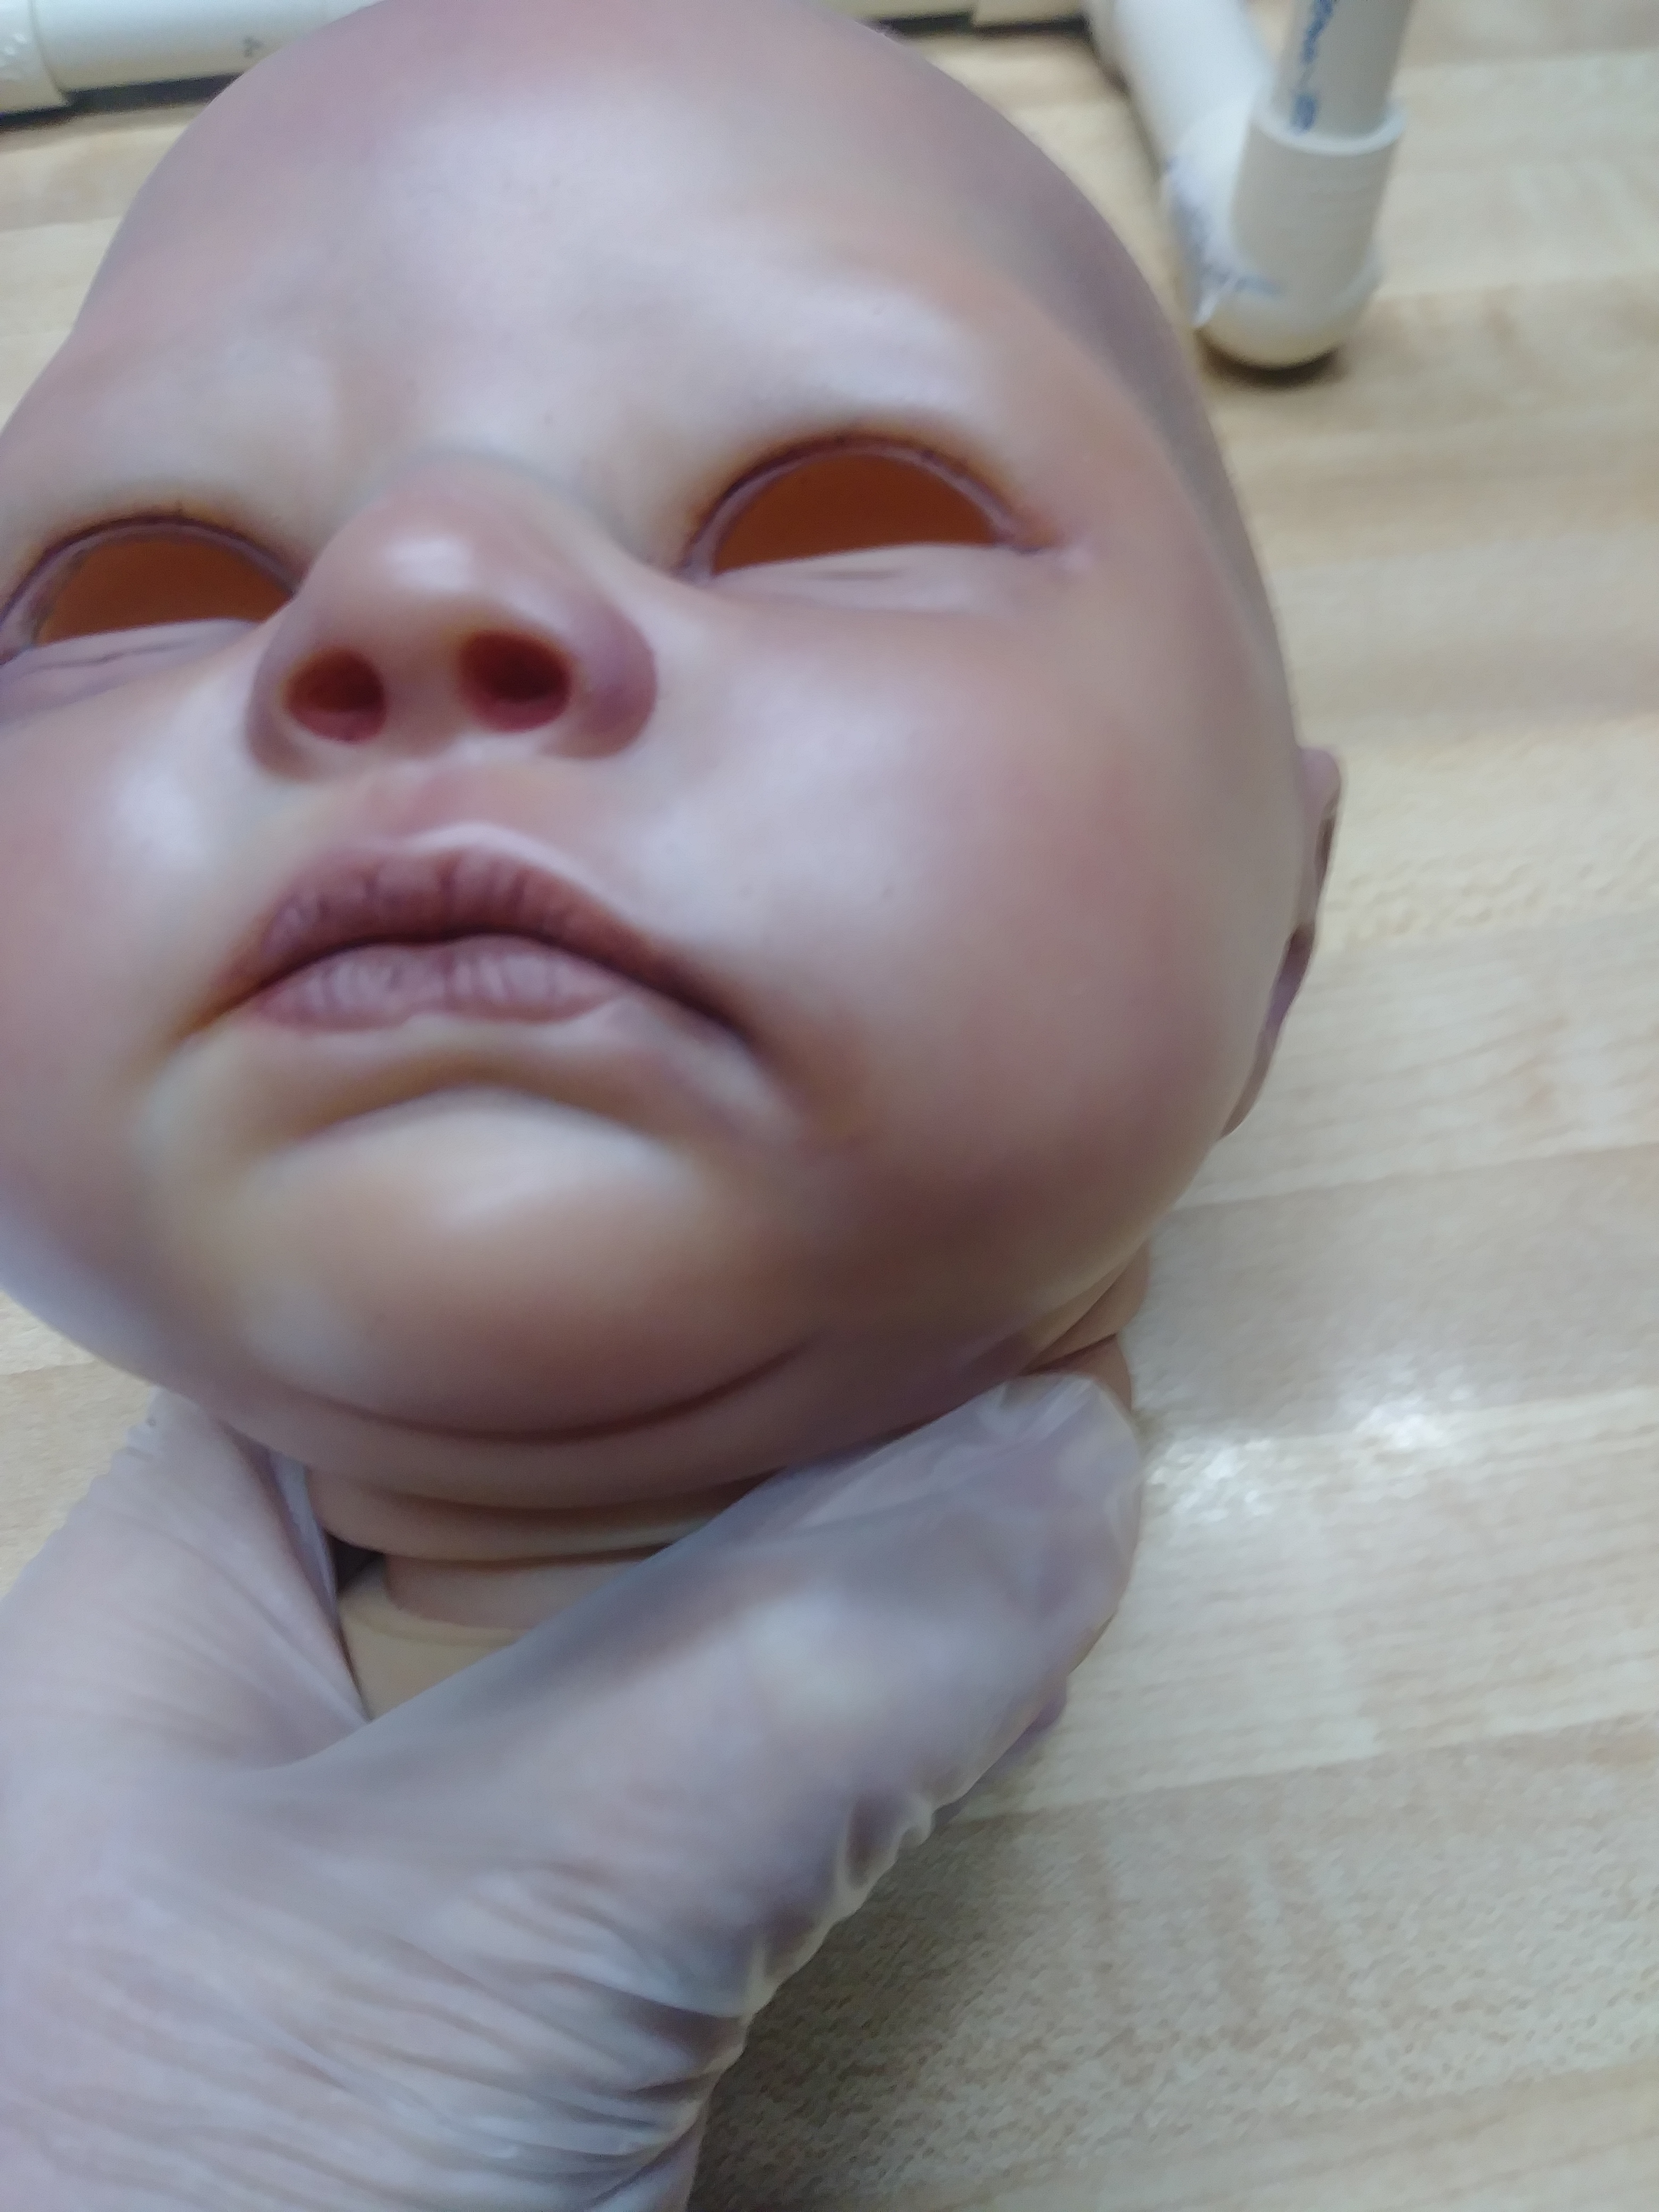
@PhotographyForLife Is it both sides of the mouth or just one side? It does look more yellow toned in that area of the face and then I used blue there following a face guide I found on here in an old post. I’ll show you.
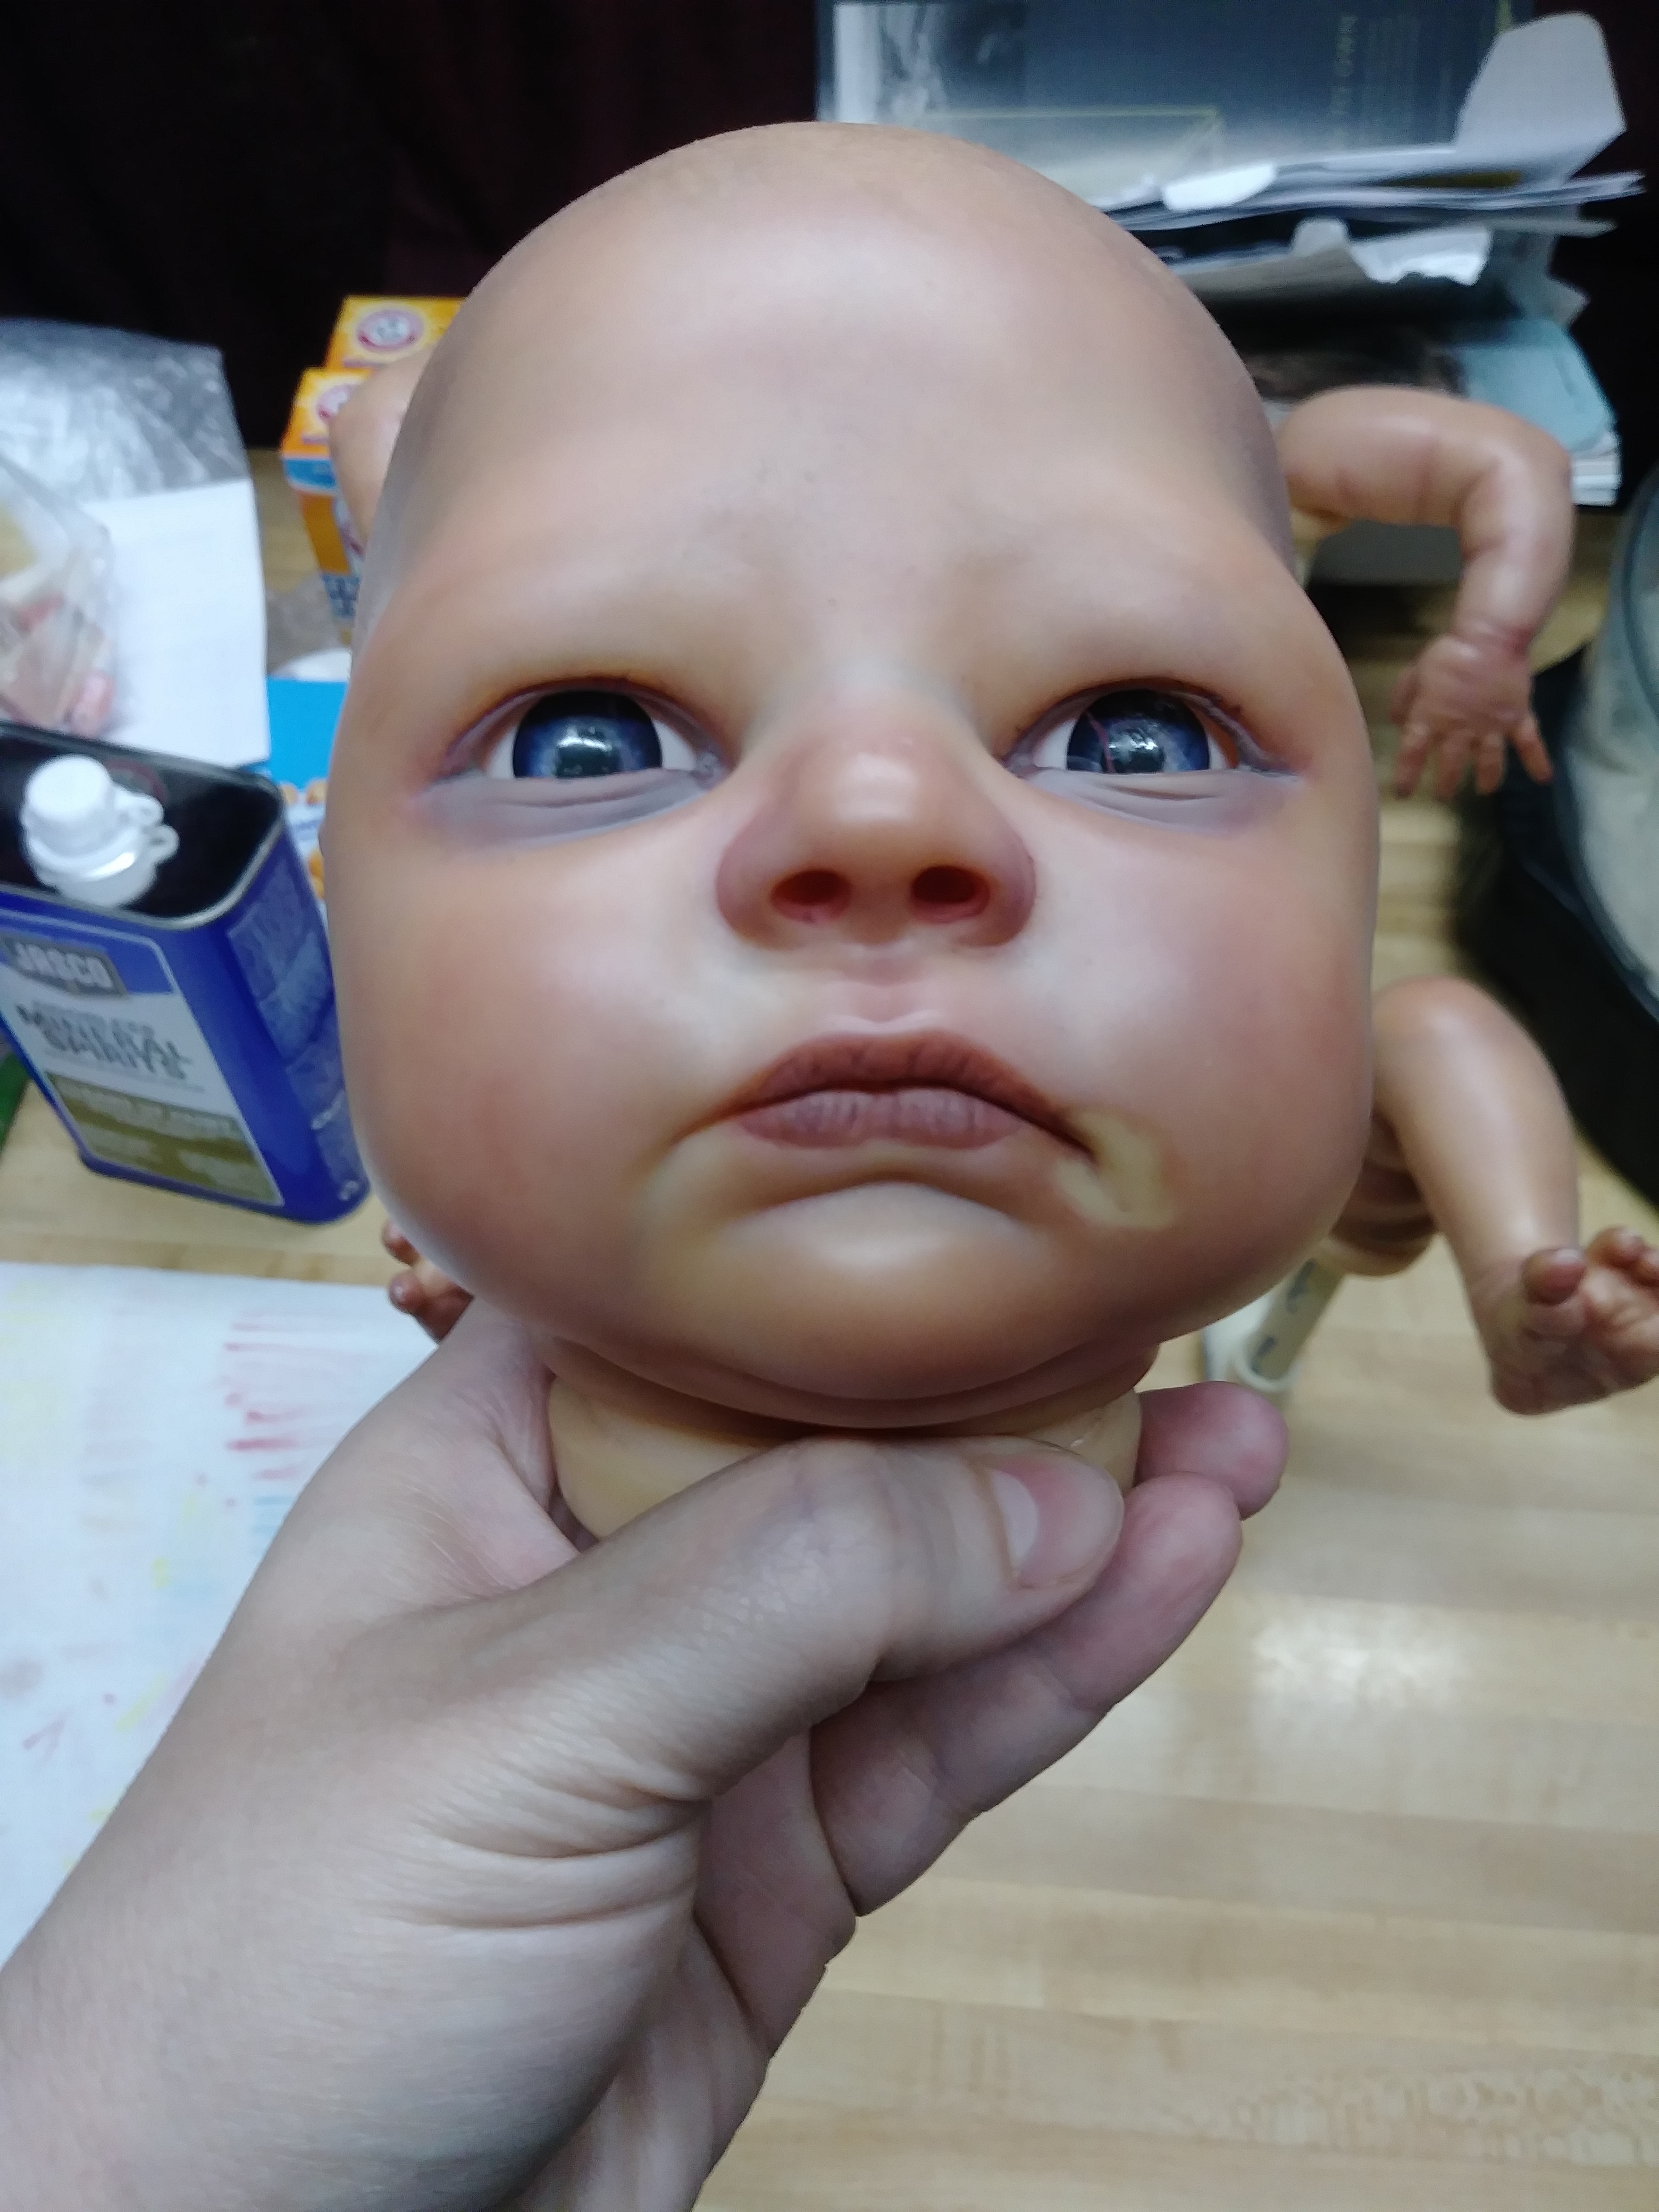
Still looks like the paint is different where it was missing.
There are a few different ways to do it. I would use the magnifying glass to look up milk bubbles or spit bubbles… I can’t remember who did it most recently I’m thinking it involves mixing something and scooping the bubbles out and placing them
@PhotographyForLife Yeah…I’m still working on fixing that spot. Slowly layering it up. If I can’t get it to match…I might do a birthmark. I’m not too worried about it since it’s a baby for myself…I can always just leave it as is and come back to it in the future when my skills have improved. Thank you for your help and I’ll keep posting the updates.
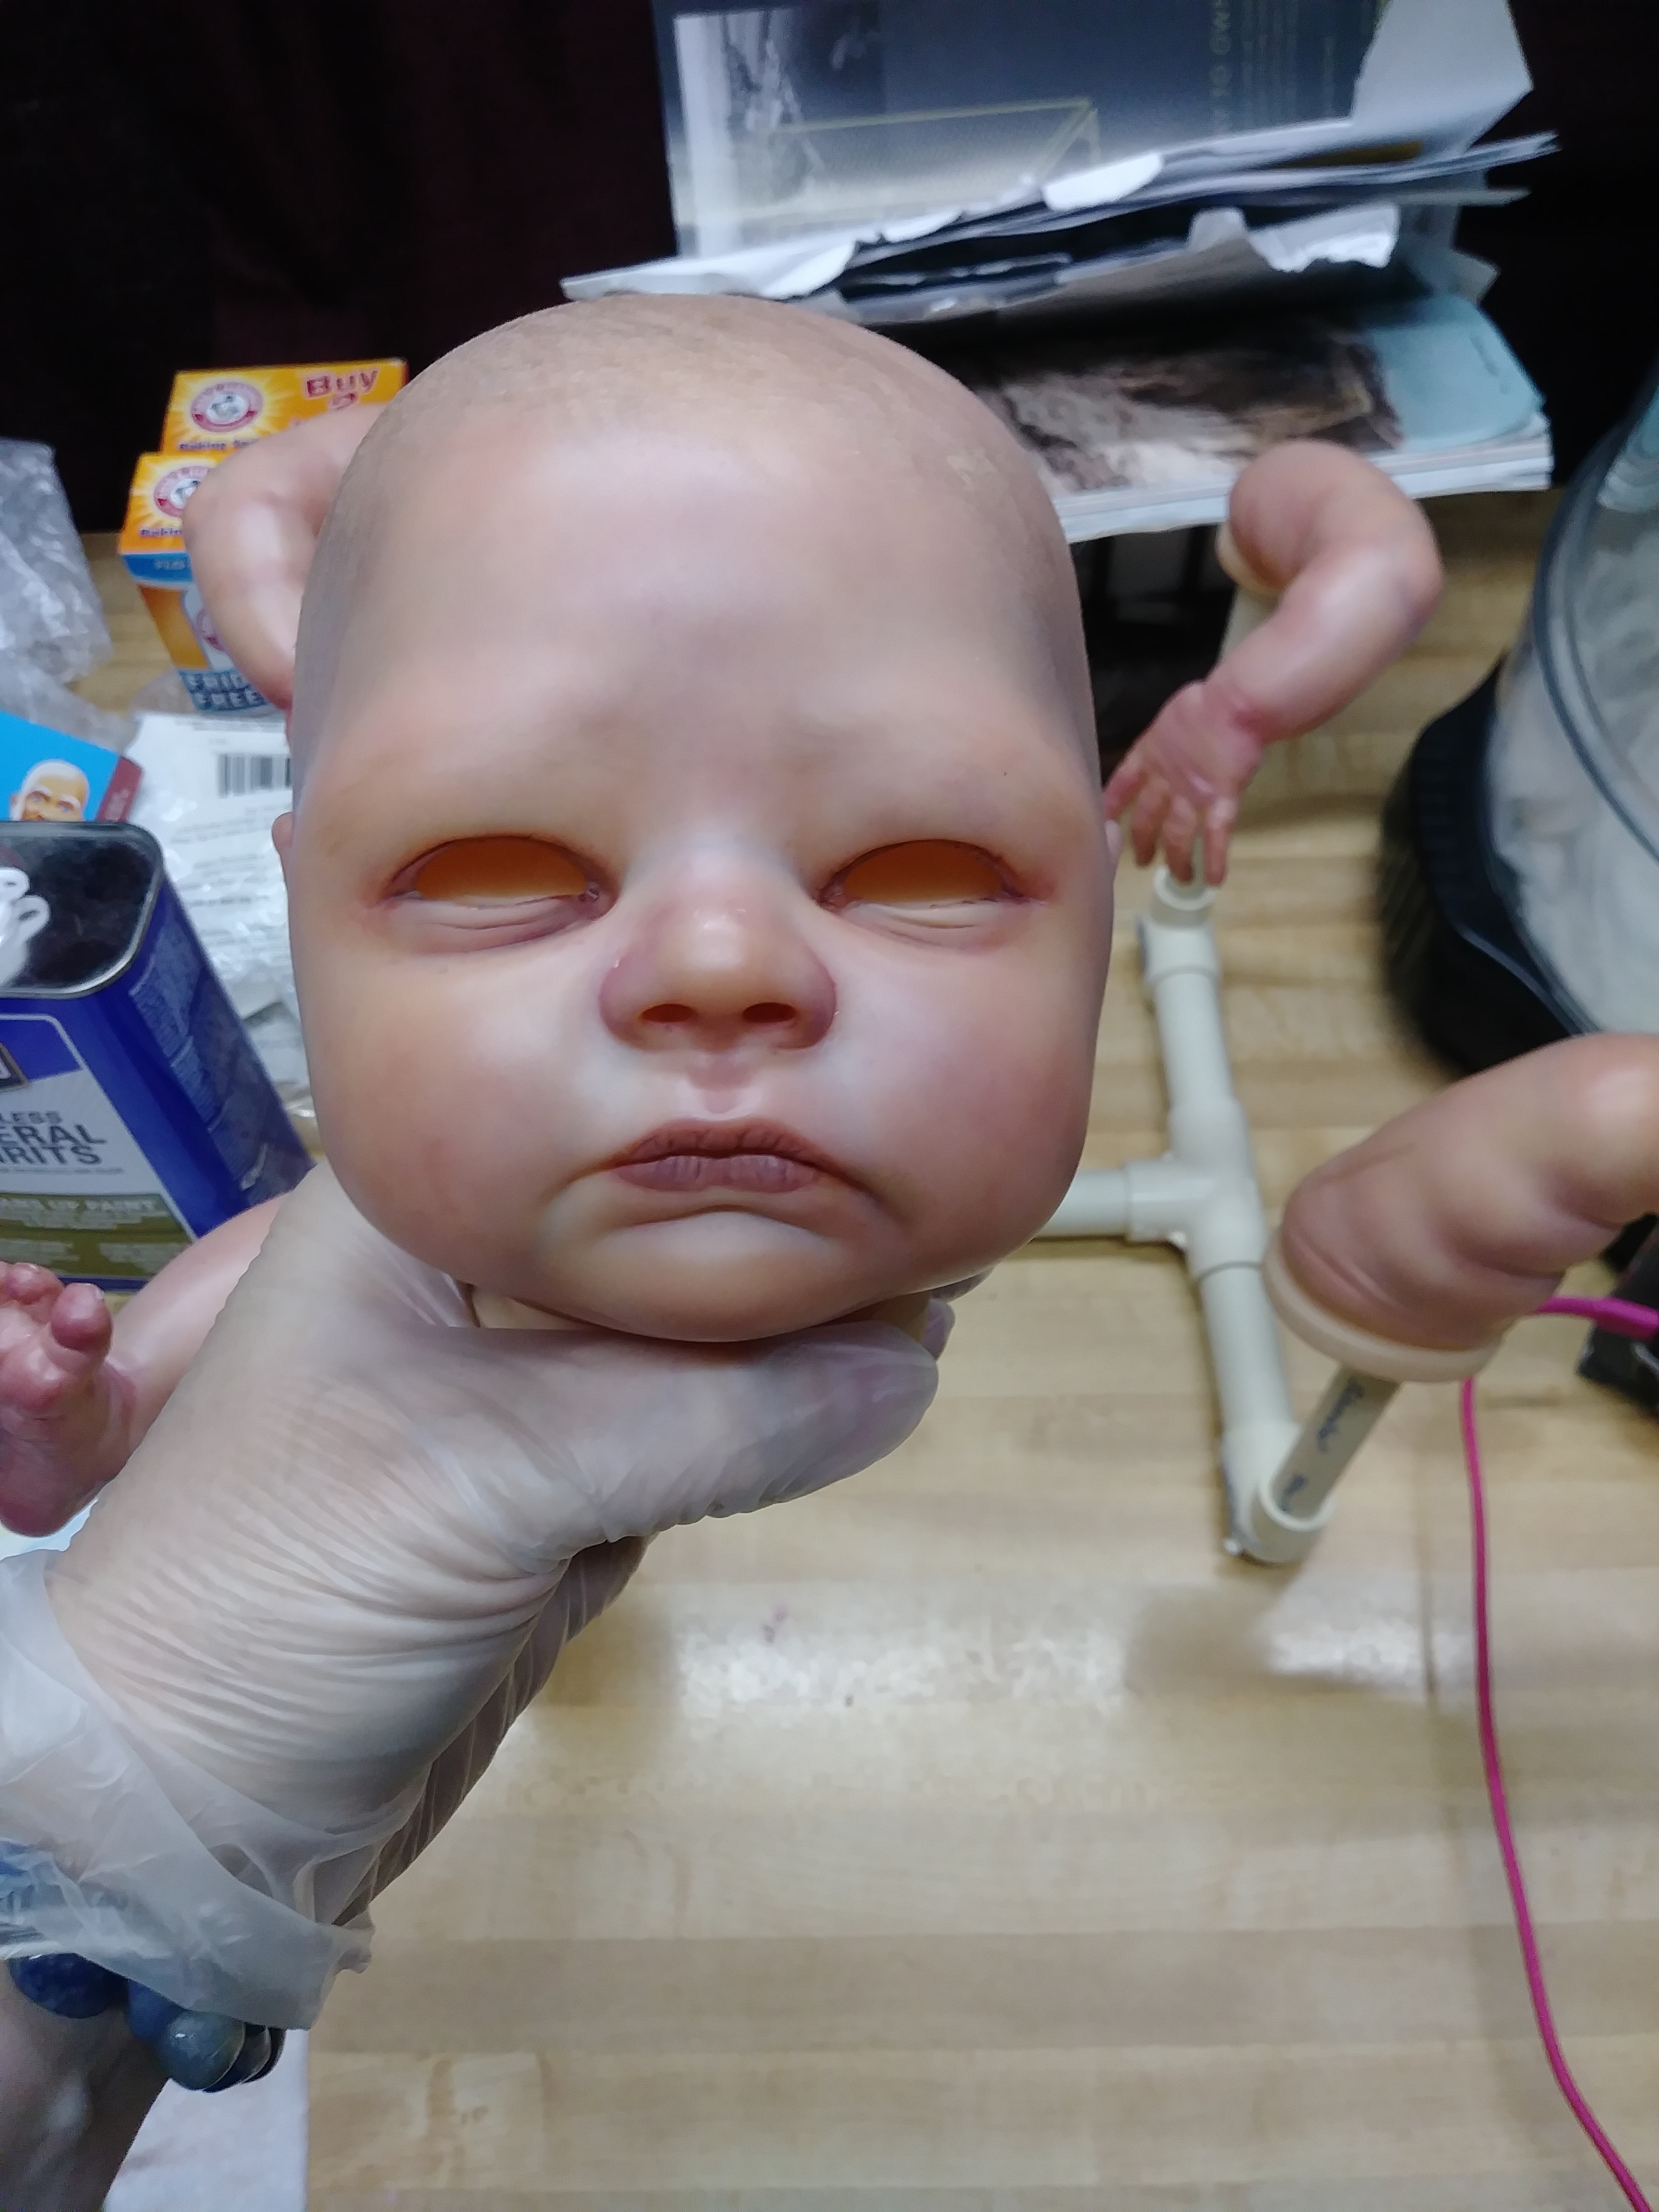
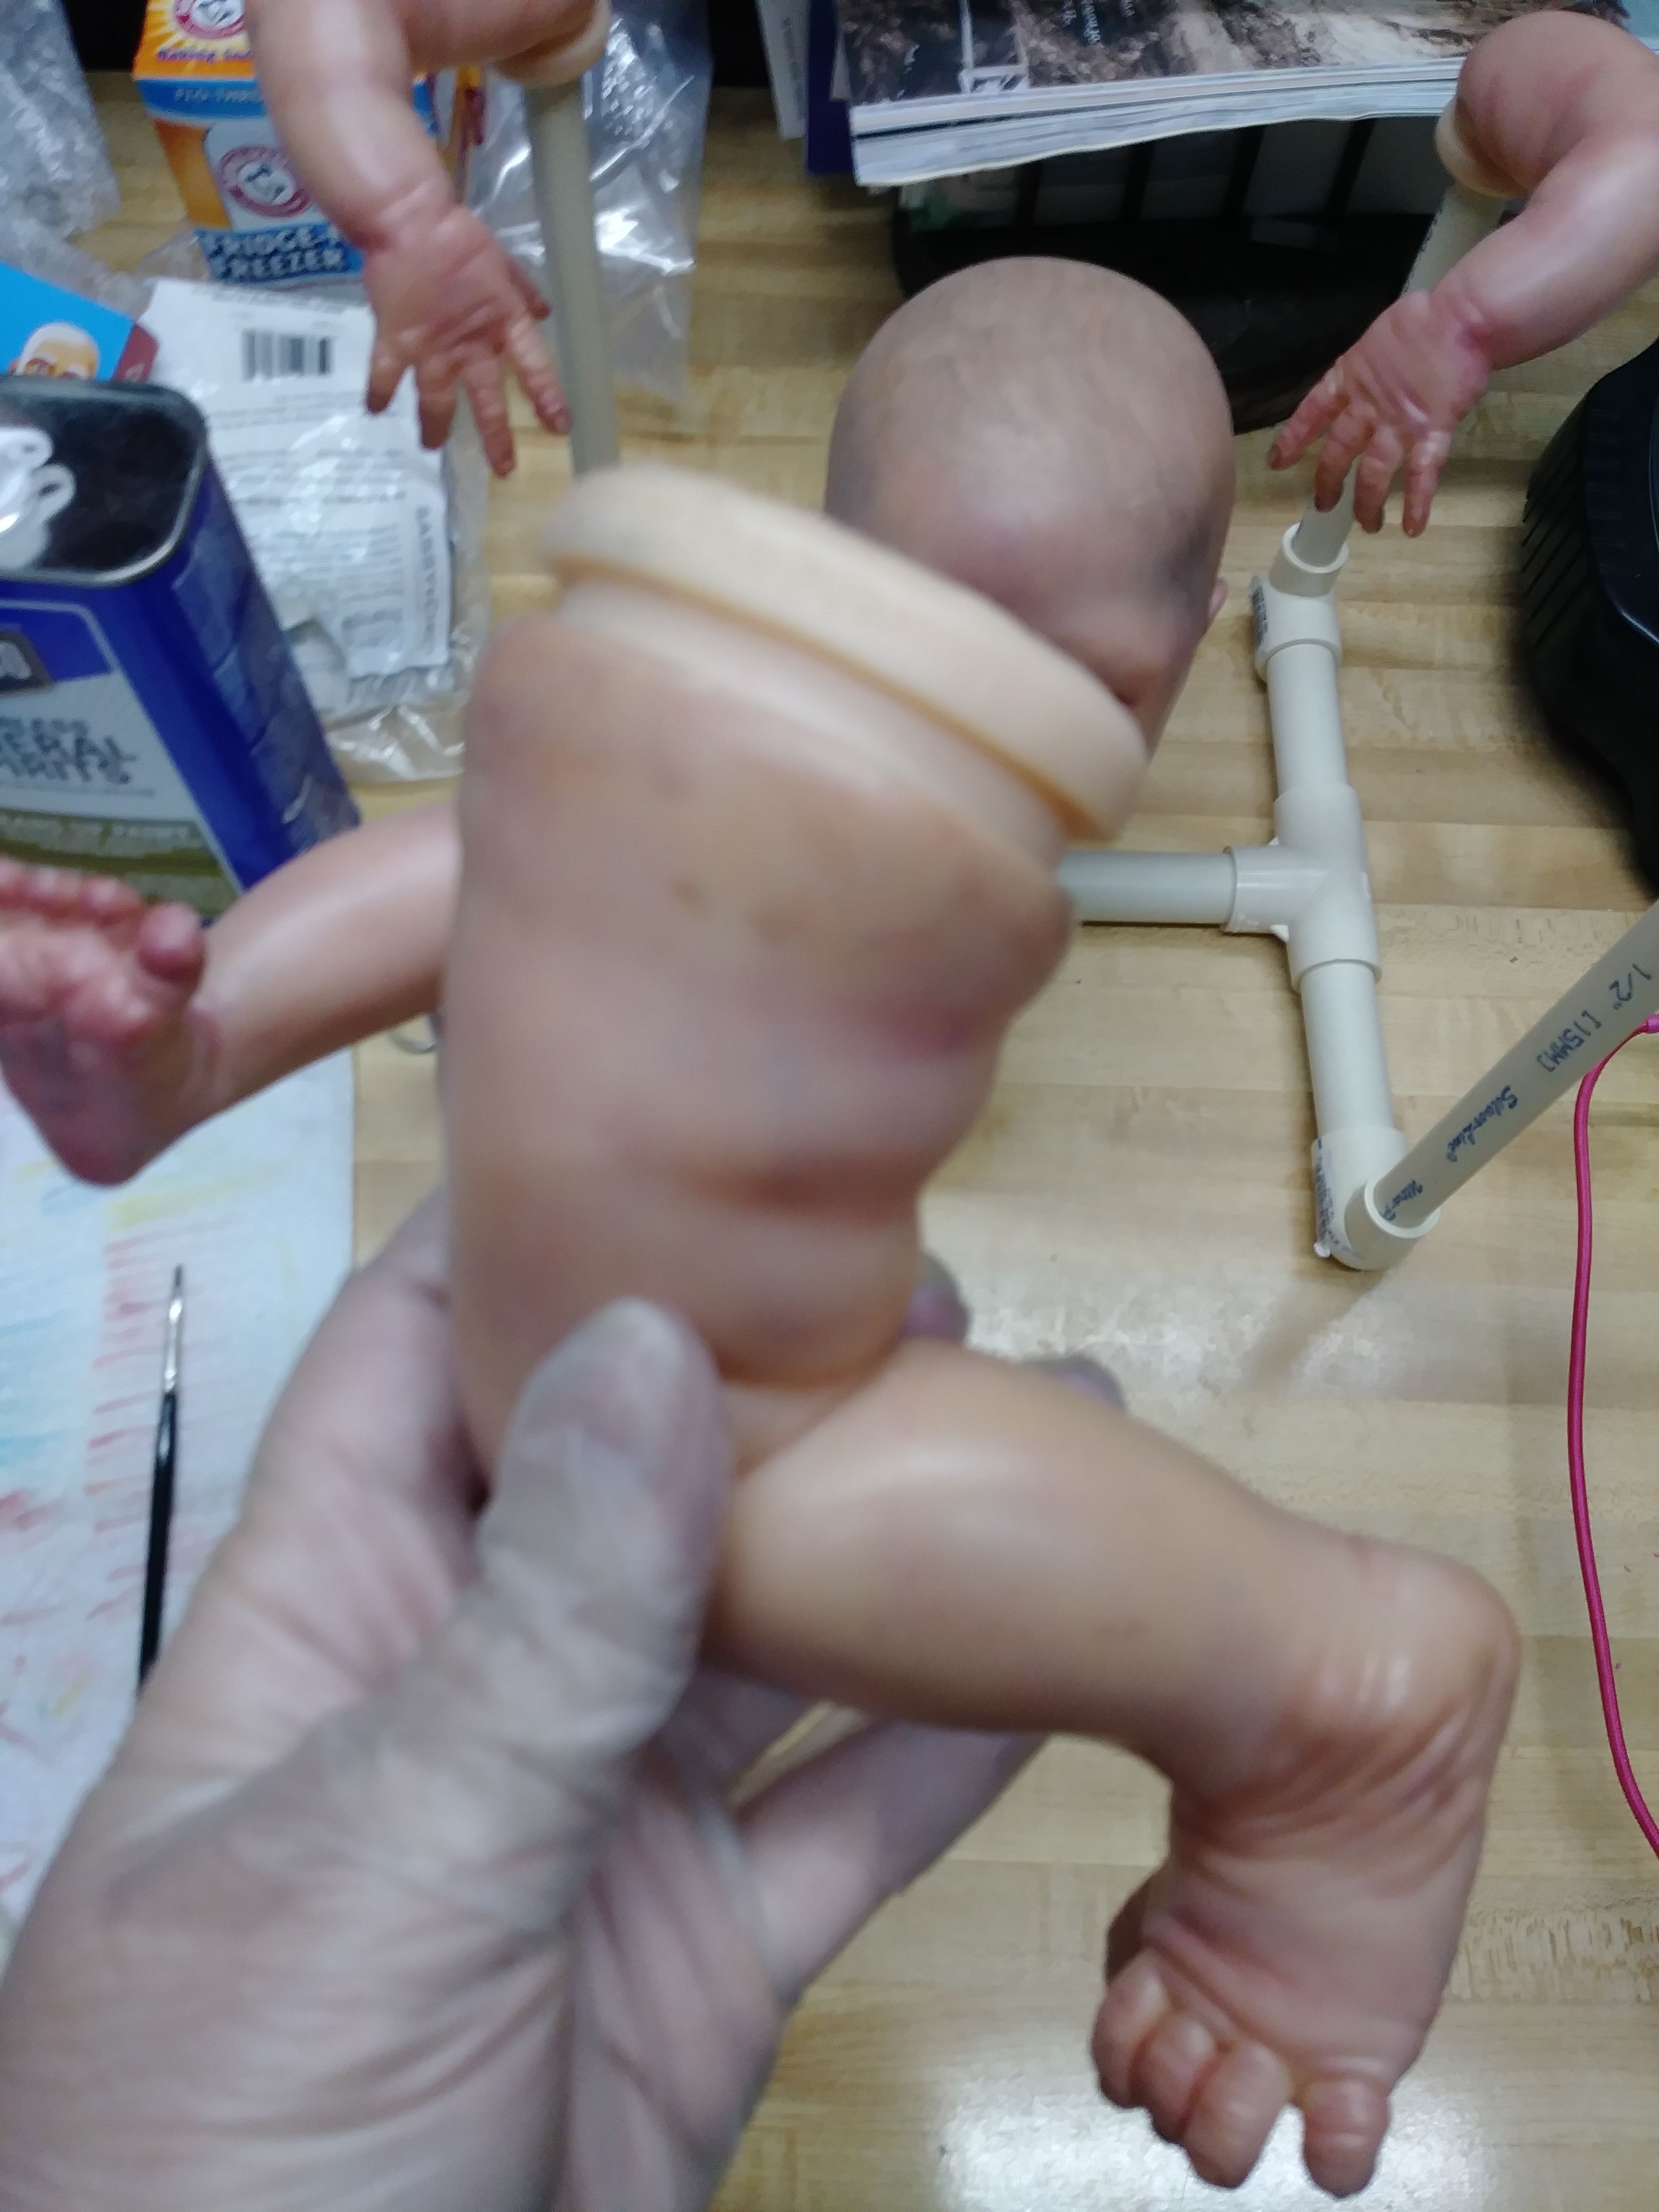
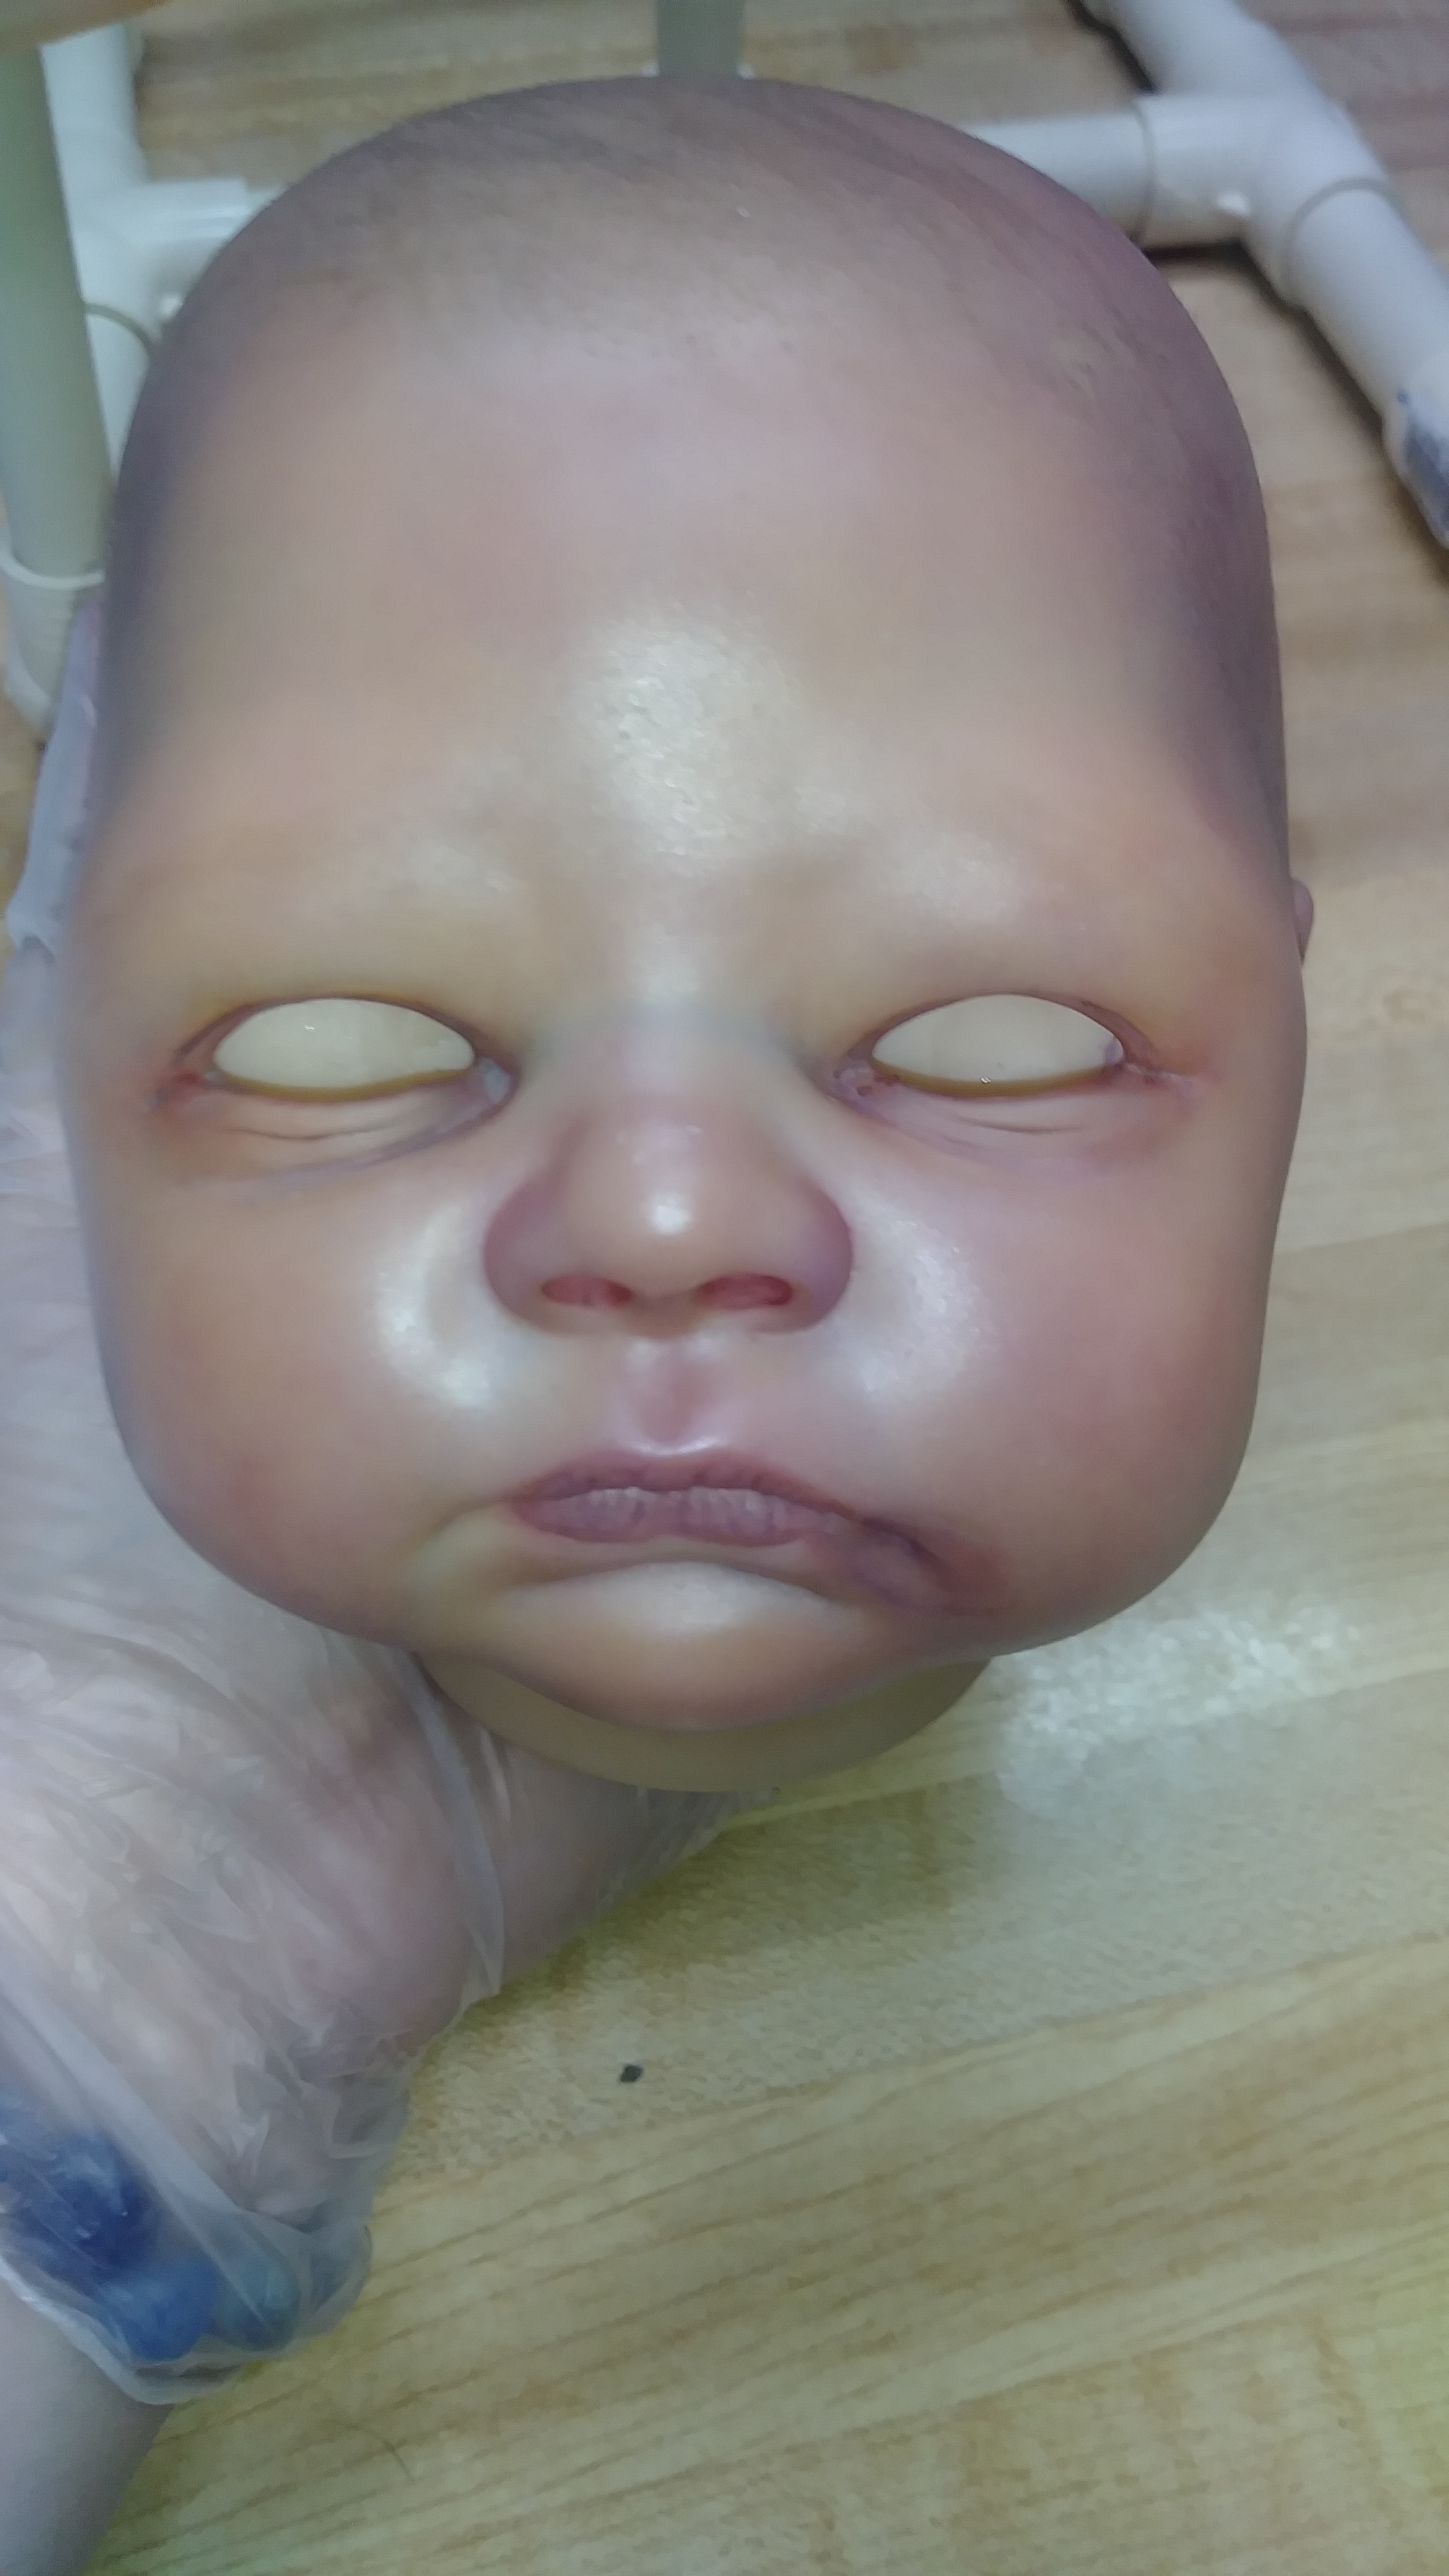
After taking a break and working on both my kits nails…I went back to working on Loki. The corner of his mouth was not taking the color correctly, so I completely started over with the corner. Removed the paint, cleaned the spot with alcohol, and put on a very thin layer of varnish and baked twice…now maybe the paint will layer up rather than just soaking in all the color and making it muddy looking. Under the eyes are very purple now, but a very light purple (was trying to get it as even as I could because it was dark and splotchy in places and the color correcting wasn’t working because there were multiple purple tones)…now I can continue color correcting and slowly sinking that purple in and then I’ll be able to detail and be done with the eyes. Keeping my fingers crossed that I’m back on the right track. I have learned a lot trying to do this…I’ve learned that at this time, that I prefer painting dolls from scratch, than fixing them. lol I will say that I am at least extremely happy with how the limbs and nails turned out and that the cigarette smell is finally gone! Yay!
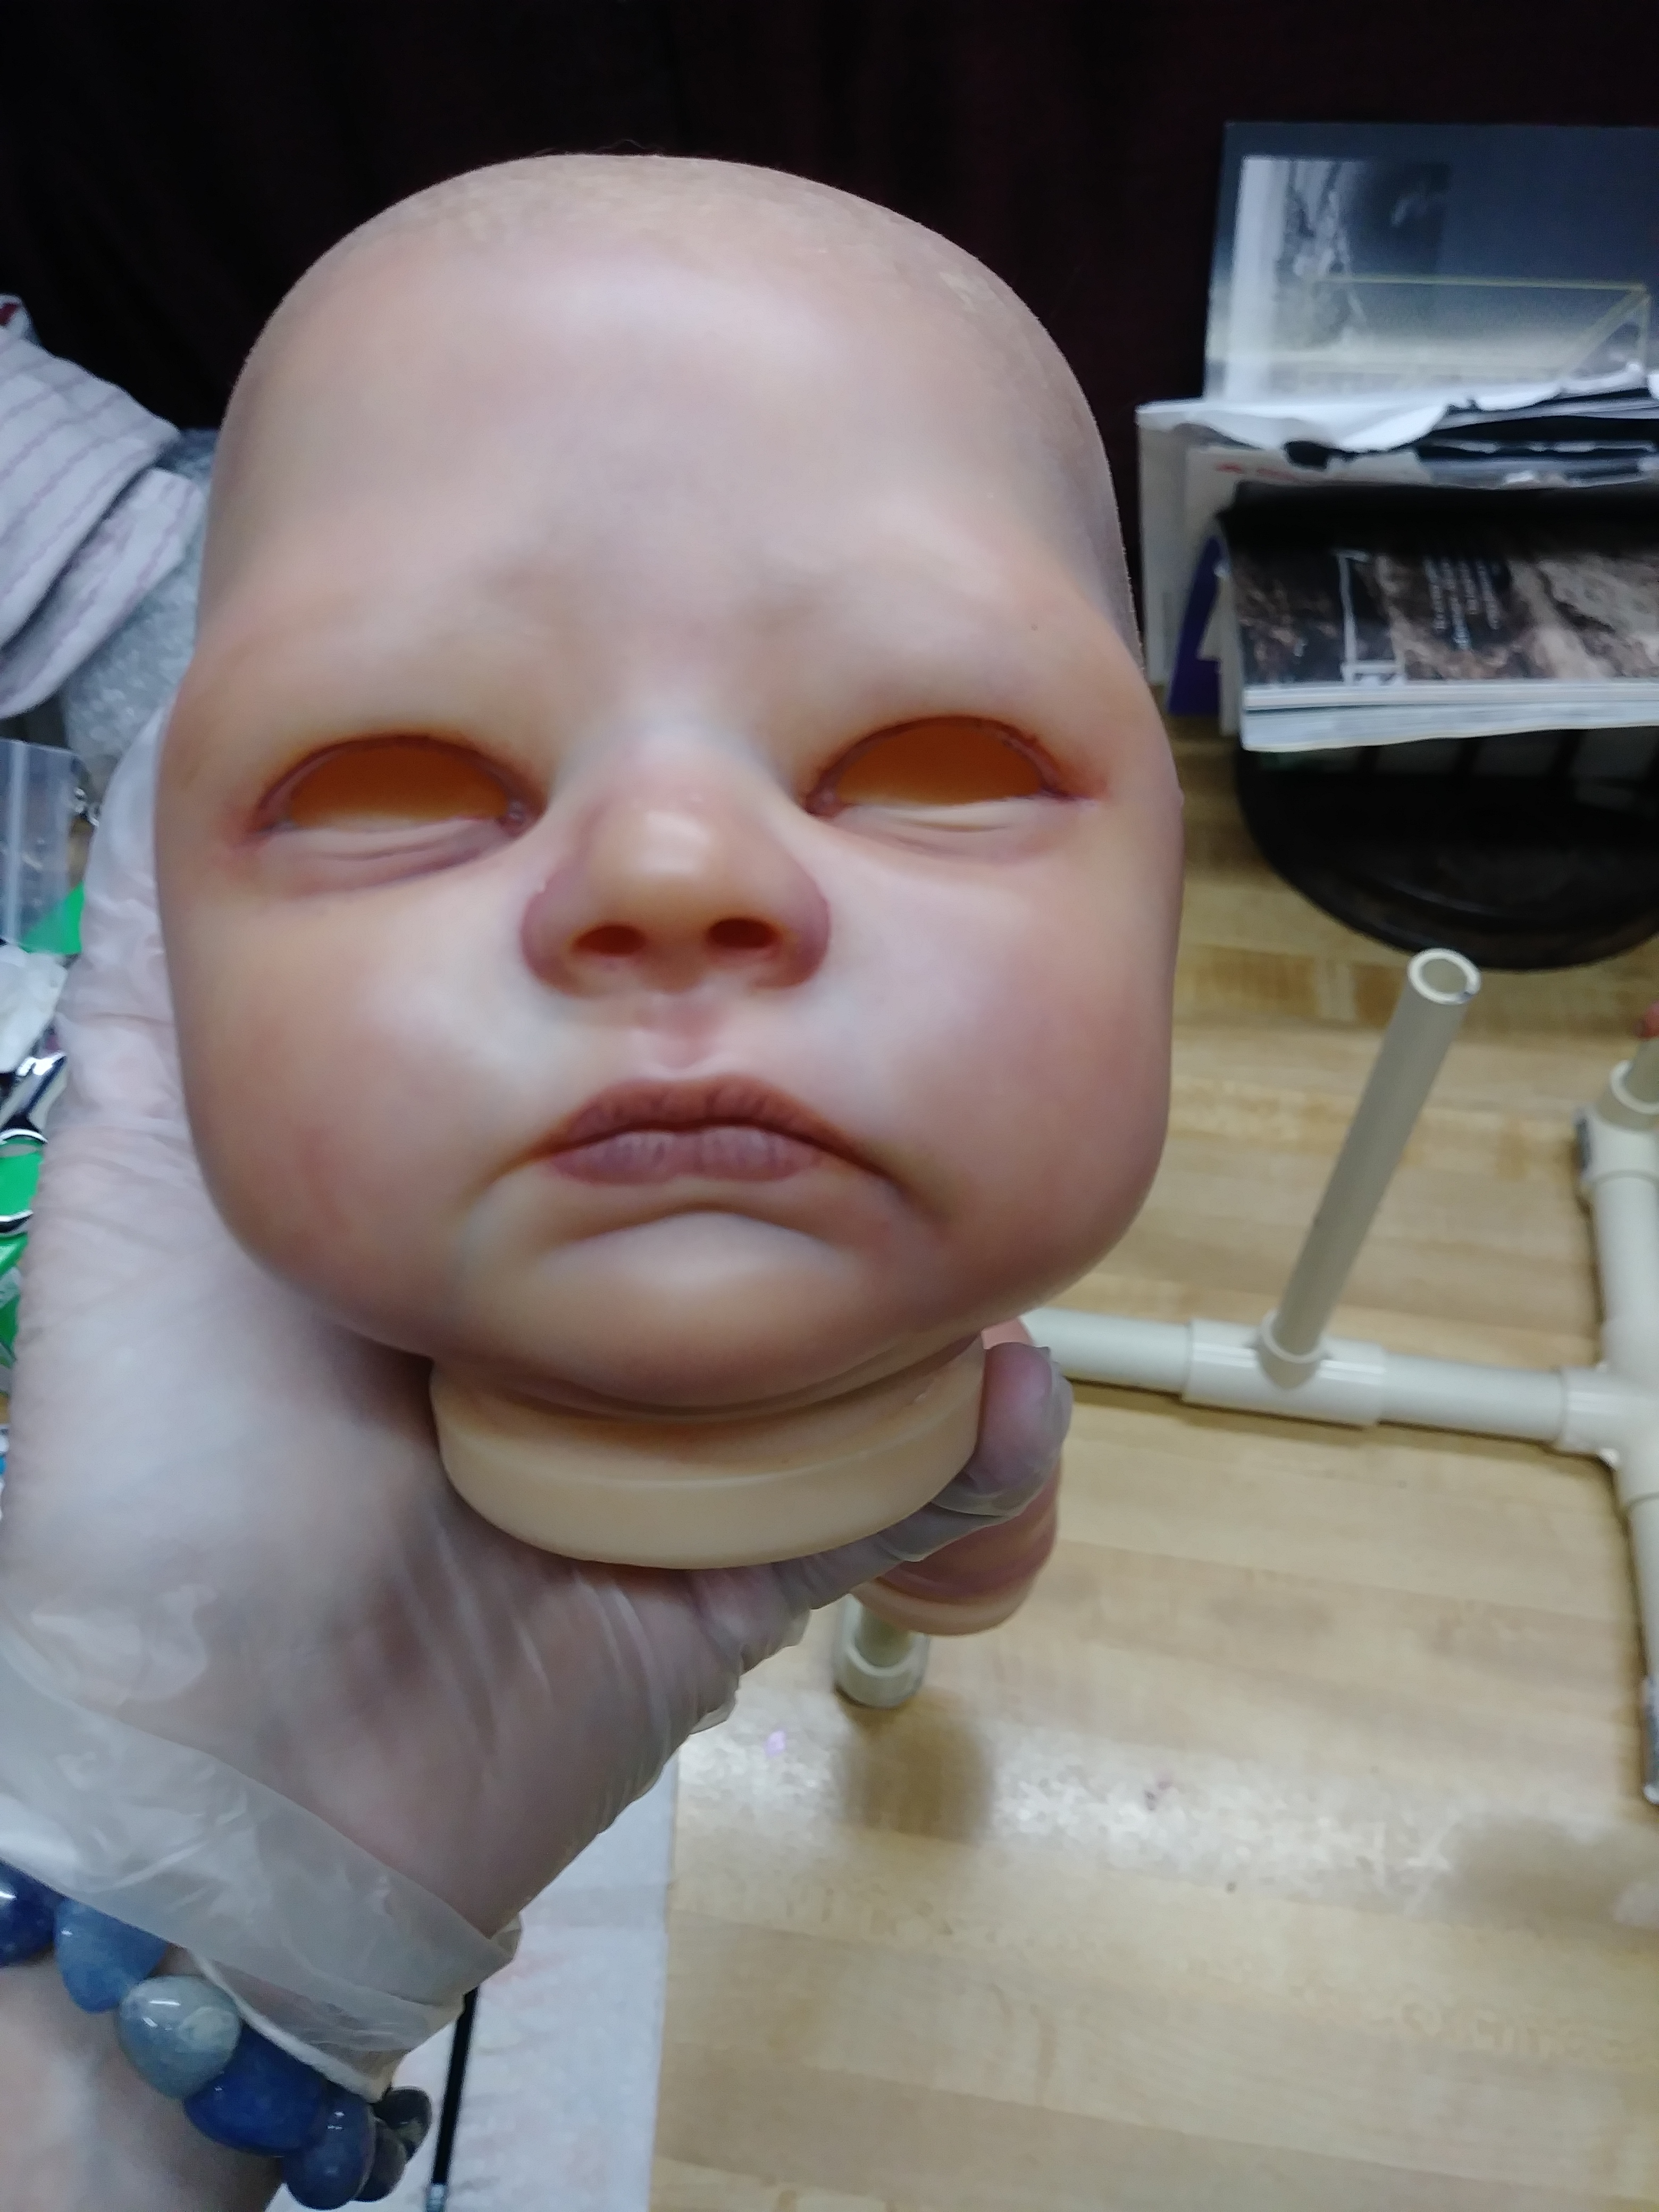
I’m finally starting to get the corner of his mouth under control…it’s a lot better than it was…anyone have any tips on how I can work to start blending it in? I know it’ll never 100 percent match…Just trying to get as close as I can.