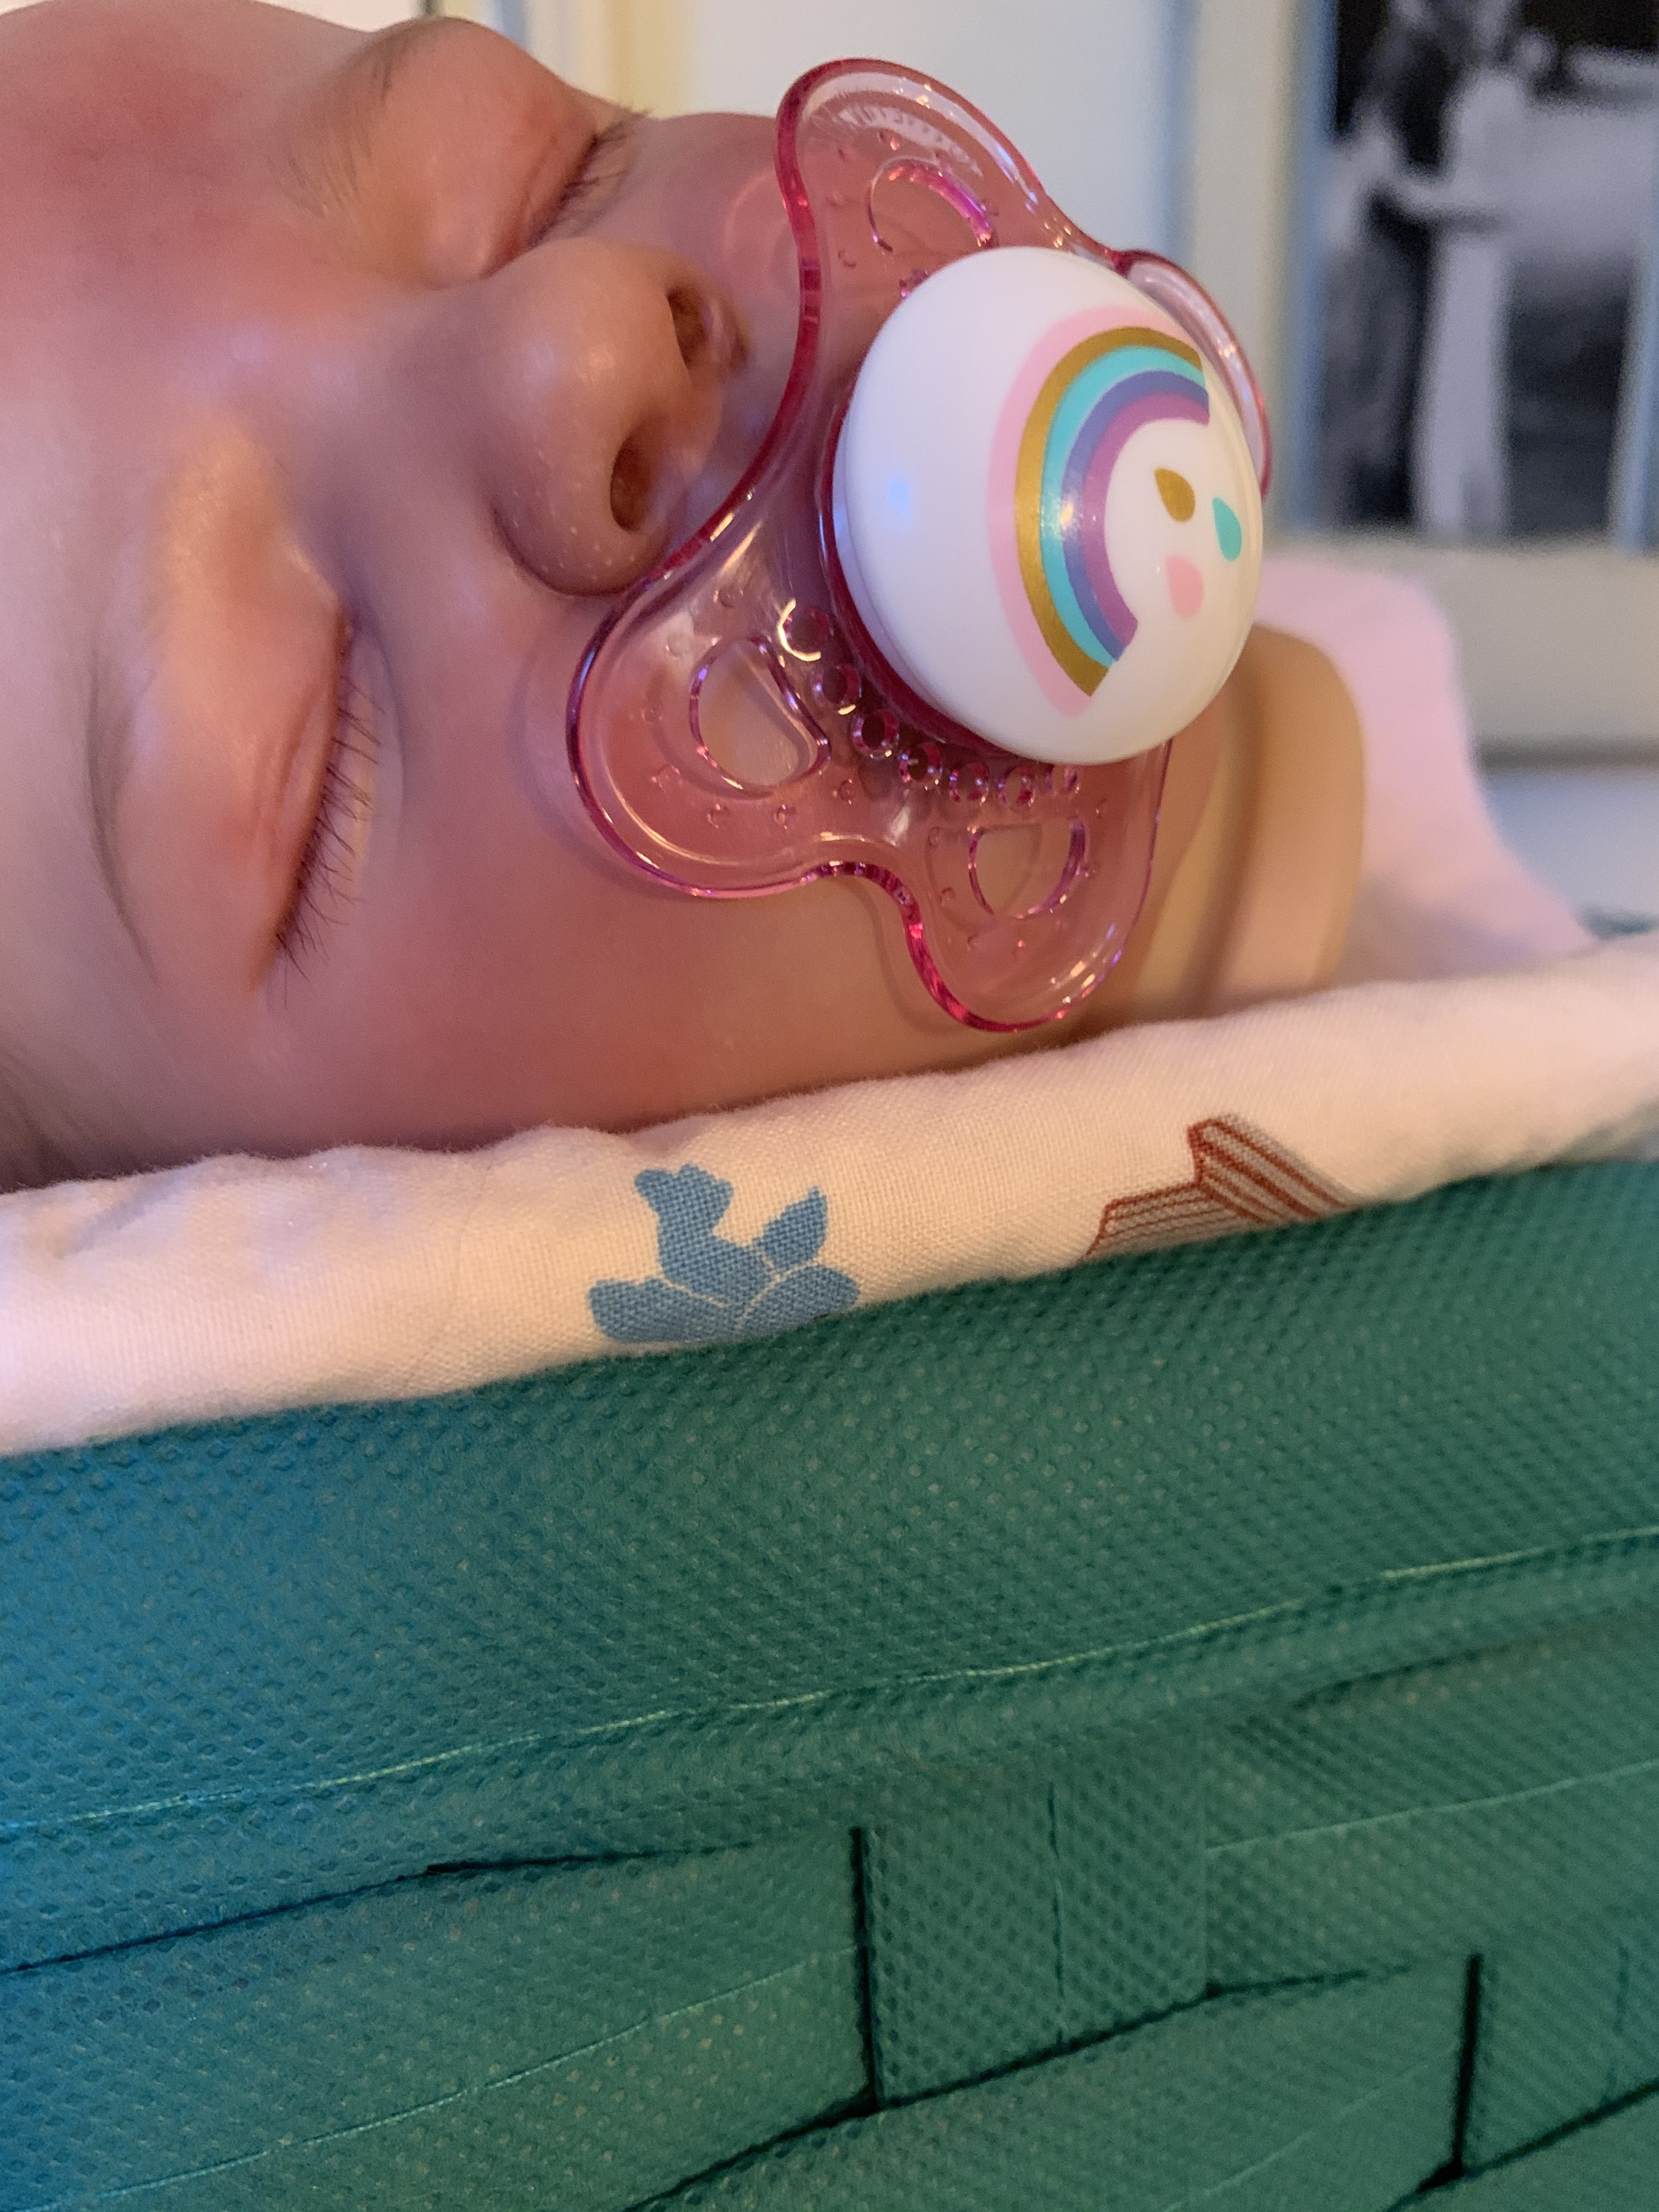
I wanted to share this with you guys- a step by step on how I make my pacifiers. The goal is to get them completely flush with the baby, and here I will show you how that can be accomplished!
Step one:
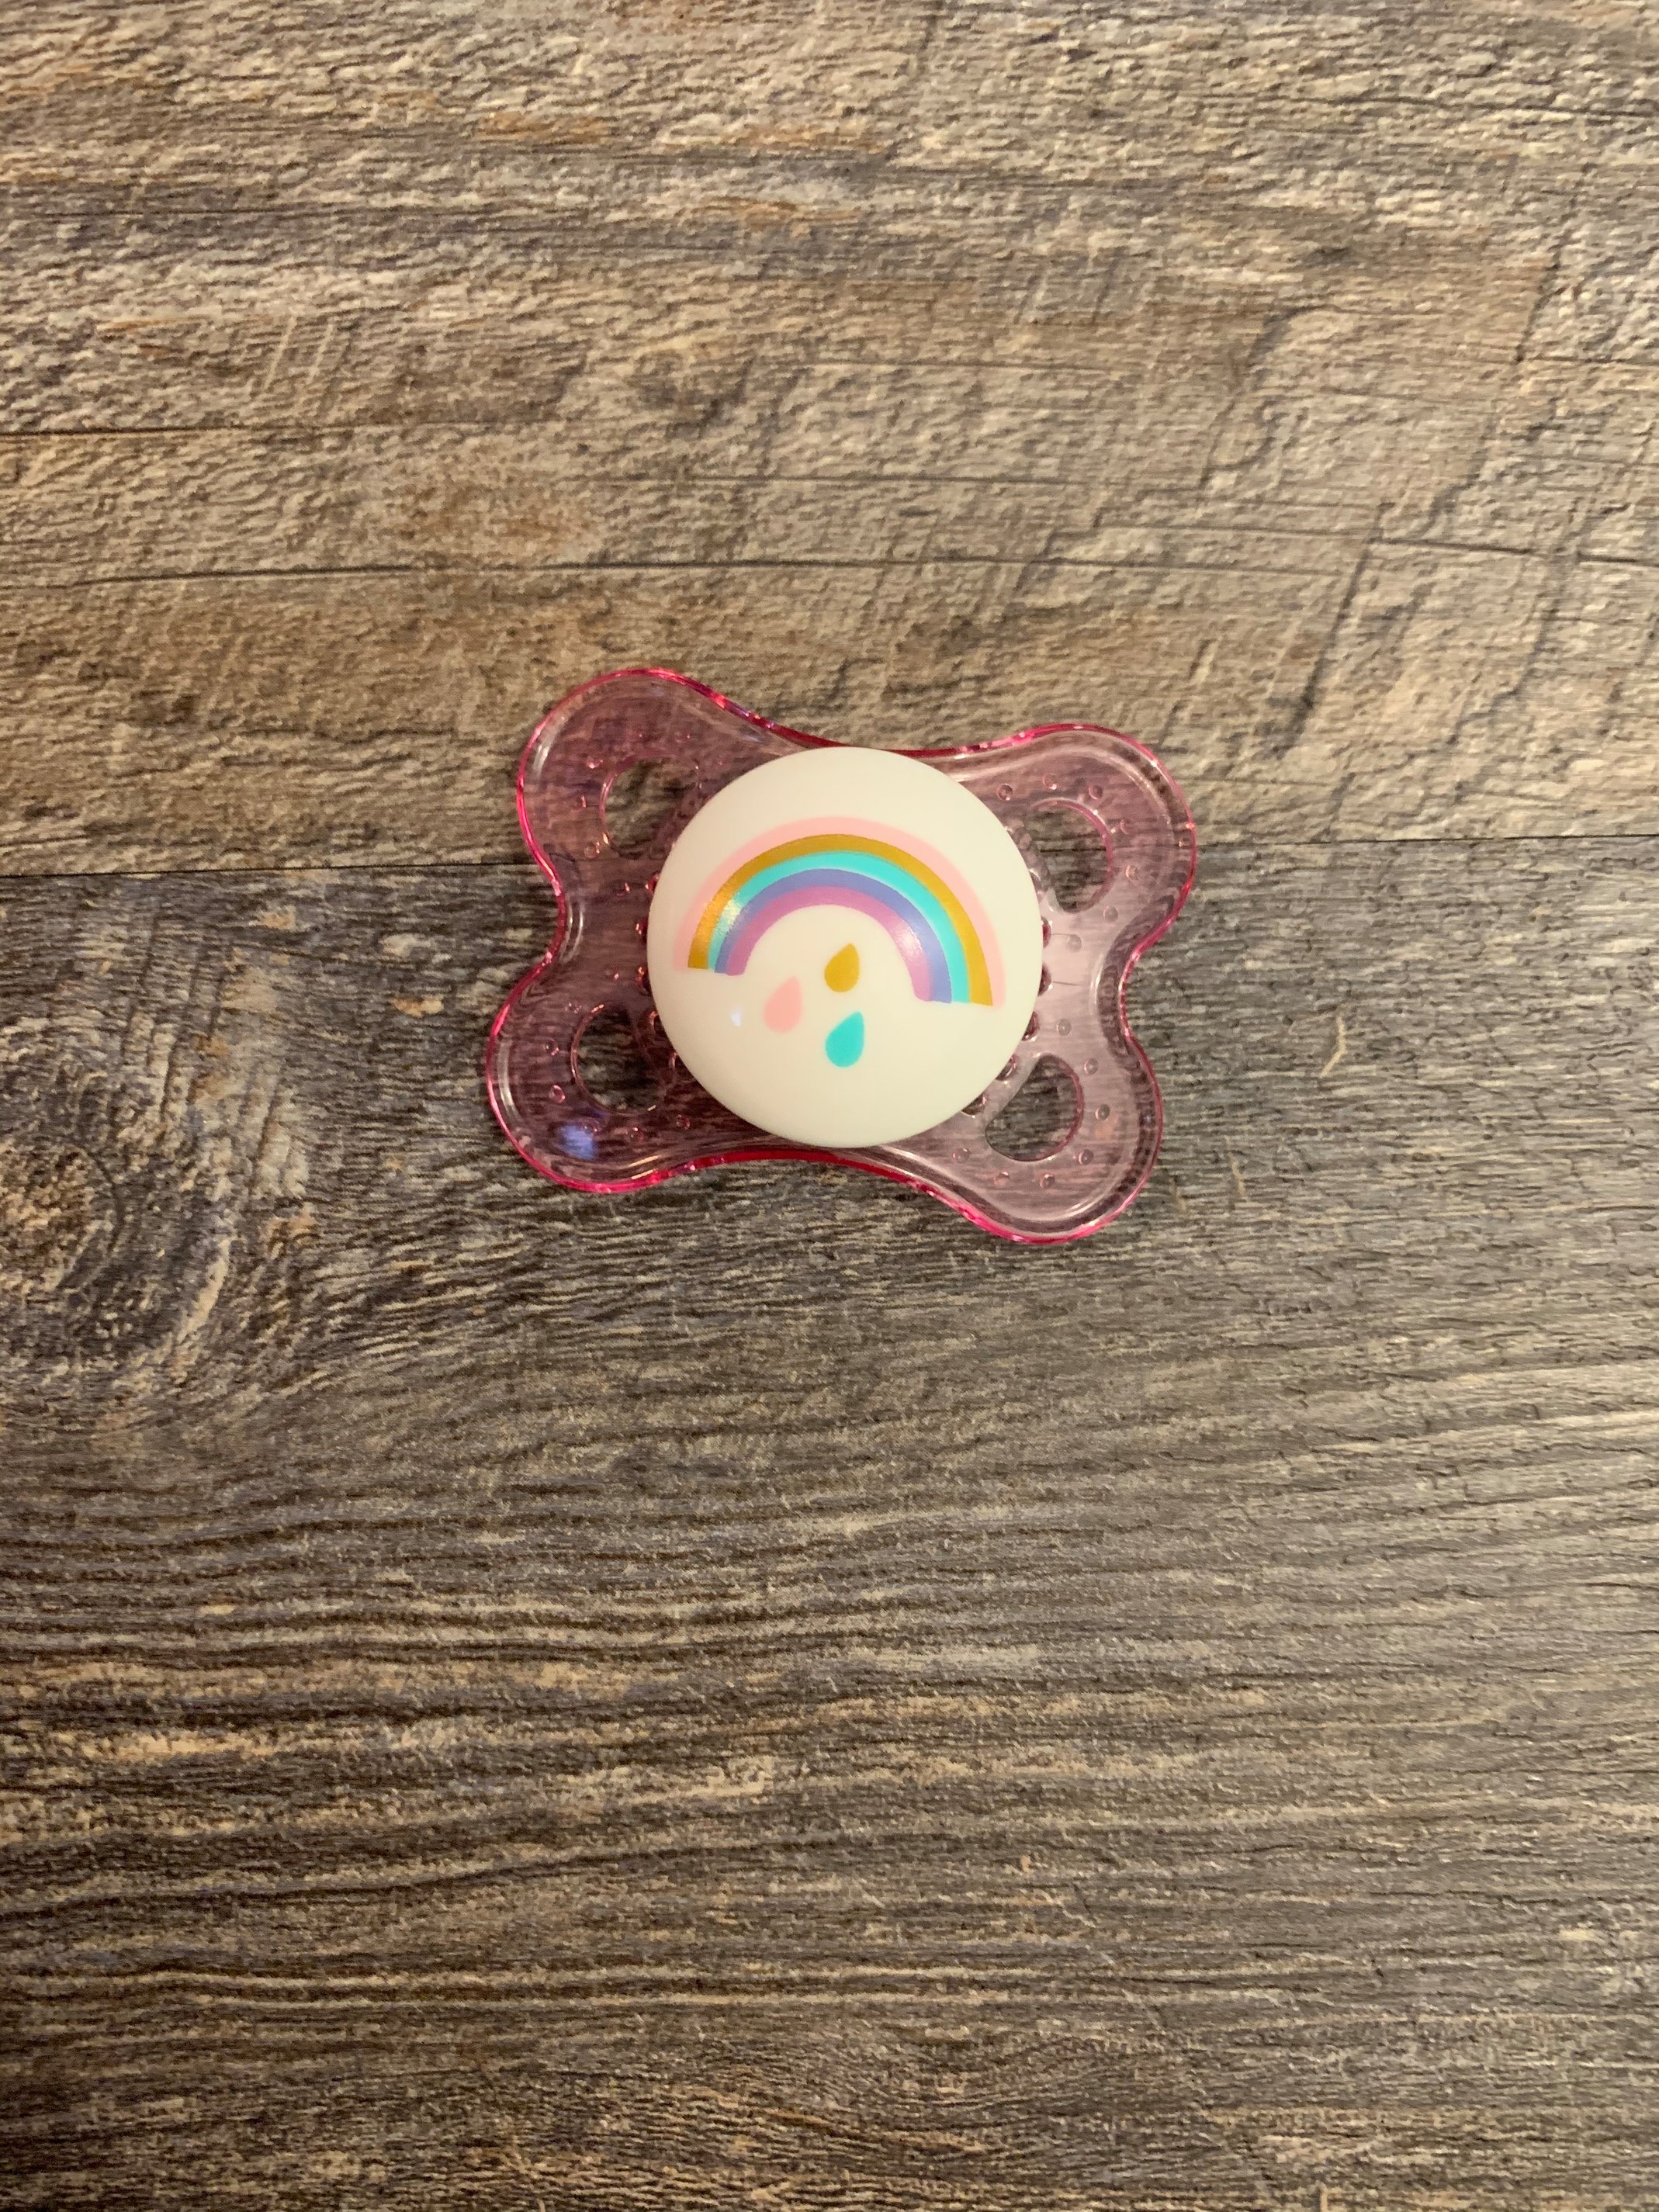
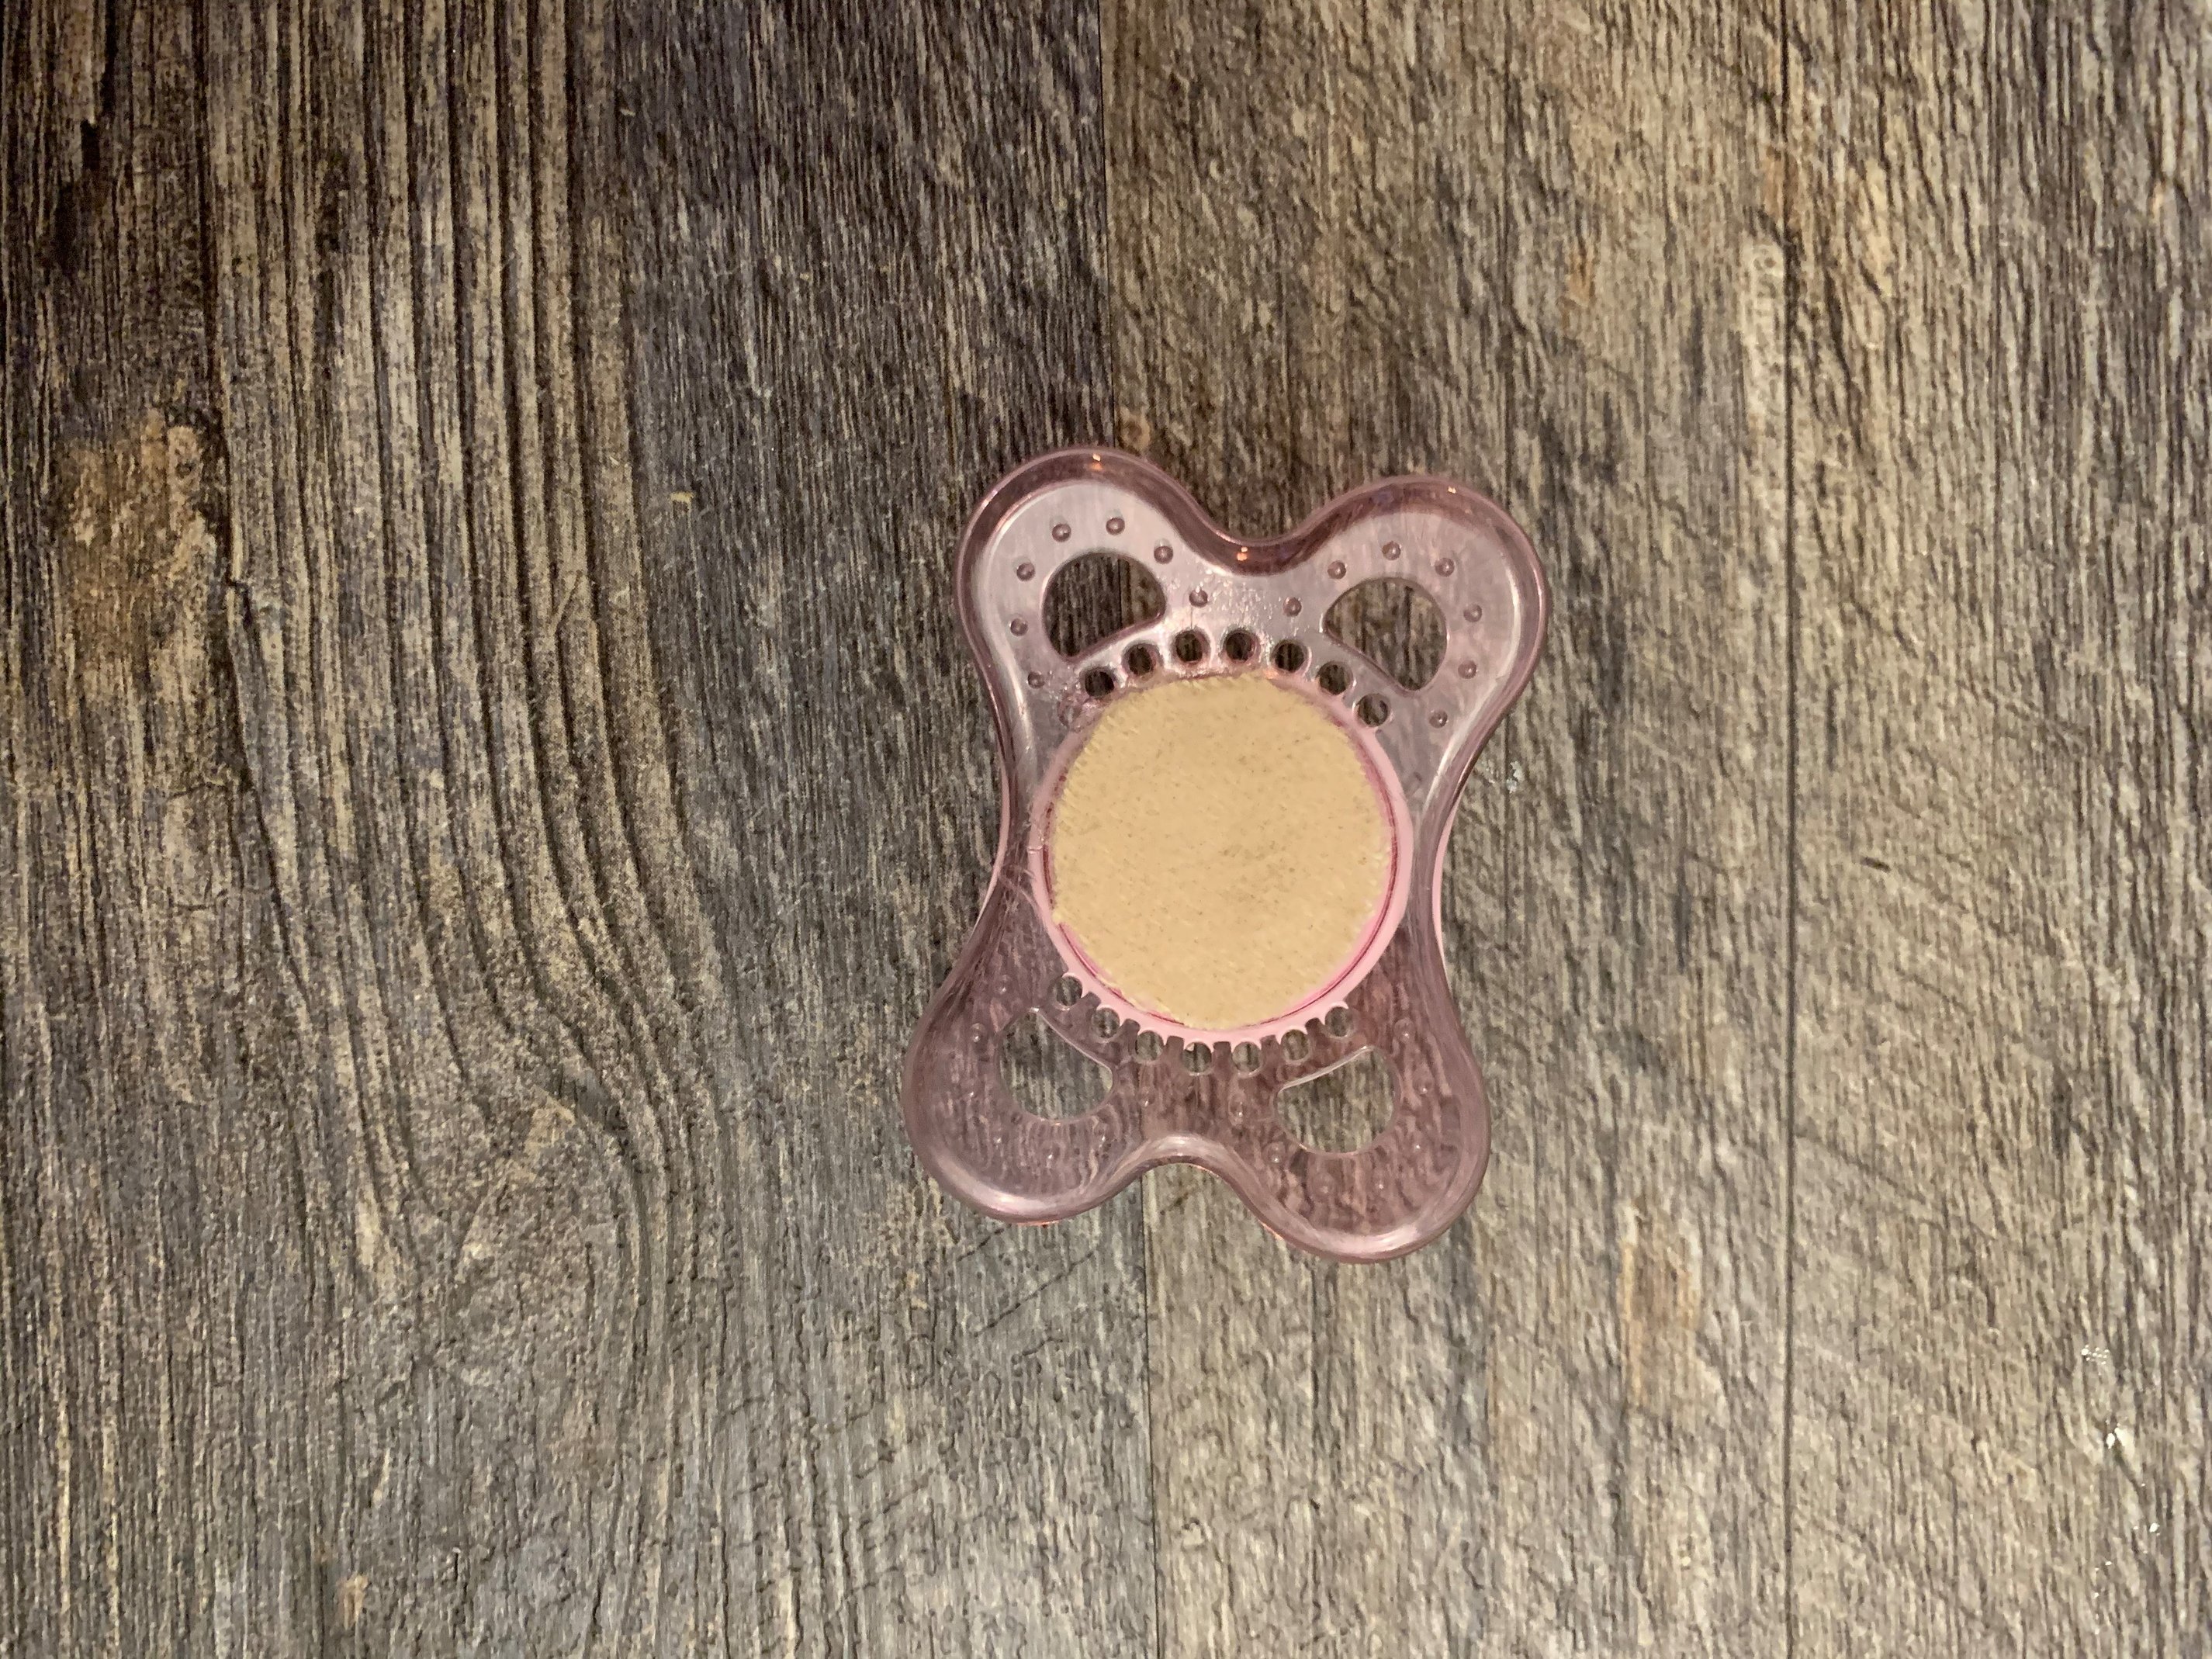
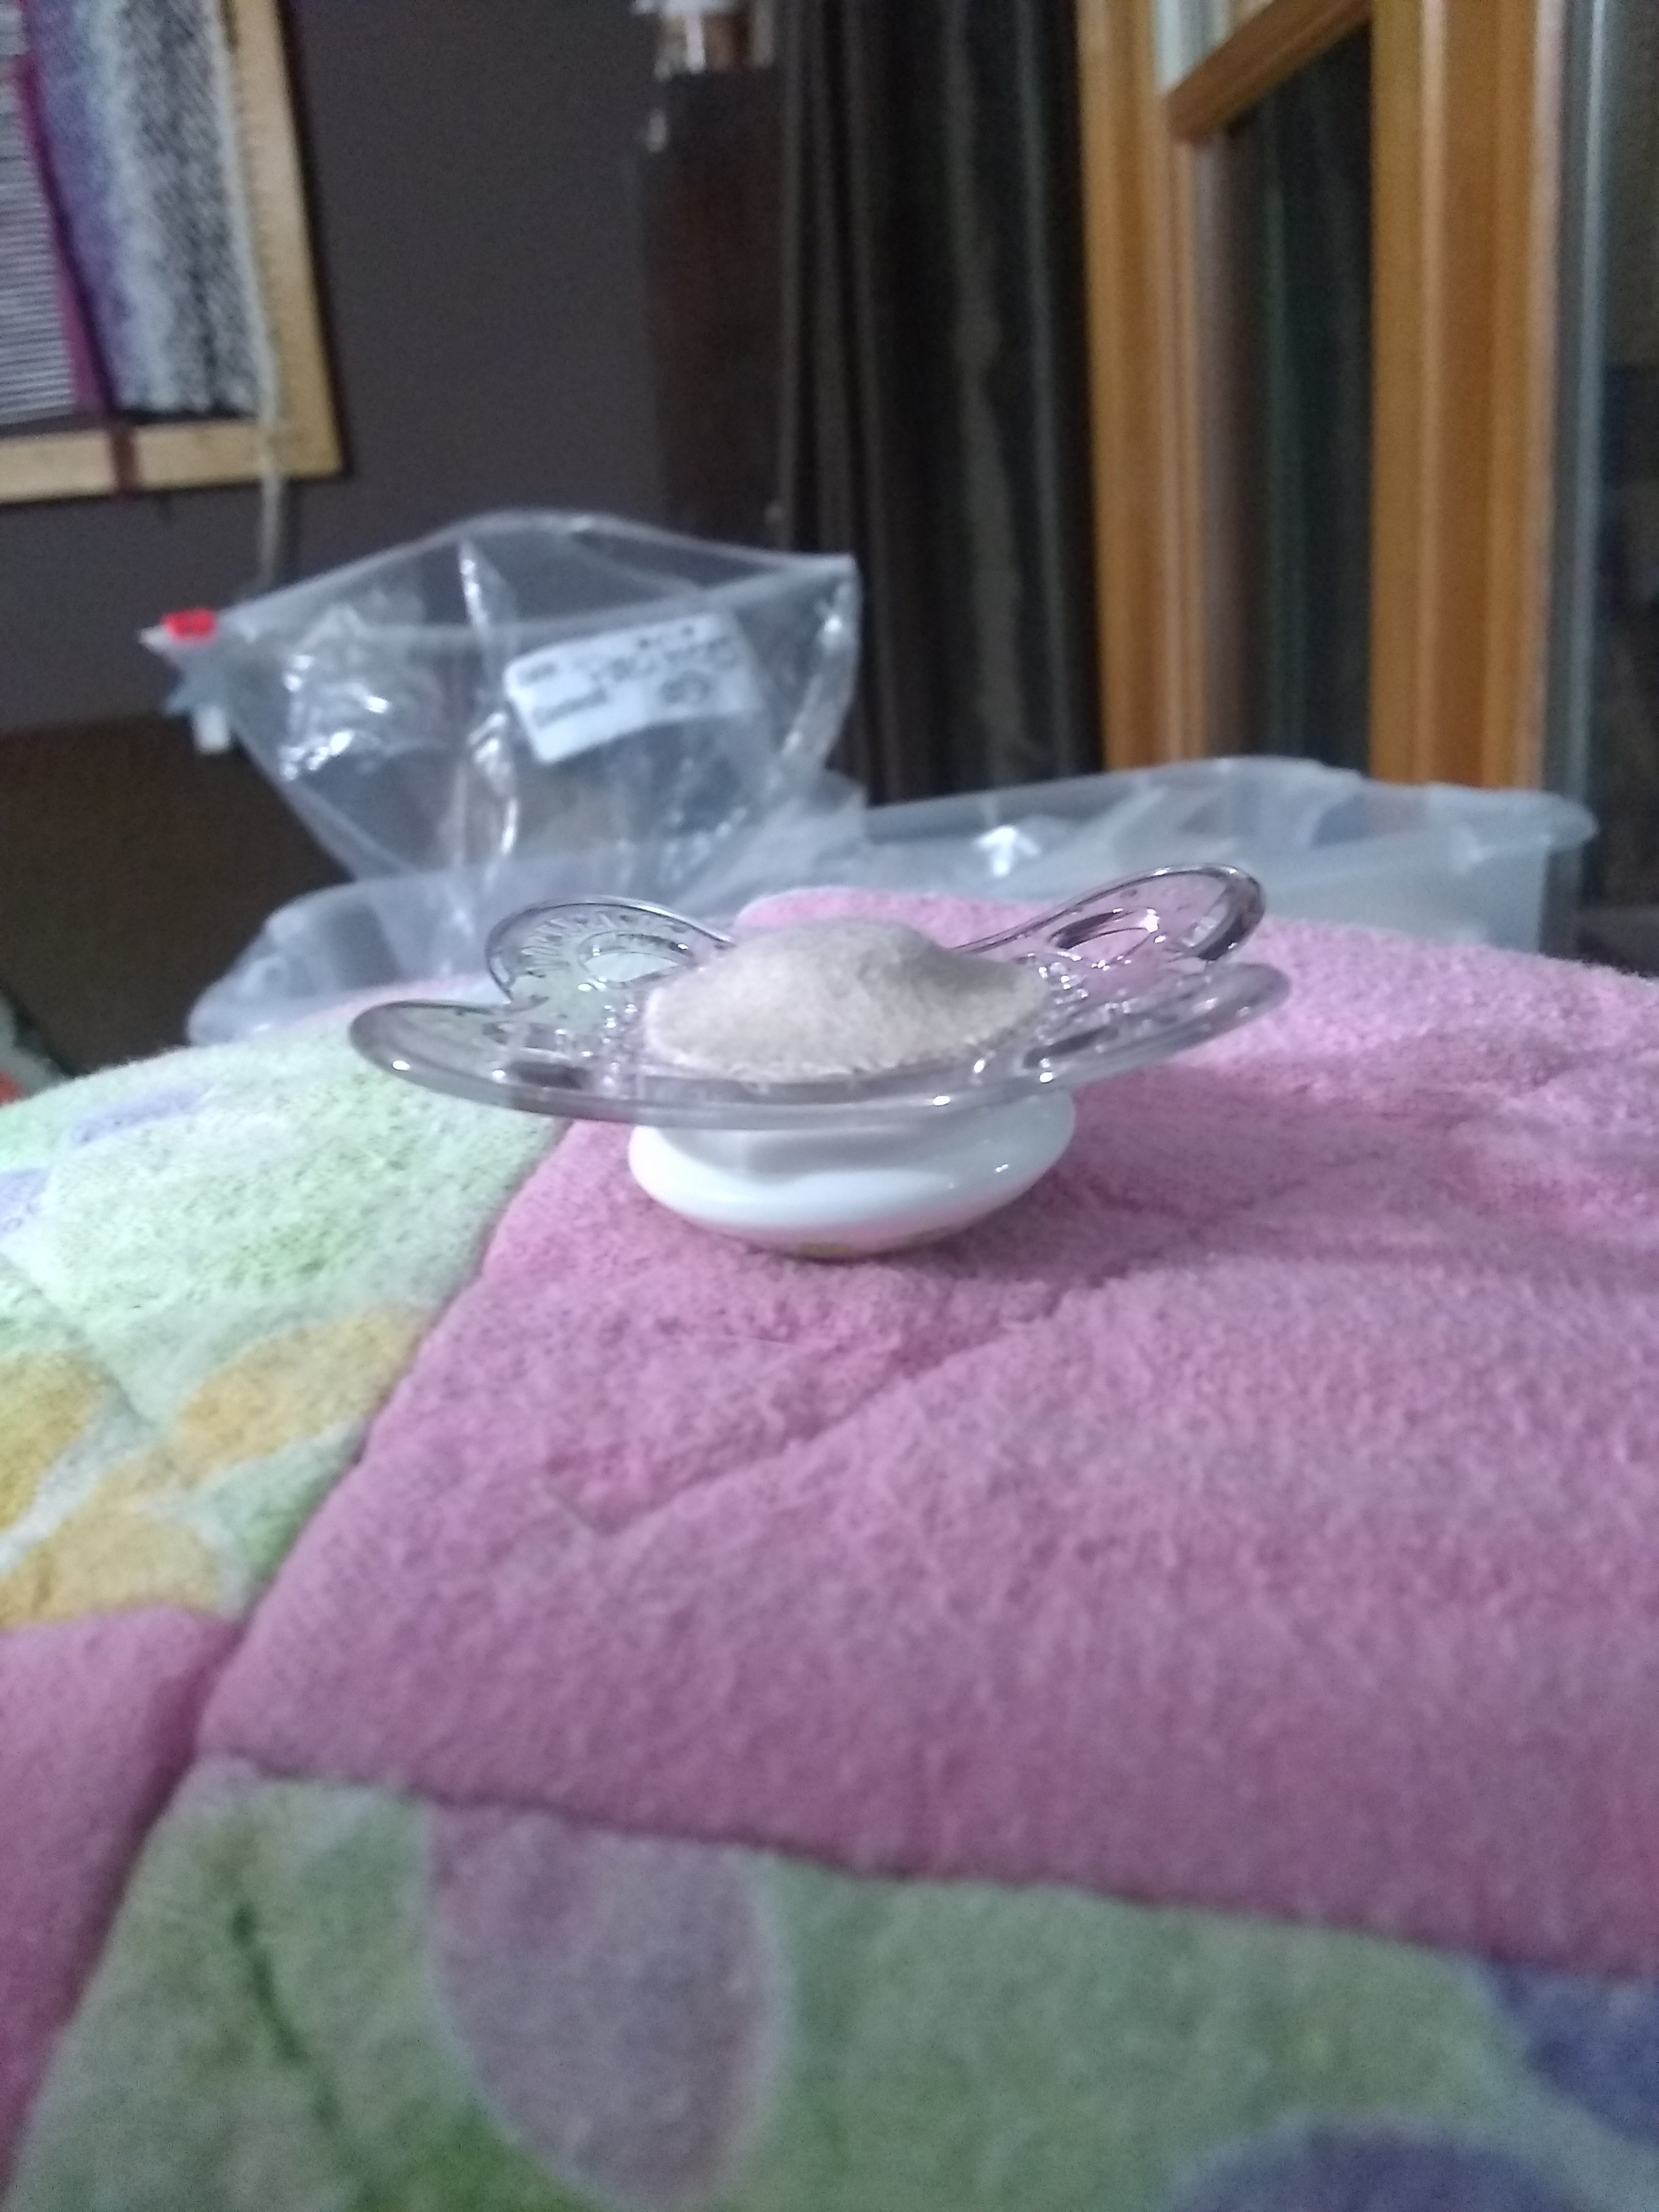
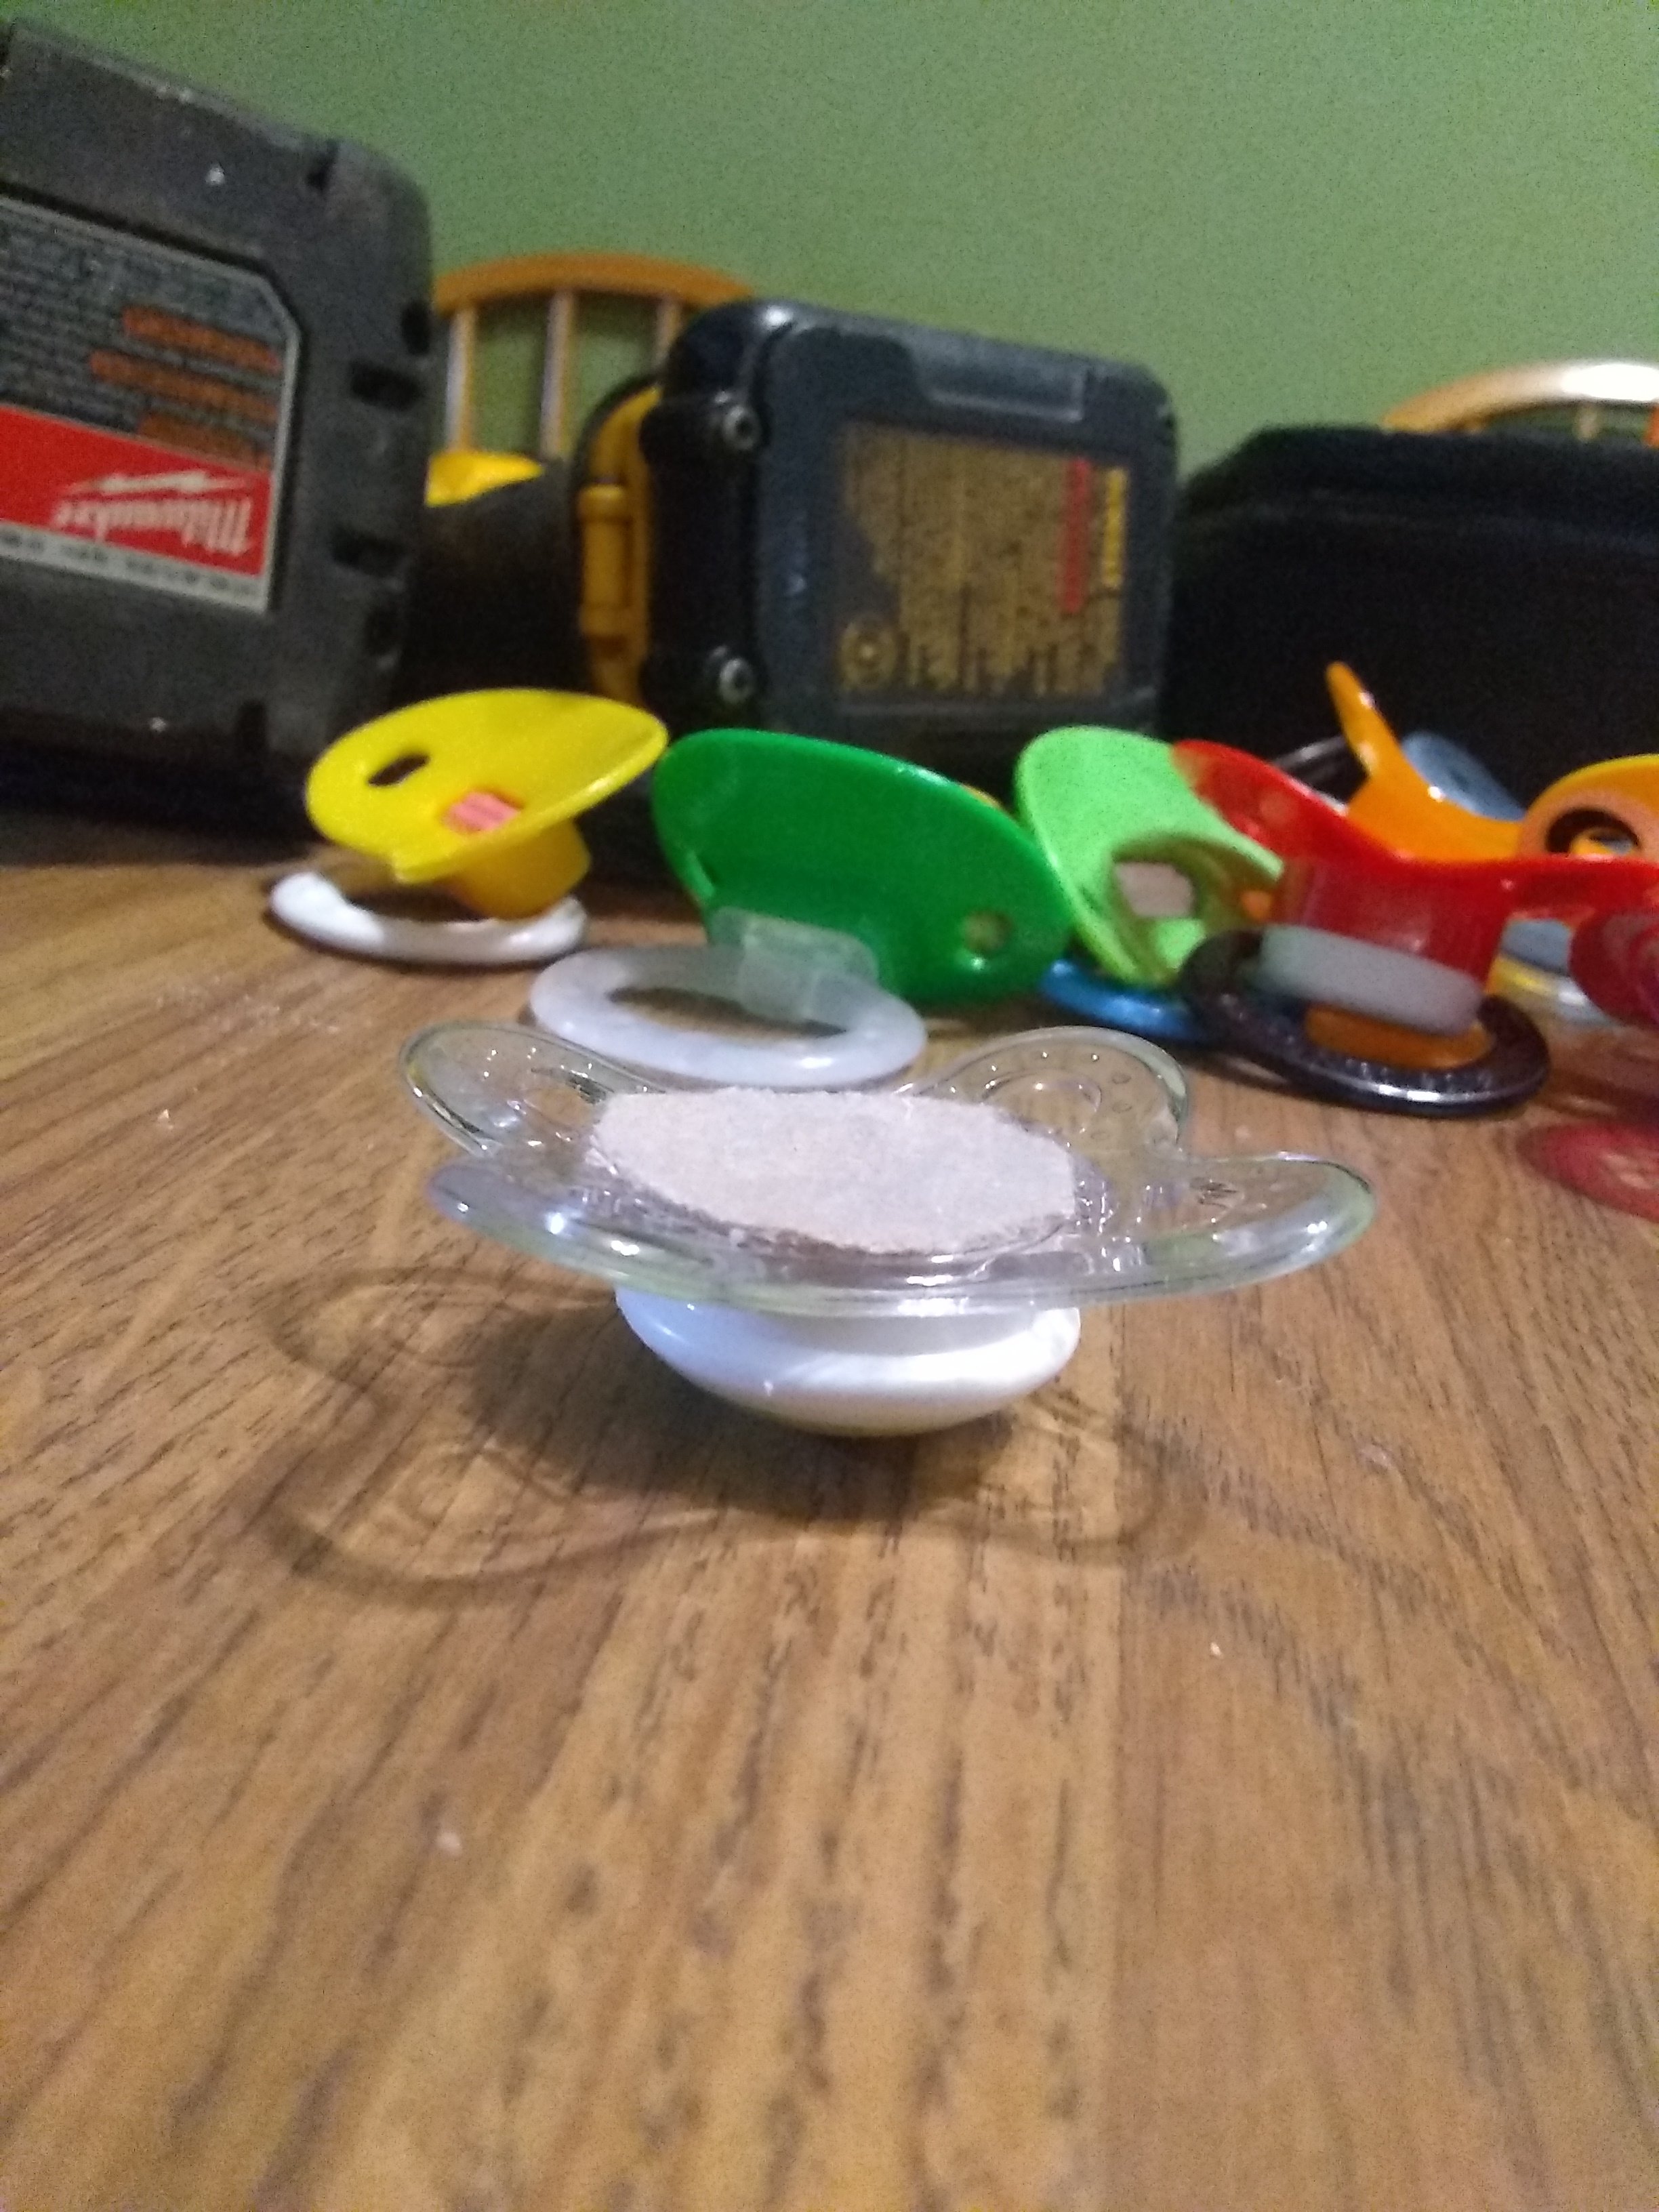
Find your pacifier. Mams work great, as do Avent pacis with the cap style on top and a back like shown below. Prepare it by cutting the nipple off totally.
Step 2:
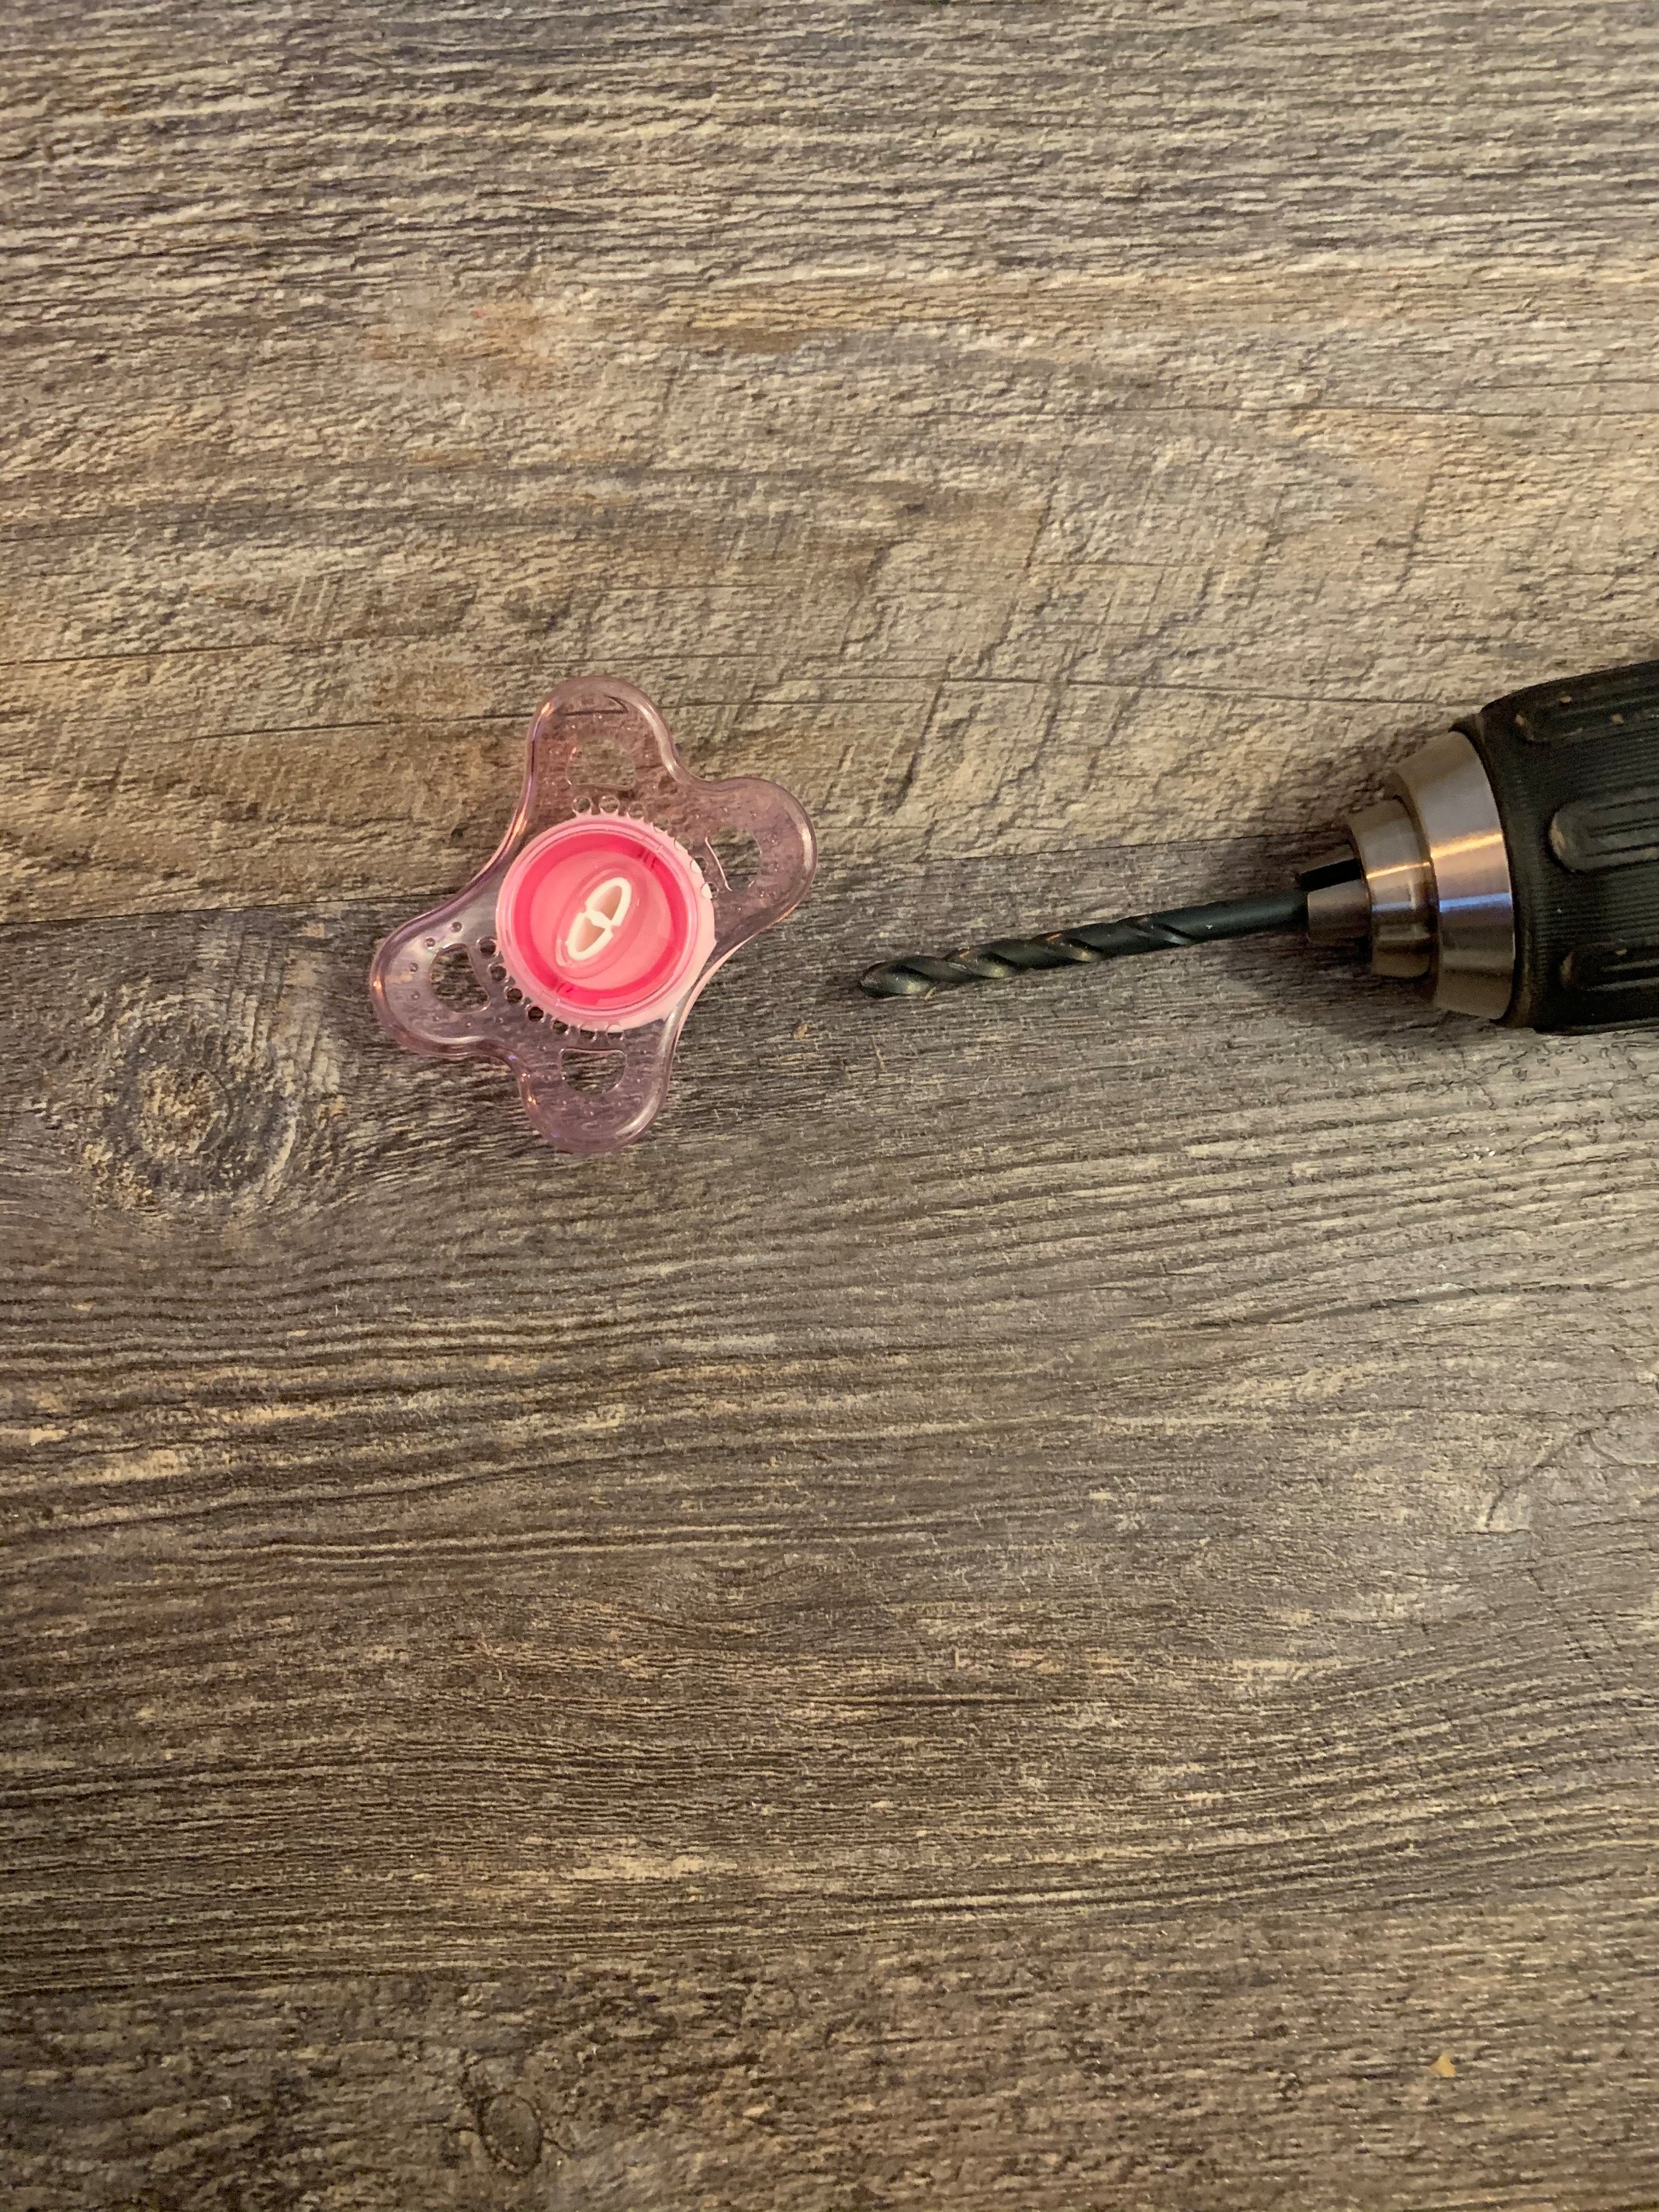
Bring out the power drill. This one belongs to my husband. This is the size bit I like to use. Too skinny and you will not get enough power behind it.
Step 3:
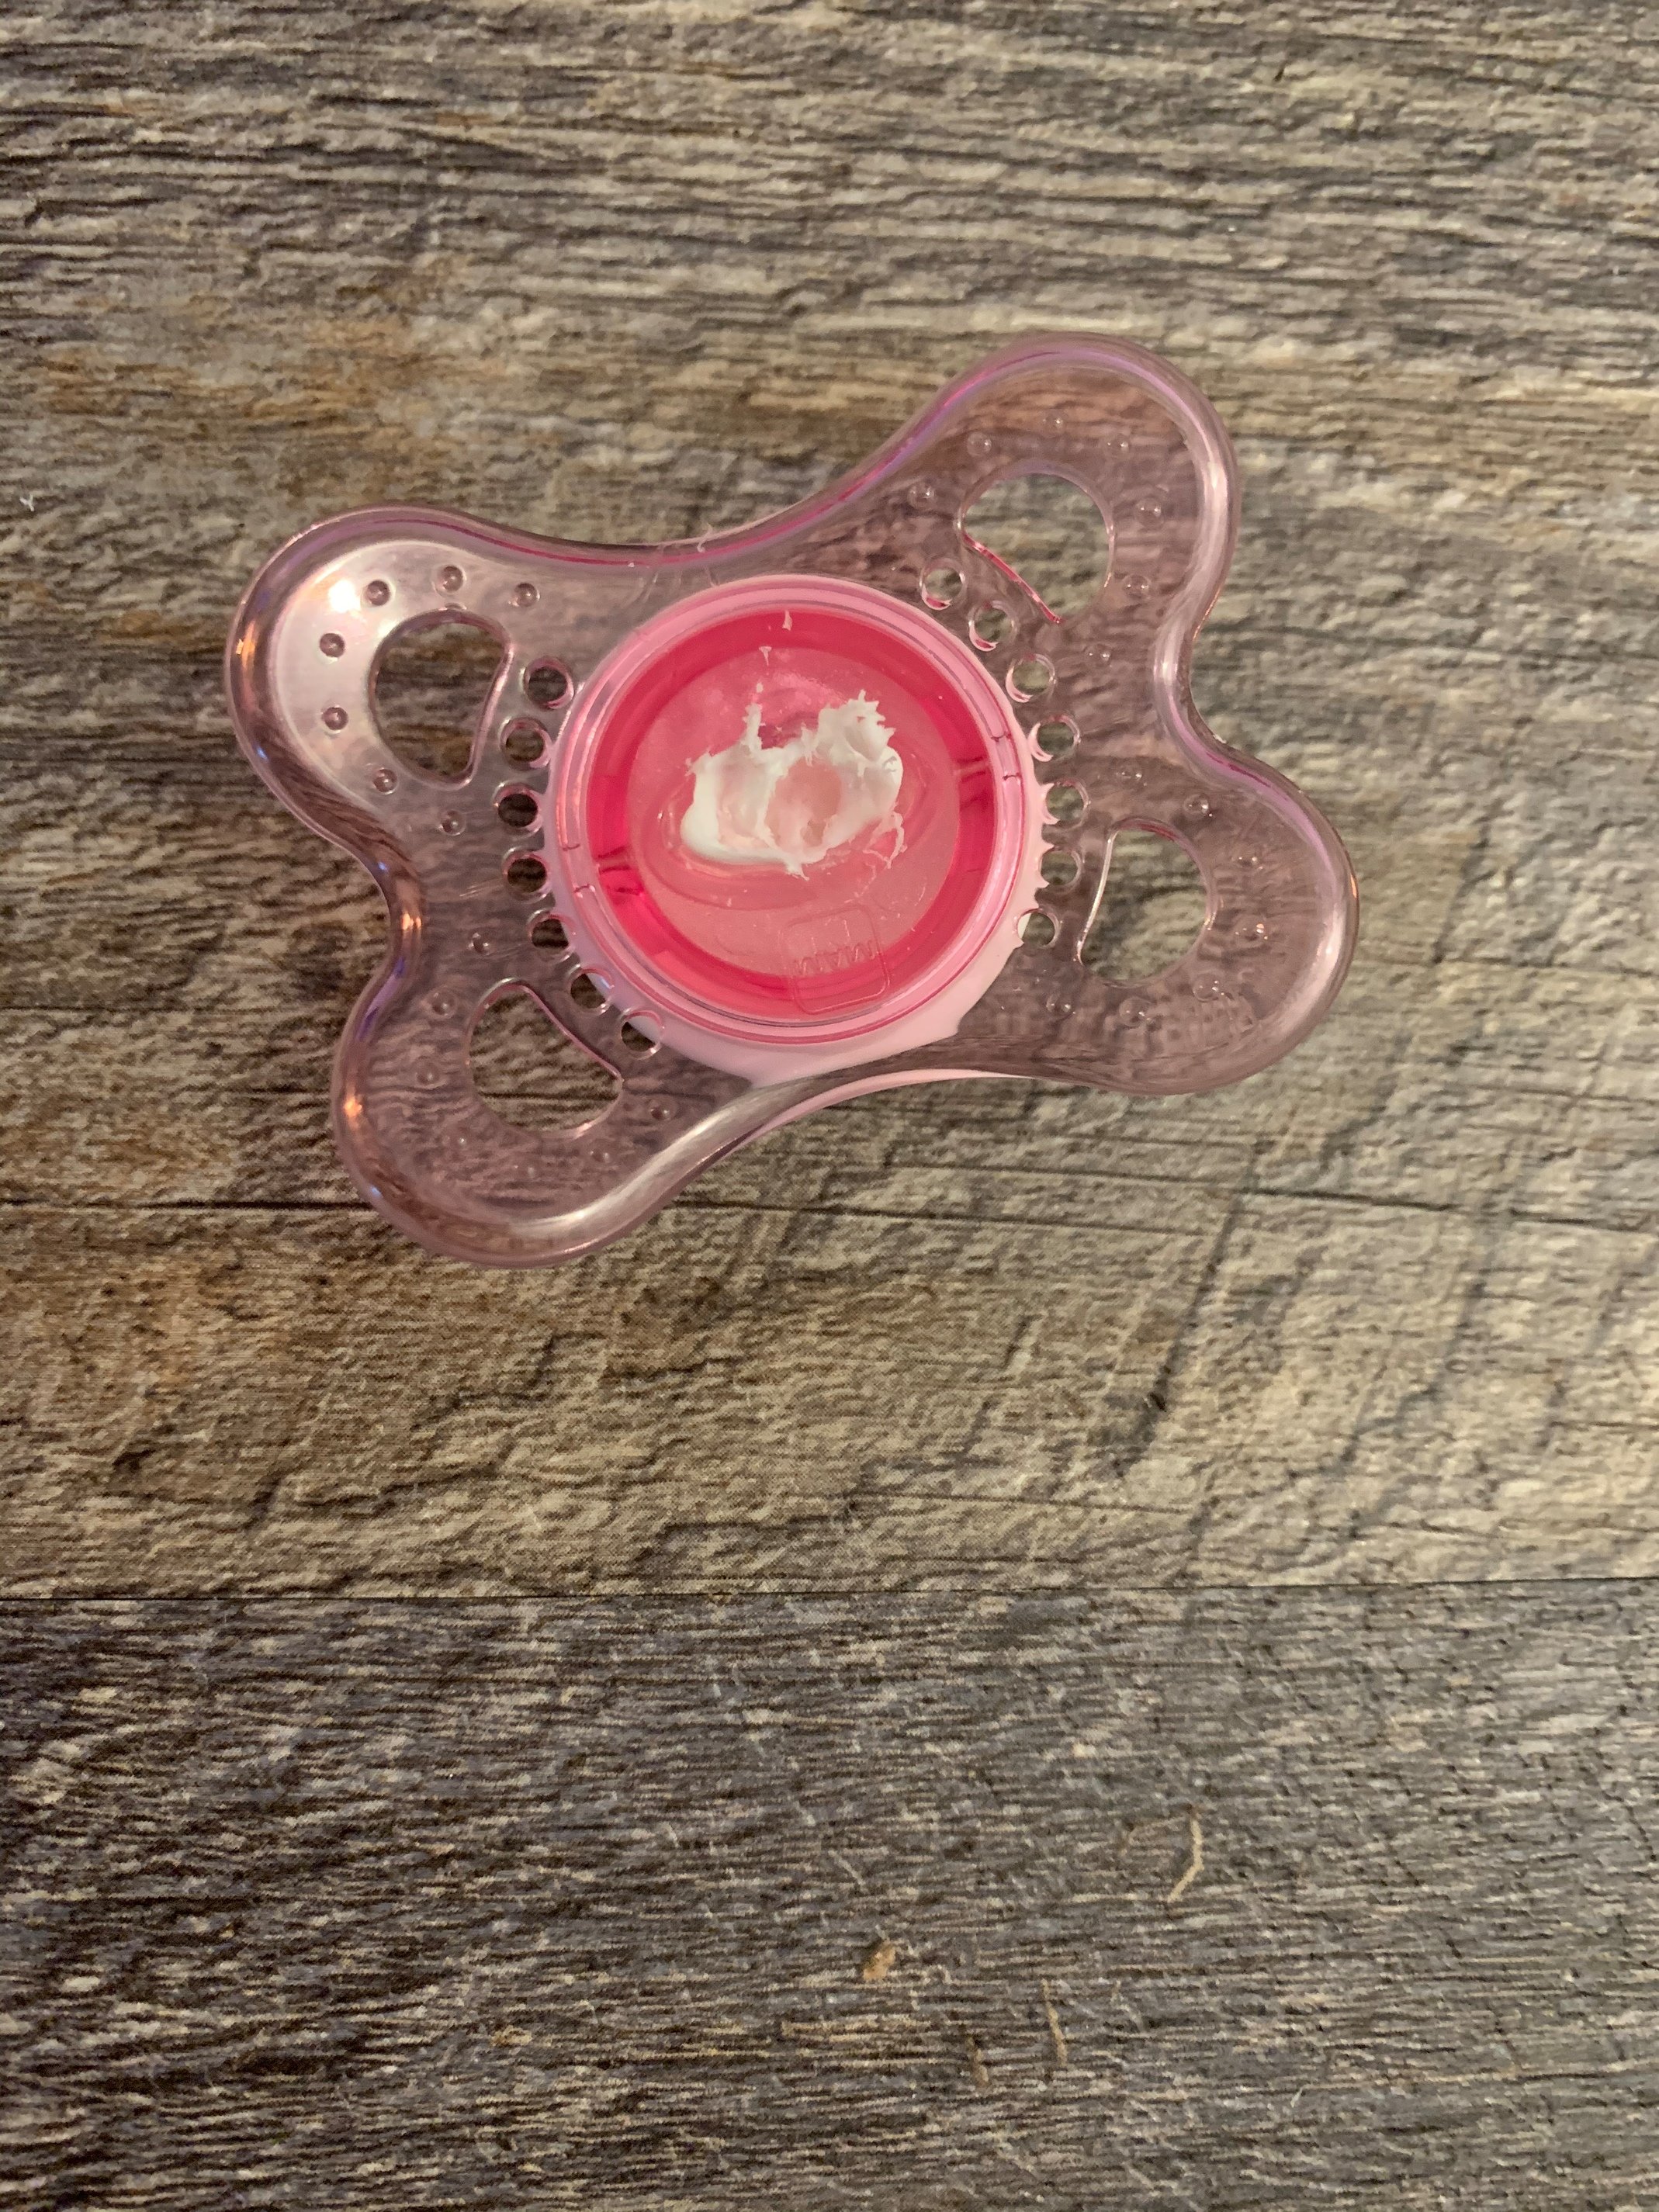
Rough it up. The goal is to drill loose the hard plastic by punching through it and lifting up on it while drilling. You can trim whatever comes loose away and keep drilling until the opening is big enough for your magnet.
Step 4:
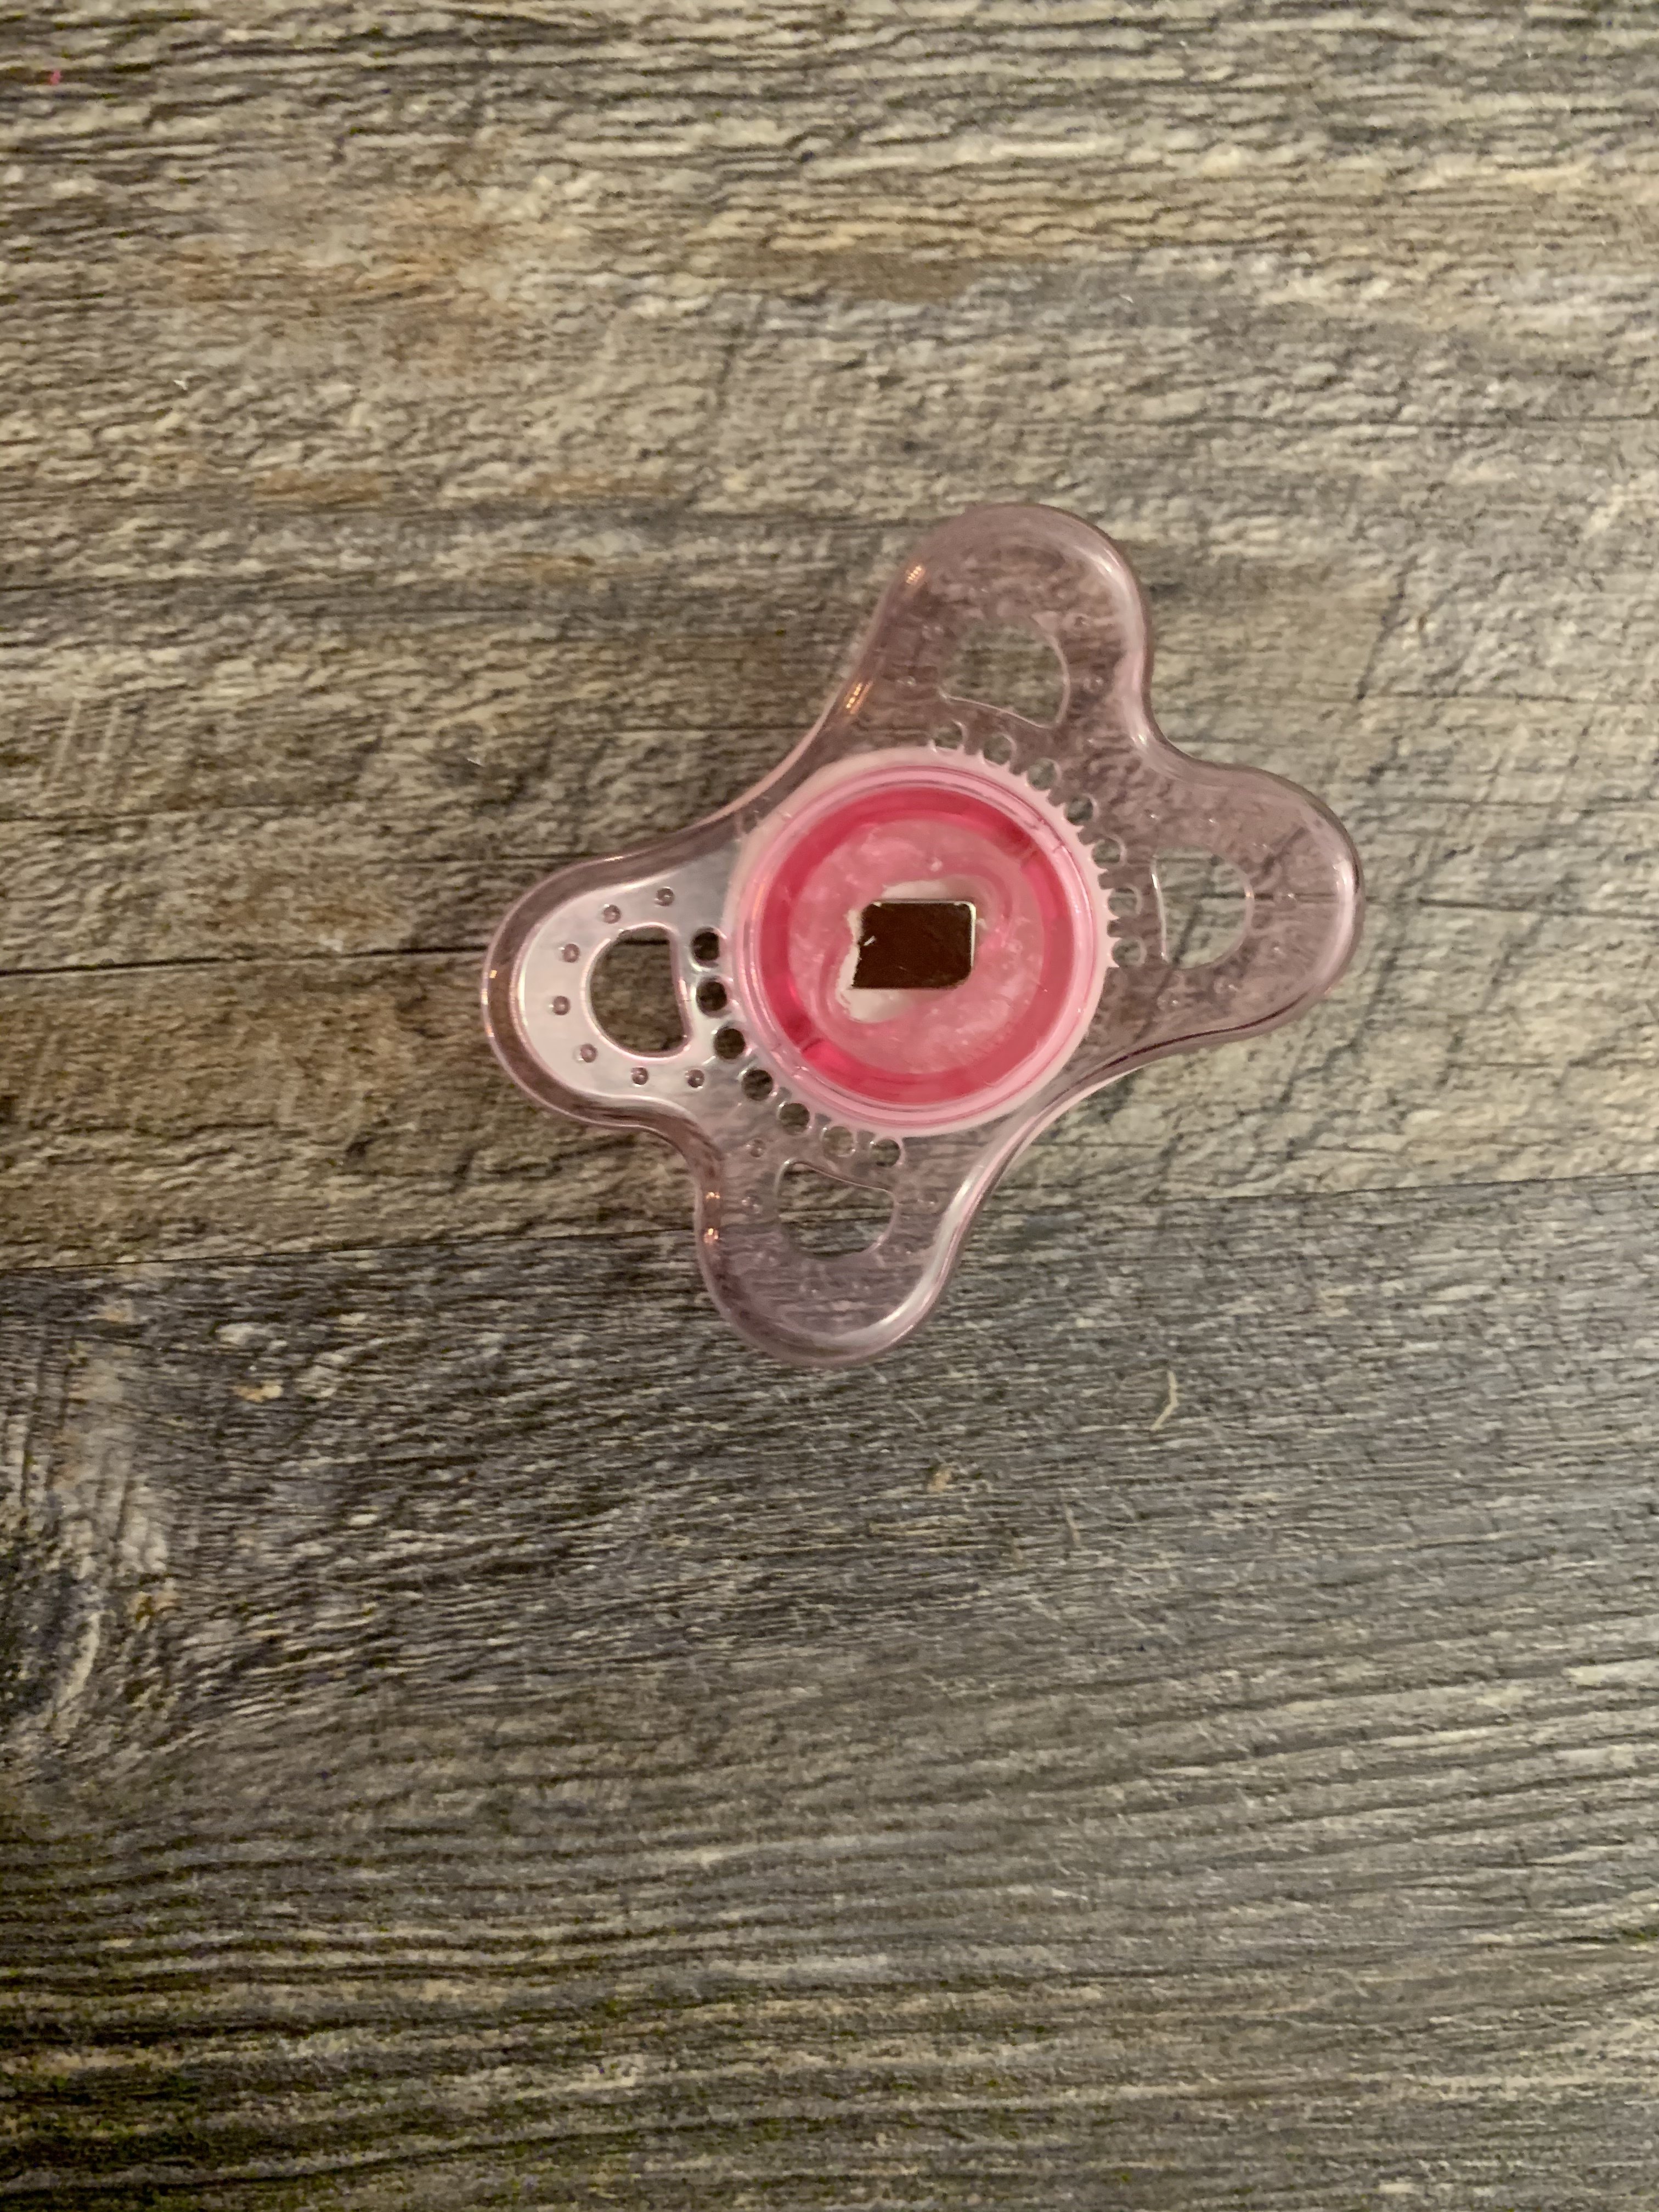
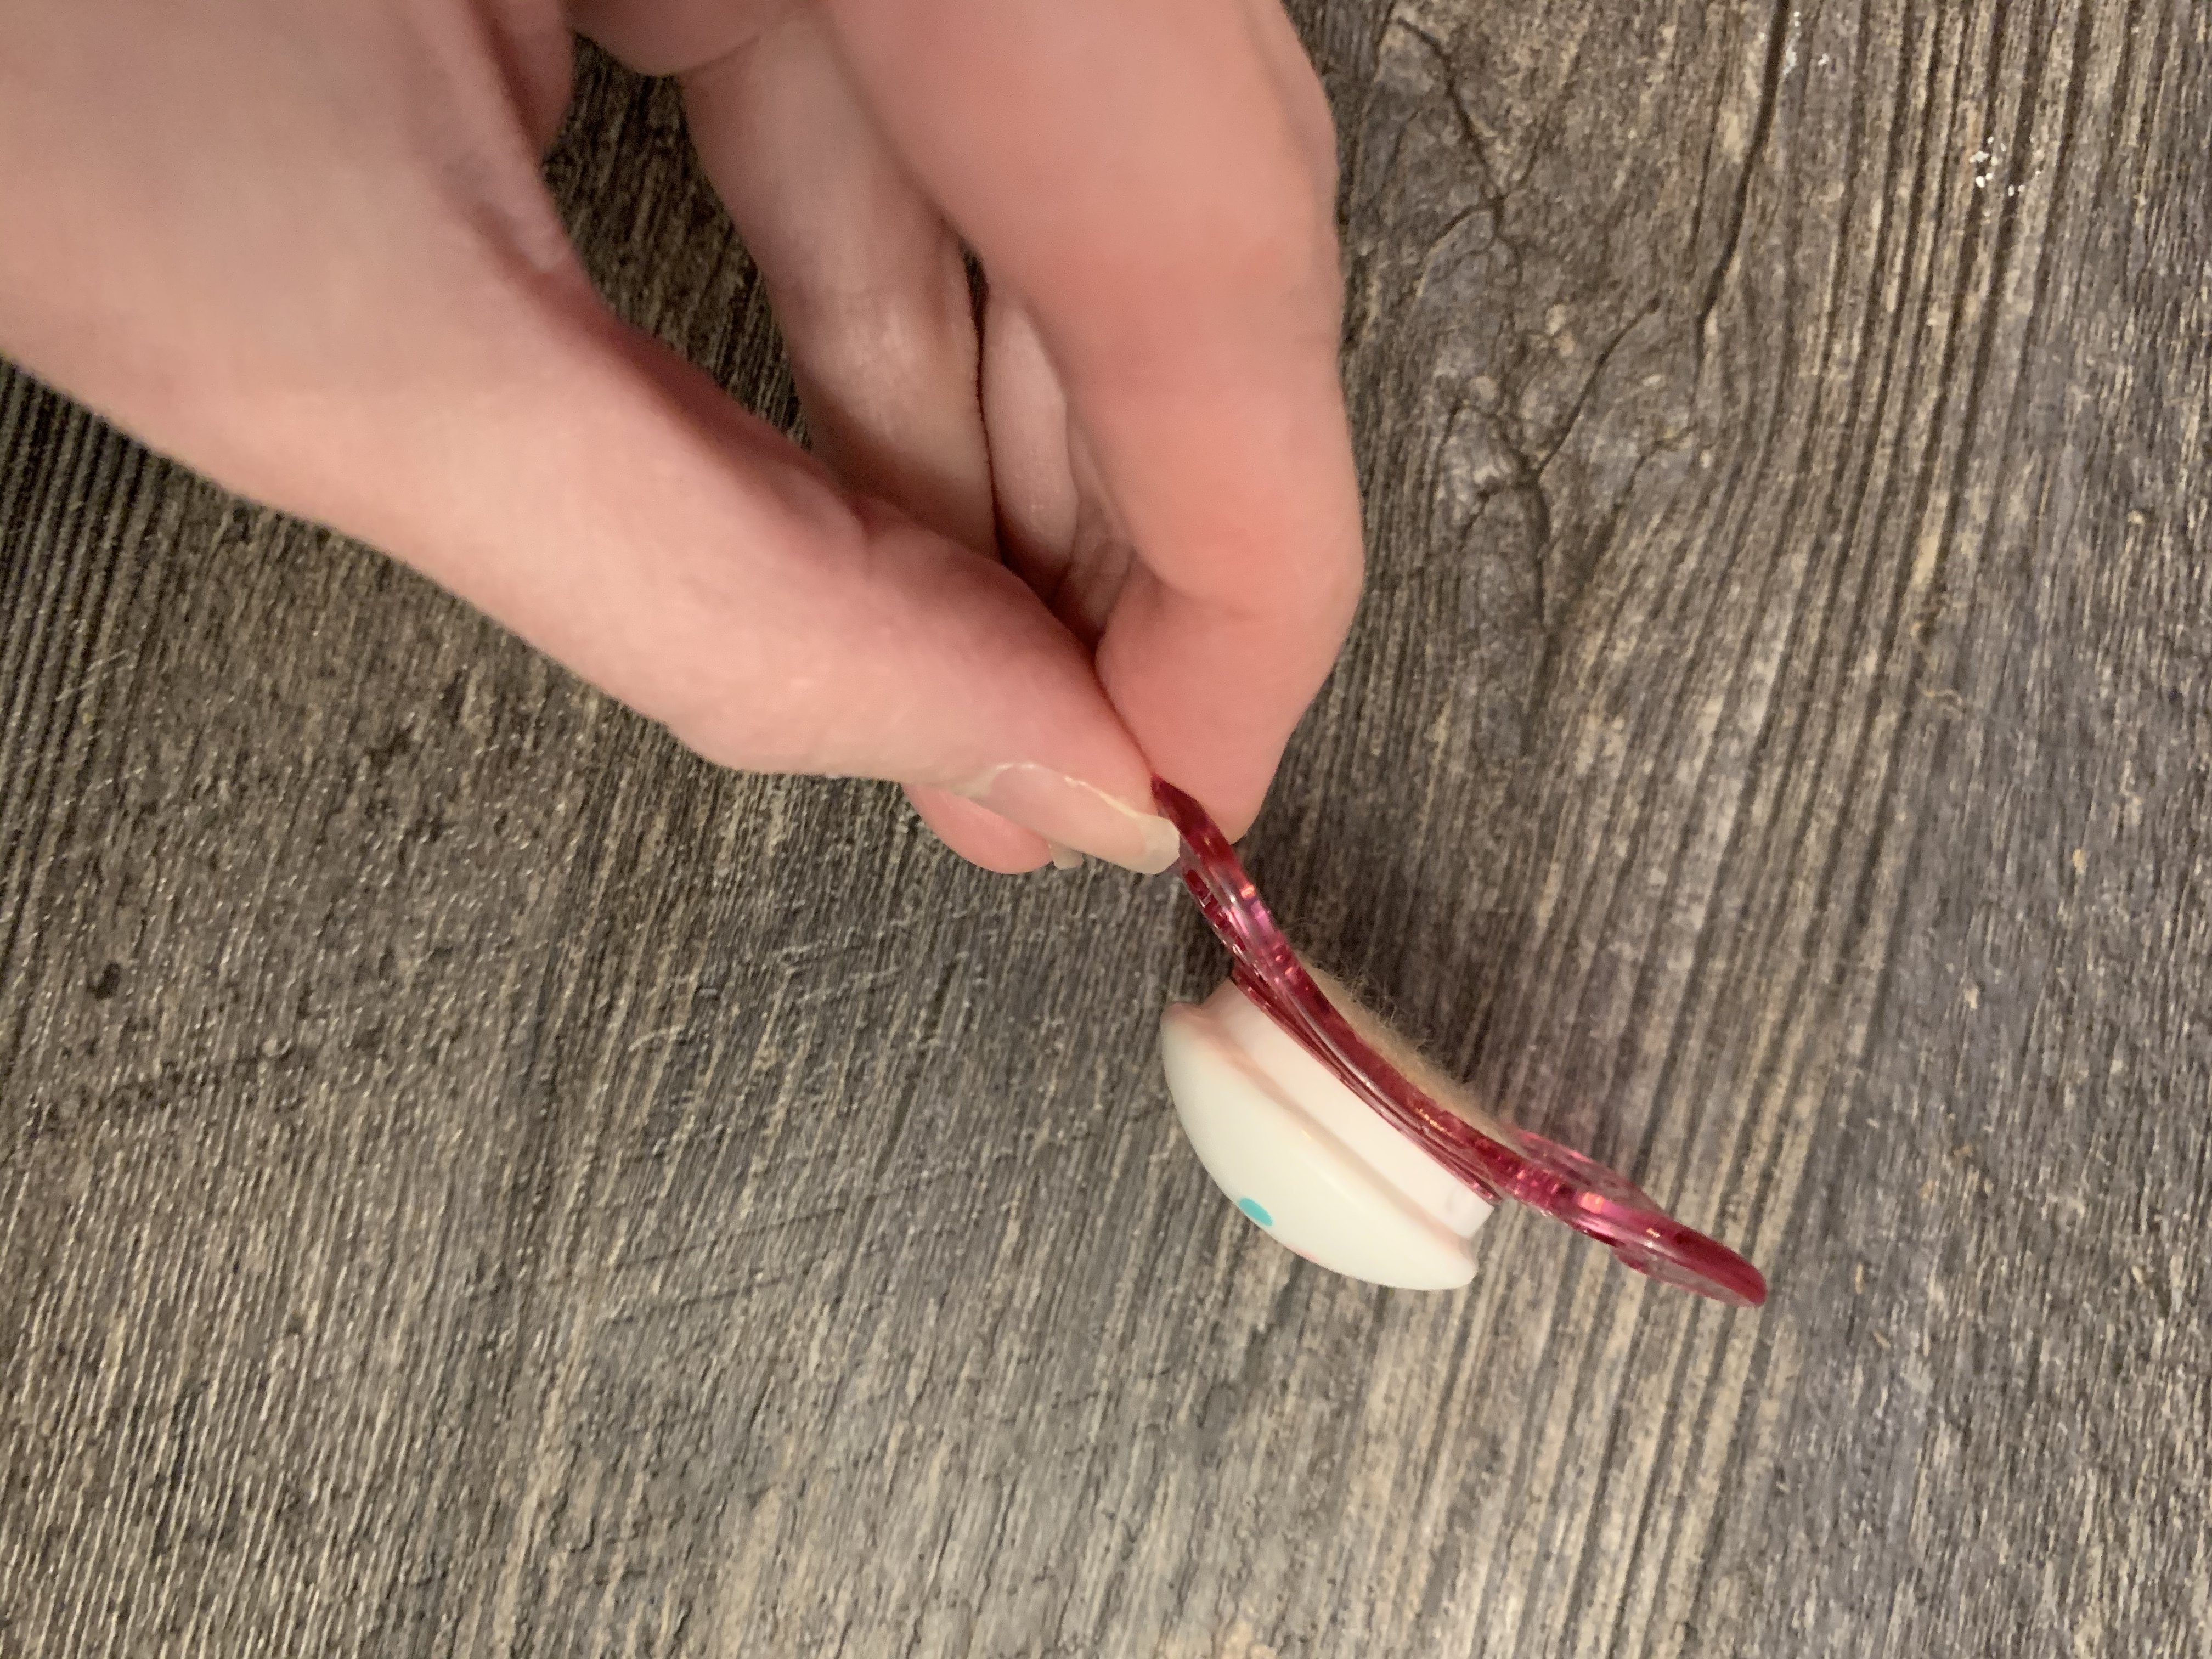
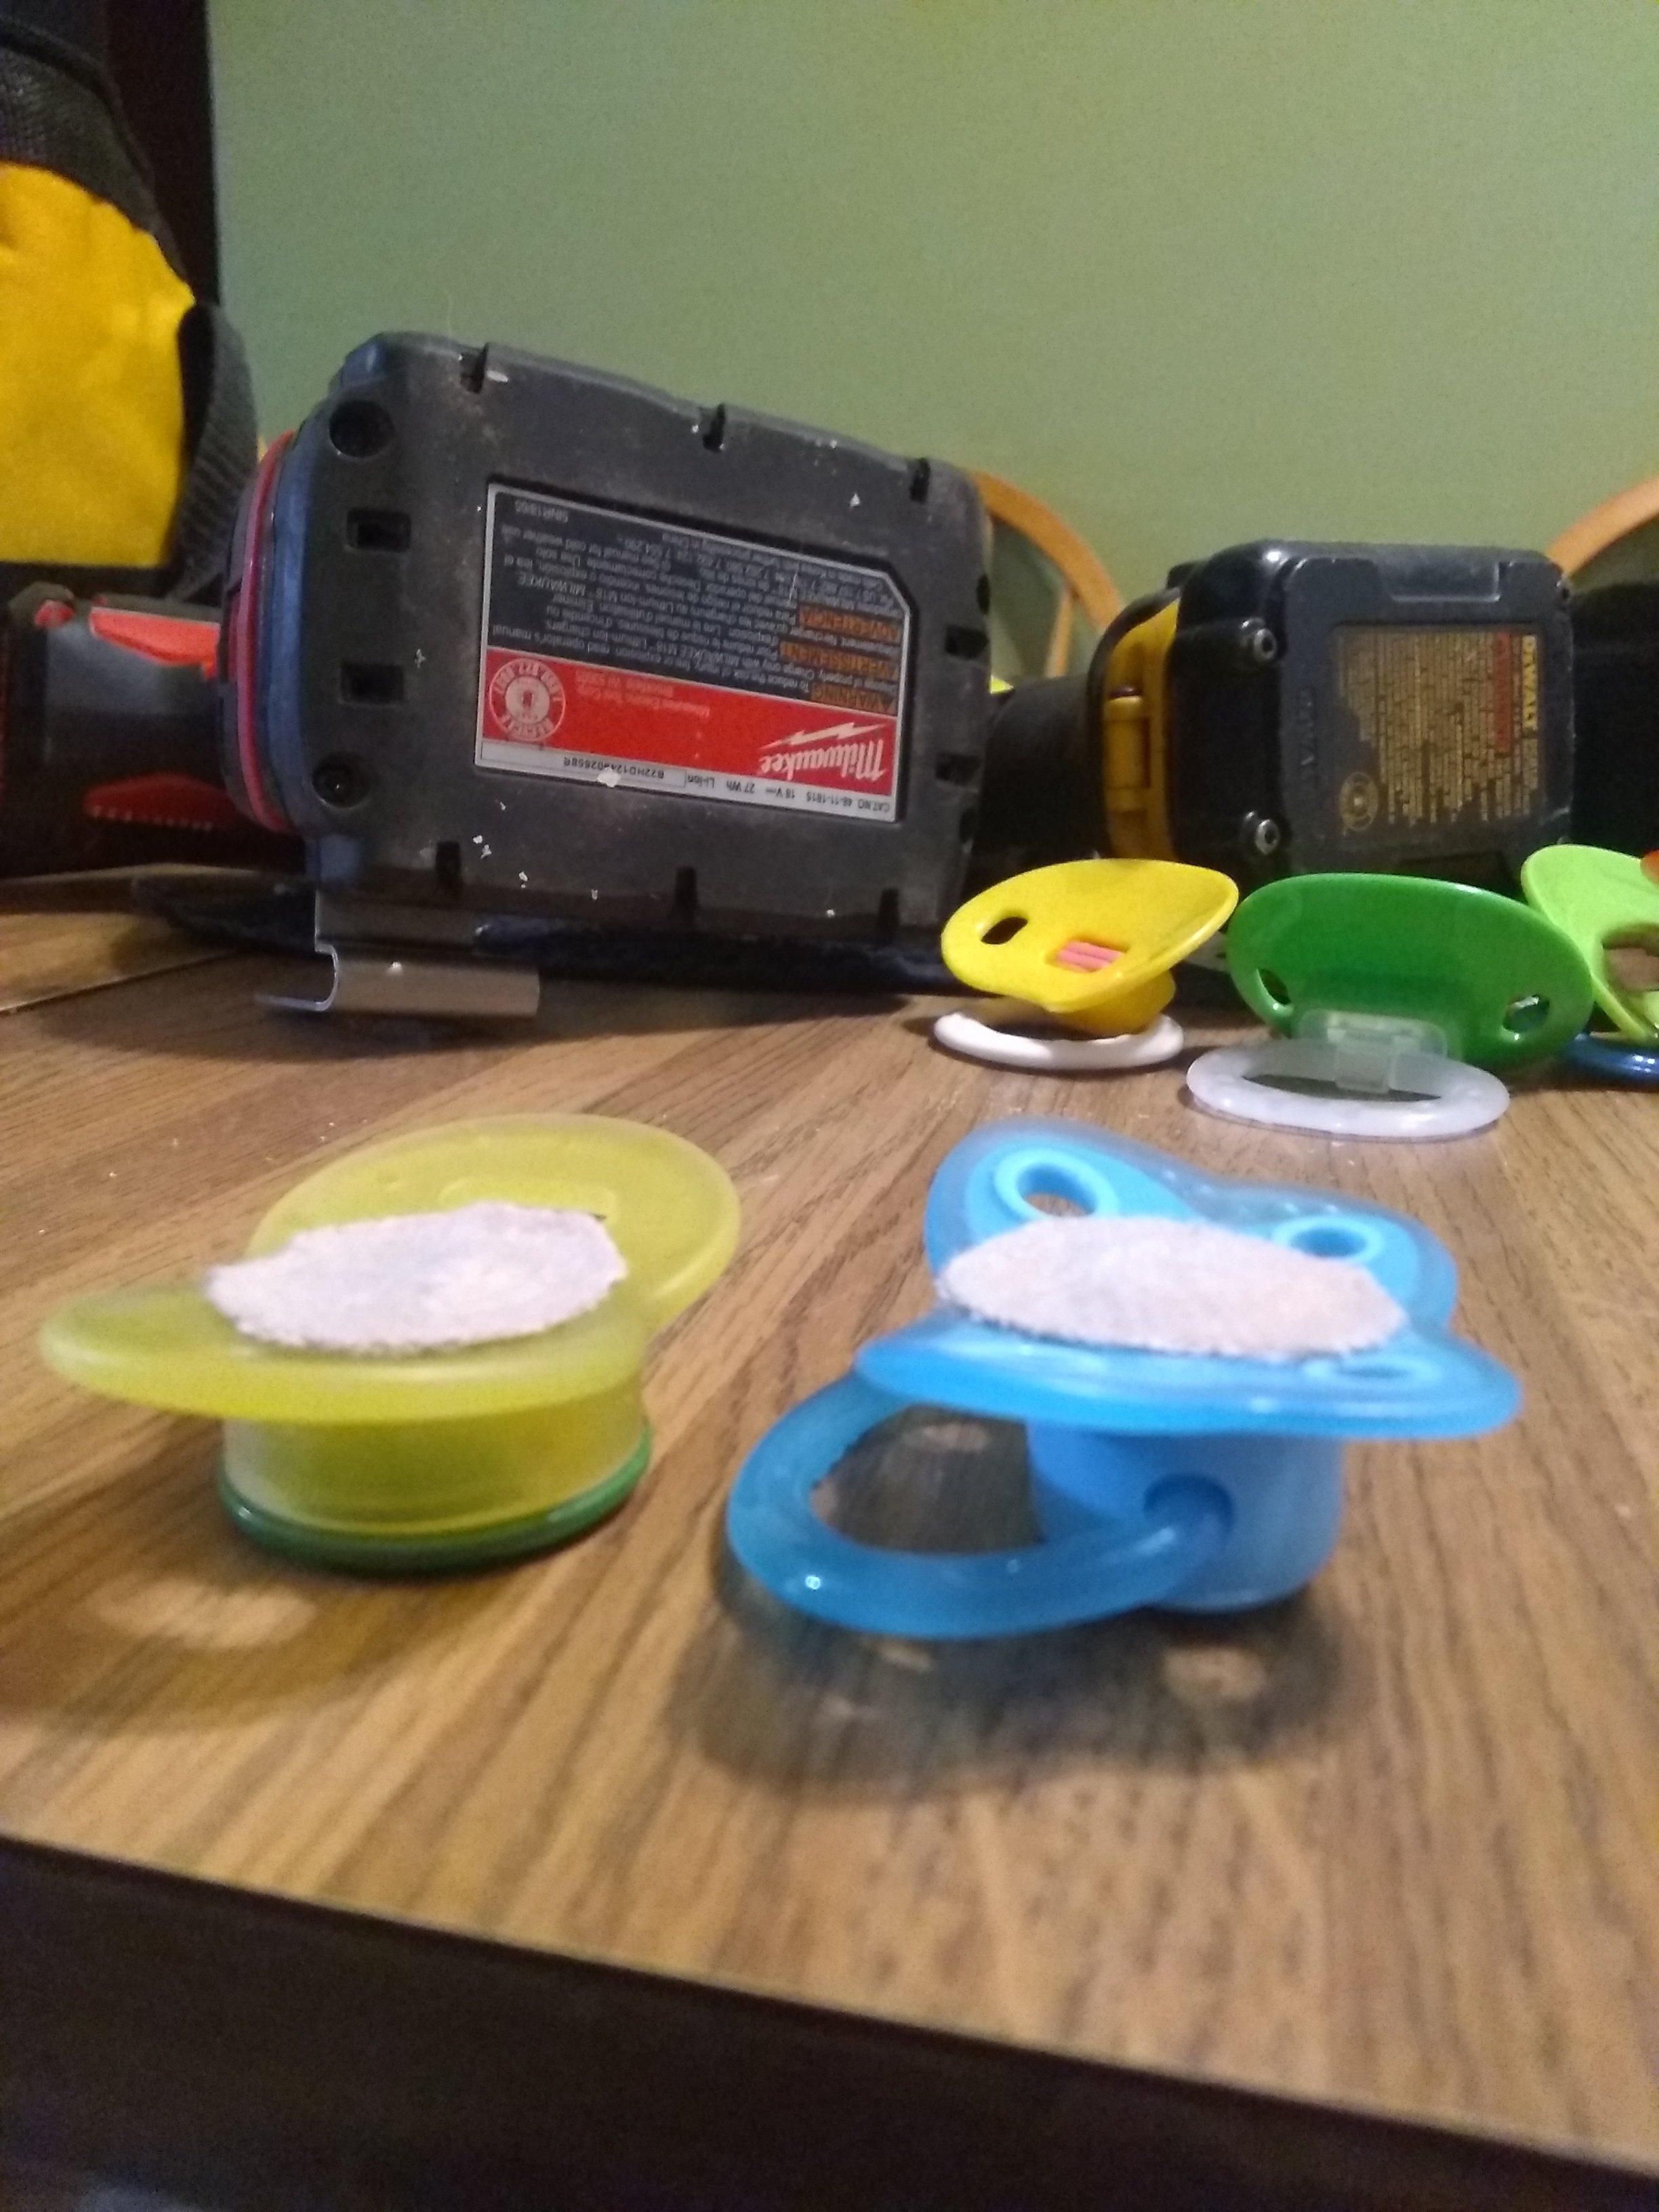
Place your magnet inside. Make sure you check the direction it needs to go first. As long as it’s facing the right way, the position isn’t super important. I normally use the small round ones, but this is what I had on hand. Go ahead and add a drop of super glue (or whatever you use to install your magnets in the head with- I use Loctite Vinyl Glue) on top of the magnet and let it dry.
Waooo what a good idea about the drill, I did it like that with a pliers cutting it from piece to piece but I spent a lot of work. I will try with the drill thanks for sharing
It may work. You do have to put your shoulder into it a little, or else it takes some time. It depends on the power I guess whether it would work or not.
I also want to add that you can do it on some pacis with handles and a cap, but don’t do it on a bibs paci or anything with only a handle. Your handle will pop off
I definitely don’t want anyone drilling through hands! To those that don’t use drills very often, maybe a block of wood for practice would be a good warmup I think drilling towards the hole at a slightly different angle several times until you feel the bit pop through each time is the best way to to it, vs moving the bit around too much while drilling. It’s a little less risky.