So I ordered a couple BB silicone kits when they first came out. One was the defective Darren that I sent back. The other was Stephen. Then I chickened out and sold him because I was hearing some saying the silicone was oily and not holding paint well. Mine seemed fine though. Anyways, when the new Darren kit came out and went on sale I got it. I love him. I am still holding onto him just have not gotten around to painting him. I been working on show babies and I kinda want to keep him so he got put on the back burner. I did install armature wires in his arms though.
I saw Jameson went on sale a week ago so I ordered him because I want to practice a few things. So that brings me to my reason for this post.
I have painted several kits since 2013. I tend to do 2 or 3 a year. So I am getting comfortable with painting. I still hate matting and still struggle with it. I also struggle with the fact that silicone seems to go shiny easily and I hate that. It really stresses me out. Anyways, one thing I am noticing is that customers have an obsession with putting big pacifiers in the mouths of these babies. I have not opened the mouth on any NB heads/babies I have sold. Only a mini sili in Ecoflex 30 a few years ago. It went well. I did try to open the mouth on a Mireya sculpt I got a couple years ago and it went awful and I ended up closing it back up. I got it cut open with no damage to the mouth but could not get the inside to look smooth or the way I wanted.
Back in December, I had someone contact me about a cuddle head baby I had painted that she purchased 2nd hand (or maybe more owners than that who knows). Someone had cut open the mouth and in doing so had caused the paint to start peeling. It was peeling across the cheek and some under the chin. She was wanting to know if I repaired the babies I paint. I told her since I did not cut that open or cause that damage that I was not comfortable trying to fix it. I might could have but then again, I had no idea if it had been subjected to anything that caused inhibition so I could not guarantee the repair to work.
Ever since then I have thought about how I guess I need to get comfortable opening up mouths more so that I can sell them opened. SO I have been watching videos and I am polling people who do it. So spam me with your feedback and best tips! I plan to practice this on Jameson. What tools do you prefer? Xacto knife or the little silicone scissors? Things like that…
The other thing I wanted to ask about is the silicone color of the BB kits. It is kinda pink. I have a friend who has been saying she has fought the pink tint the whole time and struggled to get a skin tone she liked. Do you all just go with it or have you been neutralizing it somehow?
Anything else anyone wants to mention here about the BB silicone kits I am open to hear as well.
I’m far from an expert since I’ve only done three so far, one just being the head. But I didn’t have any issues with the colour of the silicone. I just started painting, no neutralizing. I’ve opened 3 mouths, using exacto knives. I figure I might as well get experimenting on my first ones since everything is an experiment at the beginning. I would hate to get really good at painting them and then be worried about cutting the mouth open. How to get a nice smooth mouth inside is beyond me as well. It looks fine from the outside but the inside looks quite chopped up.
I do know that once you get it painted inside, flooding it with a tinted silicone mix will help to make it more smooth looking. I have done that on a couple kits I purchased that were opened but not smoothed out. But I would like to cut mine as smooth as possible to start.
I’m not sure anyone gets a completely smooth cut from the start. After you make the initial cuts (top and bottom)to seperate the lips, don’t cut straight into the corners of the mouth - you want to cut a curve so it doesn’t weaken the corners of the mouth.
Sculpt your cuts in an arc on top and bottom so your cutting a circular chunk of silicone. Once I’m
about halfway thru, I use hemostats to hold onto the silicone “plug” and continue cutting until I have the depth I need for a paci. I clean up any chunky areas with my scissors, then flood the mouth with tinted silicone. editing to add that the only mouth I’ve opened on my yt is a partially sealed Jayden sculpt. Her mouth is fully sculpted but you have to remove the silicone plug that seals it shut. I will be doing a video of opening a closed mouth sculpt in the near future
There is a product called Thivex that thickens the silicone so it does not run so much. They use it when doing pour spout repairs and such. I have some of it and I was wondering if that would help to get it spread evenly inside the mouth?
I don’t thin my silicone. Pour it into the mouth and roll the head around to coat the interior, or use a brush. I heat cure most of my work, so it doesn’t have as much time to pool.
When painting I do use a little NOVOCS thinner but for something like this I would not. I have painted the insides of open mouths before but the paint still pools some even when not thinned. I hope to play about with all this later this week. I have to work every day but Tues and Friday but Tues I have 2 doctor’s appts.
I probably did thin mine but I can’t actually remember. I did try to heat cure it but to get in the mouth I had to hold it open then curing it like that made the mouth stay slightly open
I am also very leery of heat curing. I have done it but I also know if you get that heat gun too close you can scorch your paint leading to peeling later on and not realize it until it starts peeling. So I air cure all my layers but sometimes will put a little heat on it for just a few seconds to speed it up and that is all. I find my best time to paint is in the winter when it is cold and the silicone cures slower and then when I am ready for the paint layer to cure I turn on a little space heater in the room, close the door and let it get very warm in the room. I cover the baby with a big Rubbermaid clear tub so it does not get dusty. If I am painting in the summer I try to keep the air conditioning turned down while I am painting.
I never cover what I’m working on. I run my air purifier 24/7 and it really helps cut down a lot on fuzz and lint. My first kit, I wrapped every piece in satan wrap ( not a typo) after it was cured, and I don’t find I have any more lint uncovered as I did covered.
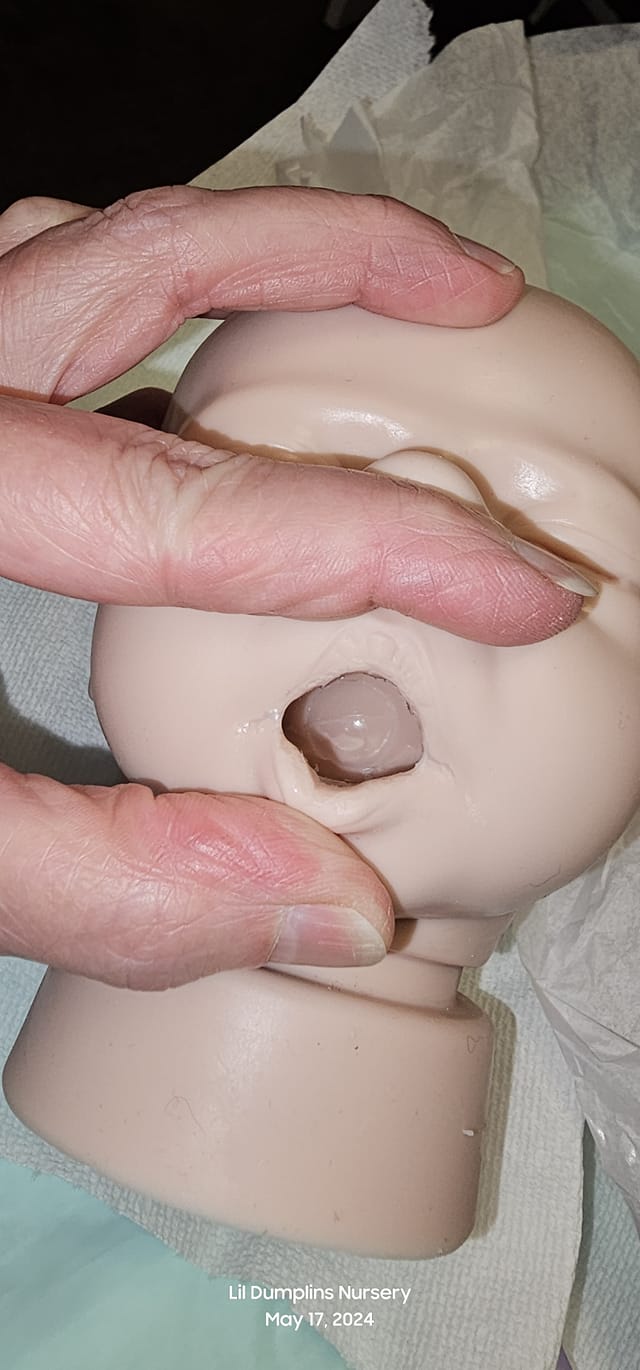
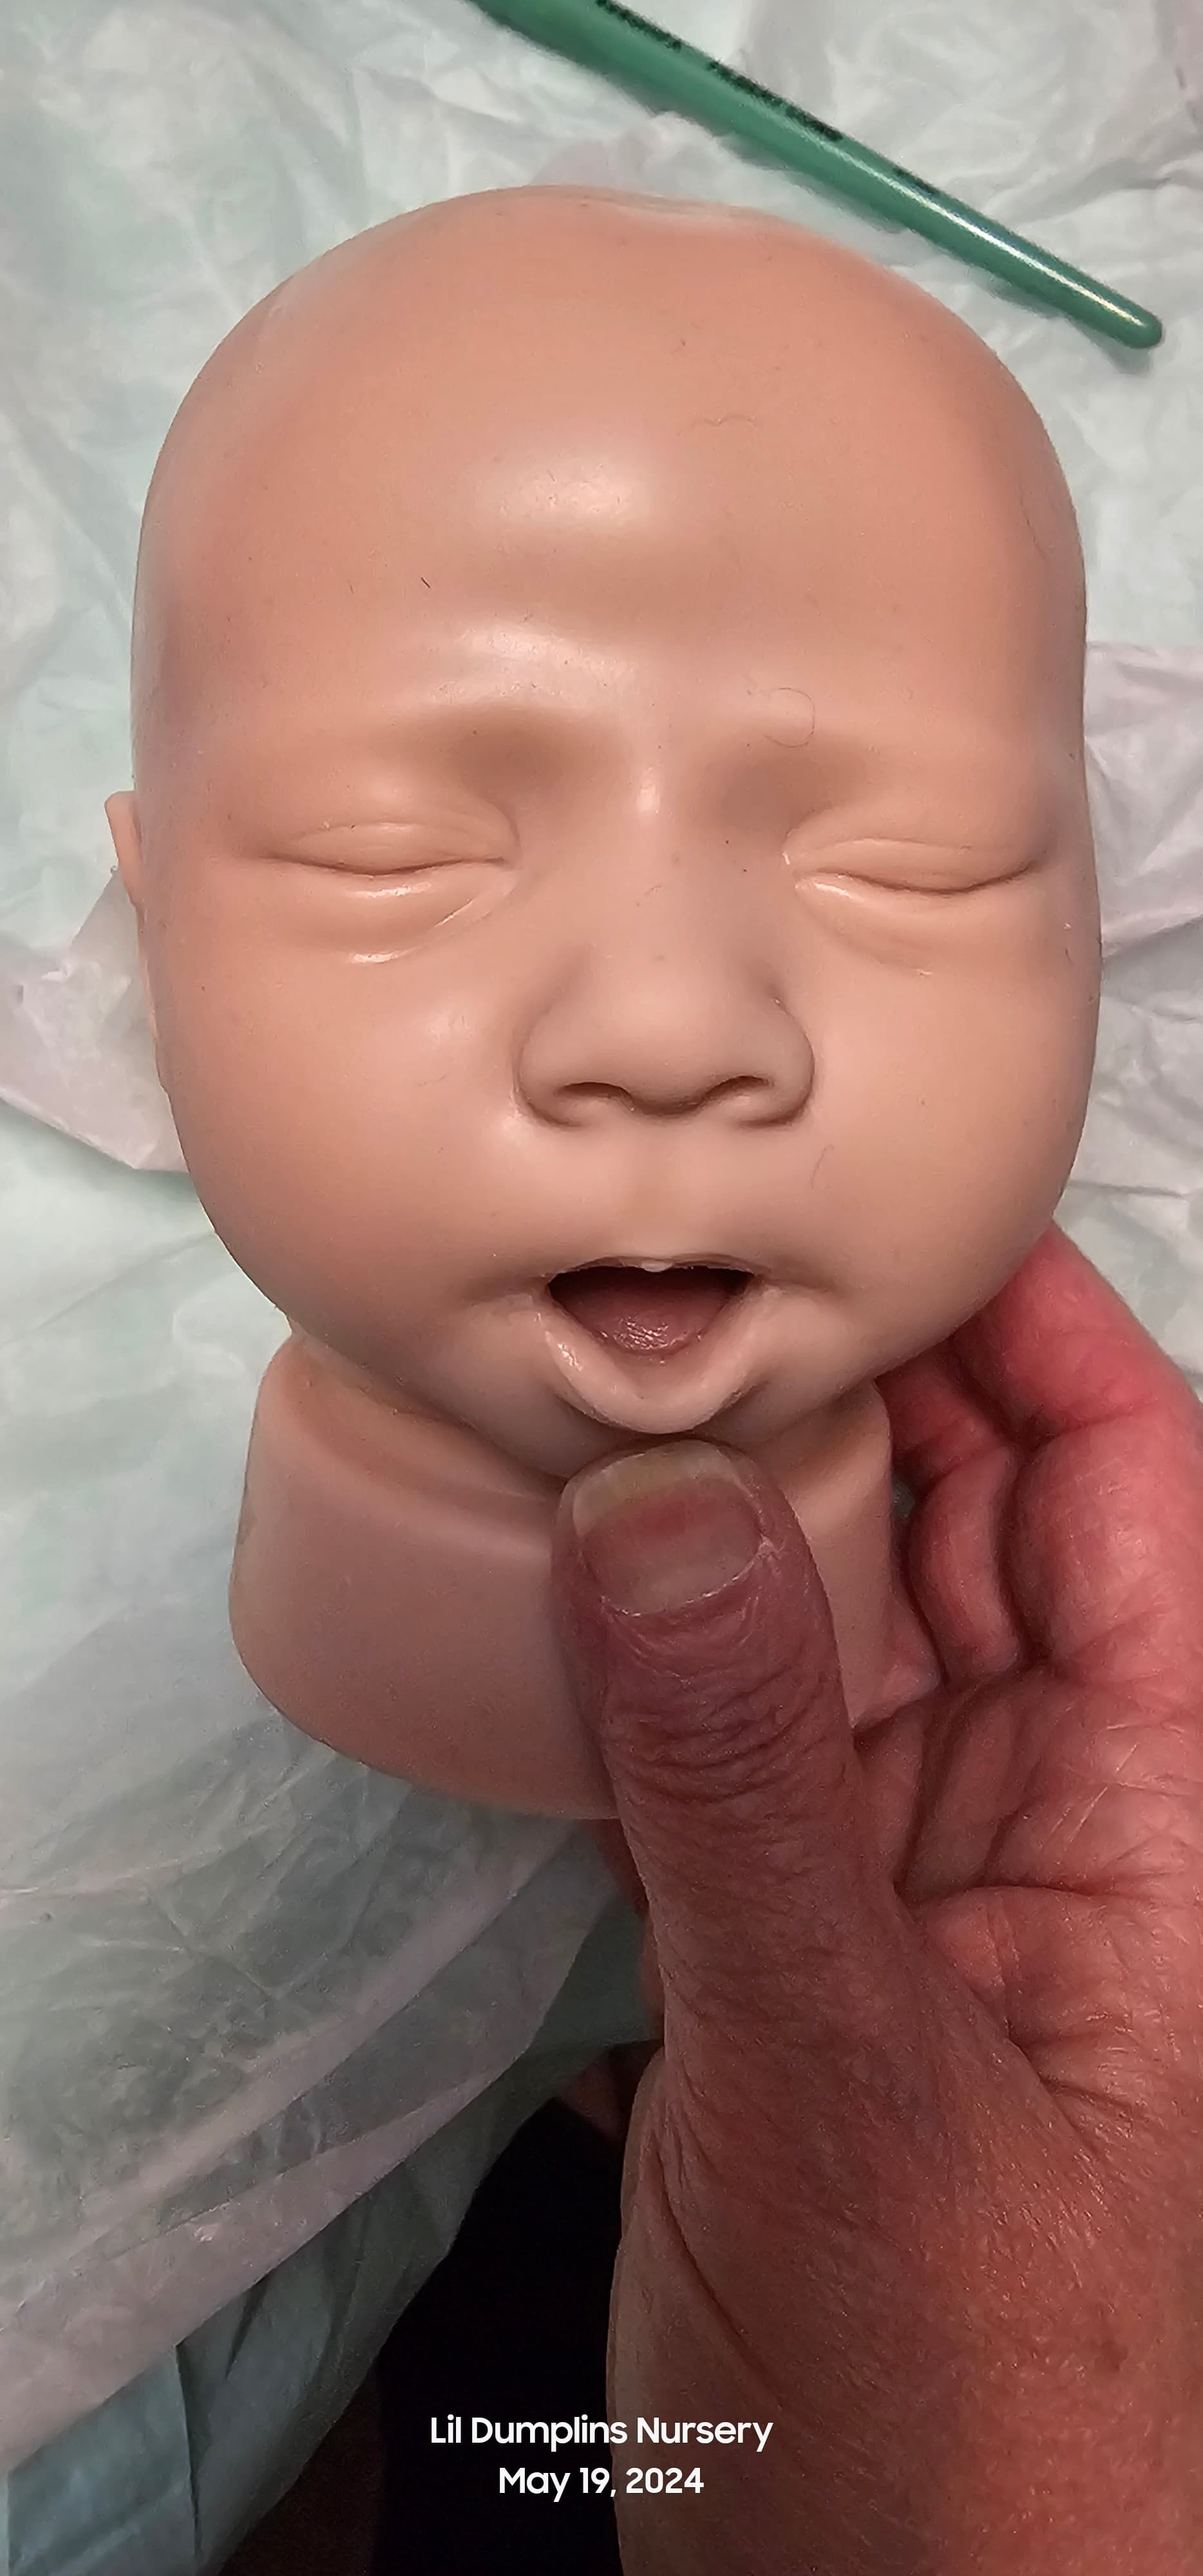
Ok ladies I need your input again.So Here is my Jameson kit I opened the mouth on. I am still working on smoothing inside. I mixed some silicone pigment color to match him pretty well but it is more transparent than the original silicone when Part A was added to it. SO you can see the repairs here to the mouth corner cracks because they are still transparent. I will go back and work on them more. I hate to fill the mouth back up since I have gotten this far…so I was planning to keep going and paint him and sell as a boo boo baby? What do you think?I have had others to tell me they just repair when that happens, keep going and paint the baby. I am sure it happens more than we all realize but at the same time my worry wart self is concerned about it splitting again too because the silicone has been weakened and putting a pacifier in and out of the mouth stretches it.
It has been suggested to me that I could repair and sell with disclosure it had been repaired with also the offer that if the buyer preferred me to close the mouth back up again I could do that.
Being that I bought this sale kit to practice on, I have decided to continue on with the repair and trying to smooth the inside out the best I can. I also am trying my hand at pouring my own tongue to go inside and if that works out to where there is still enough room to put a pacifier in there with it affixed in place I will do that. Otherwise I might have to leave it out or offer it as a removable piece maybe if I can make it look decently.
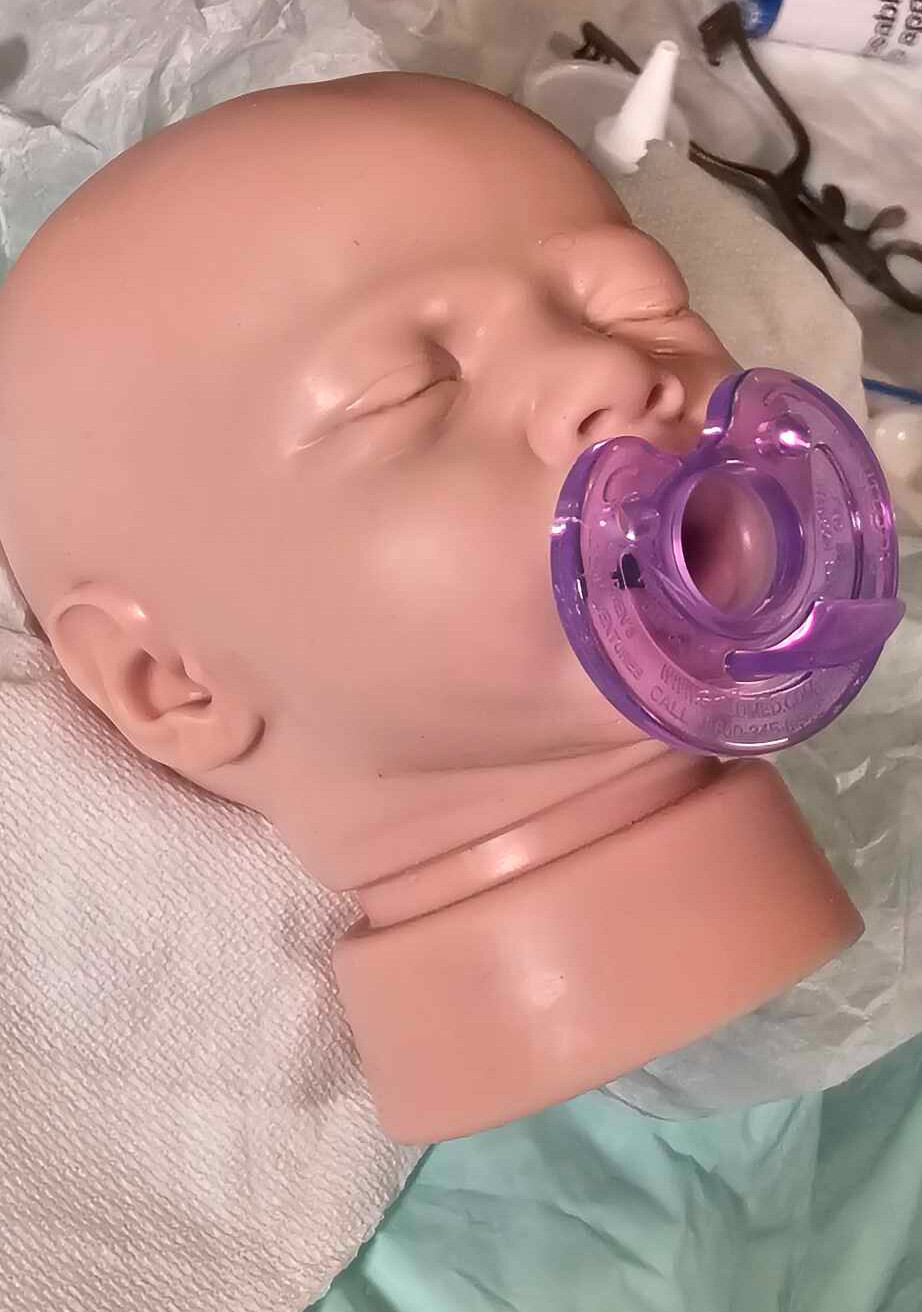
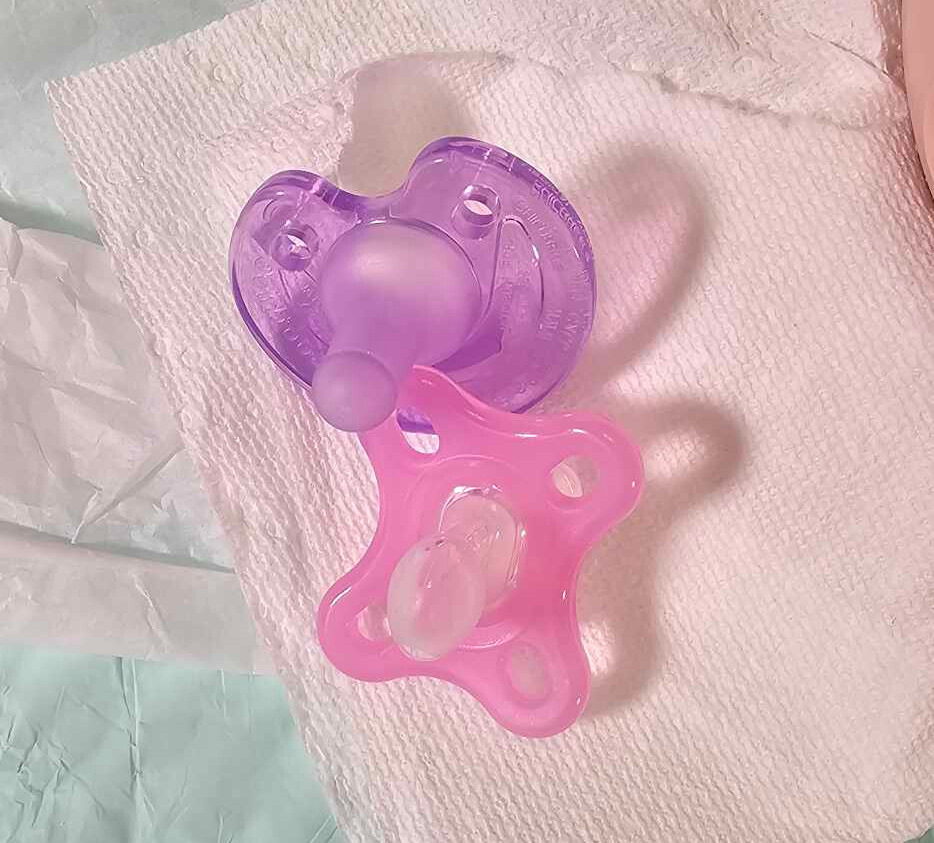
I finished up repairing the mouth today. It seems strong and stretchy but I do advise not to over stretch and to use a Preemie pacifier with it.
So here it is now. It is not totally smooth inside but I an going to just go with it. If the tongue I am making works when cured, I will affix it permanently.