You’ve been busy!!
No! I haven’t!!! I started these 2 , before I started moving. I have had a month off, withdrawals were killing me. I should be
Unpacking… But… Lolol I was unpacking my dolls instead of my kitchen. I couldn’t help myself. Where do I go from those pics? This is the look I want!

Thanks Cali!!! Mixing up the crease paint! 
So, no blue white? Lolol I can actually do what u said!!! 


Looks like your skin tones are coming along nicely.
Thank you. I have been trying so hard. I love that I can see everyone’s work on here, and it gives me so much to go on! I am so grateful for you guys! ️
️
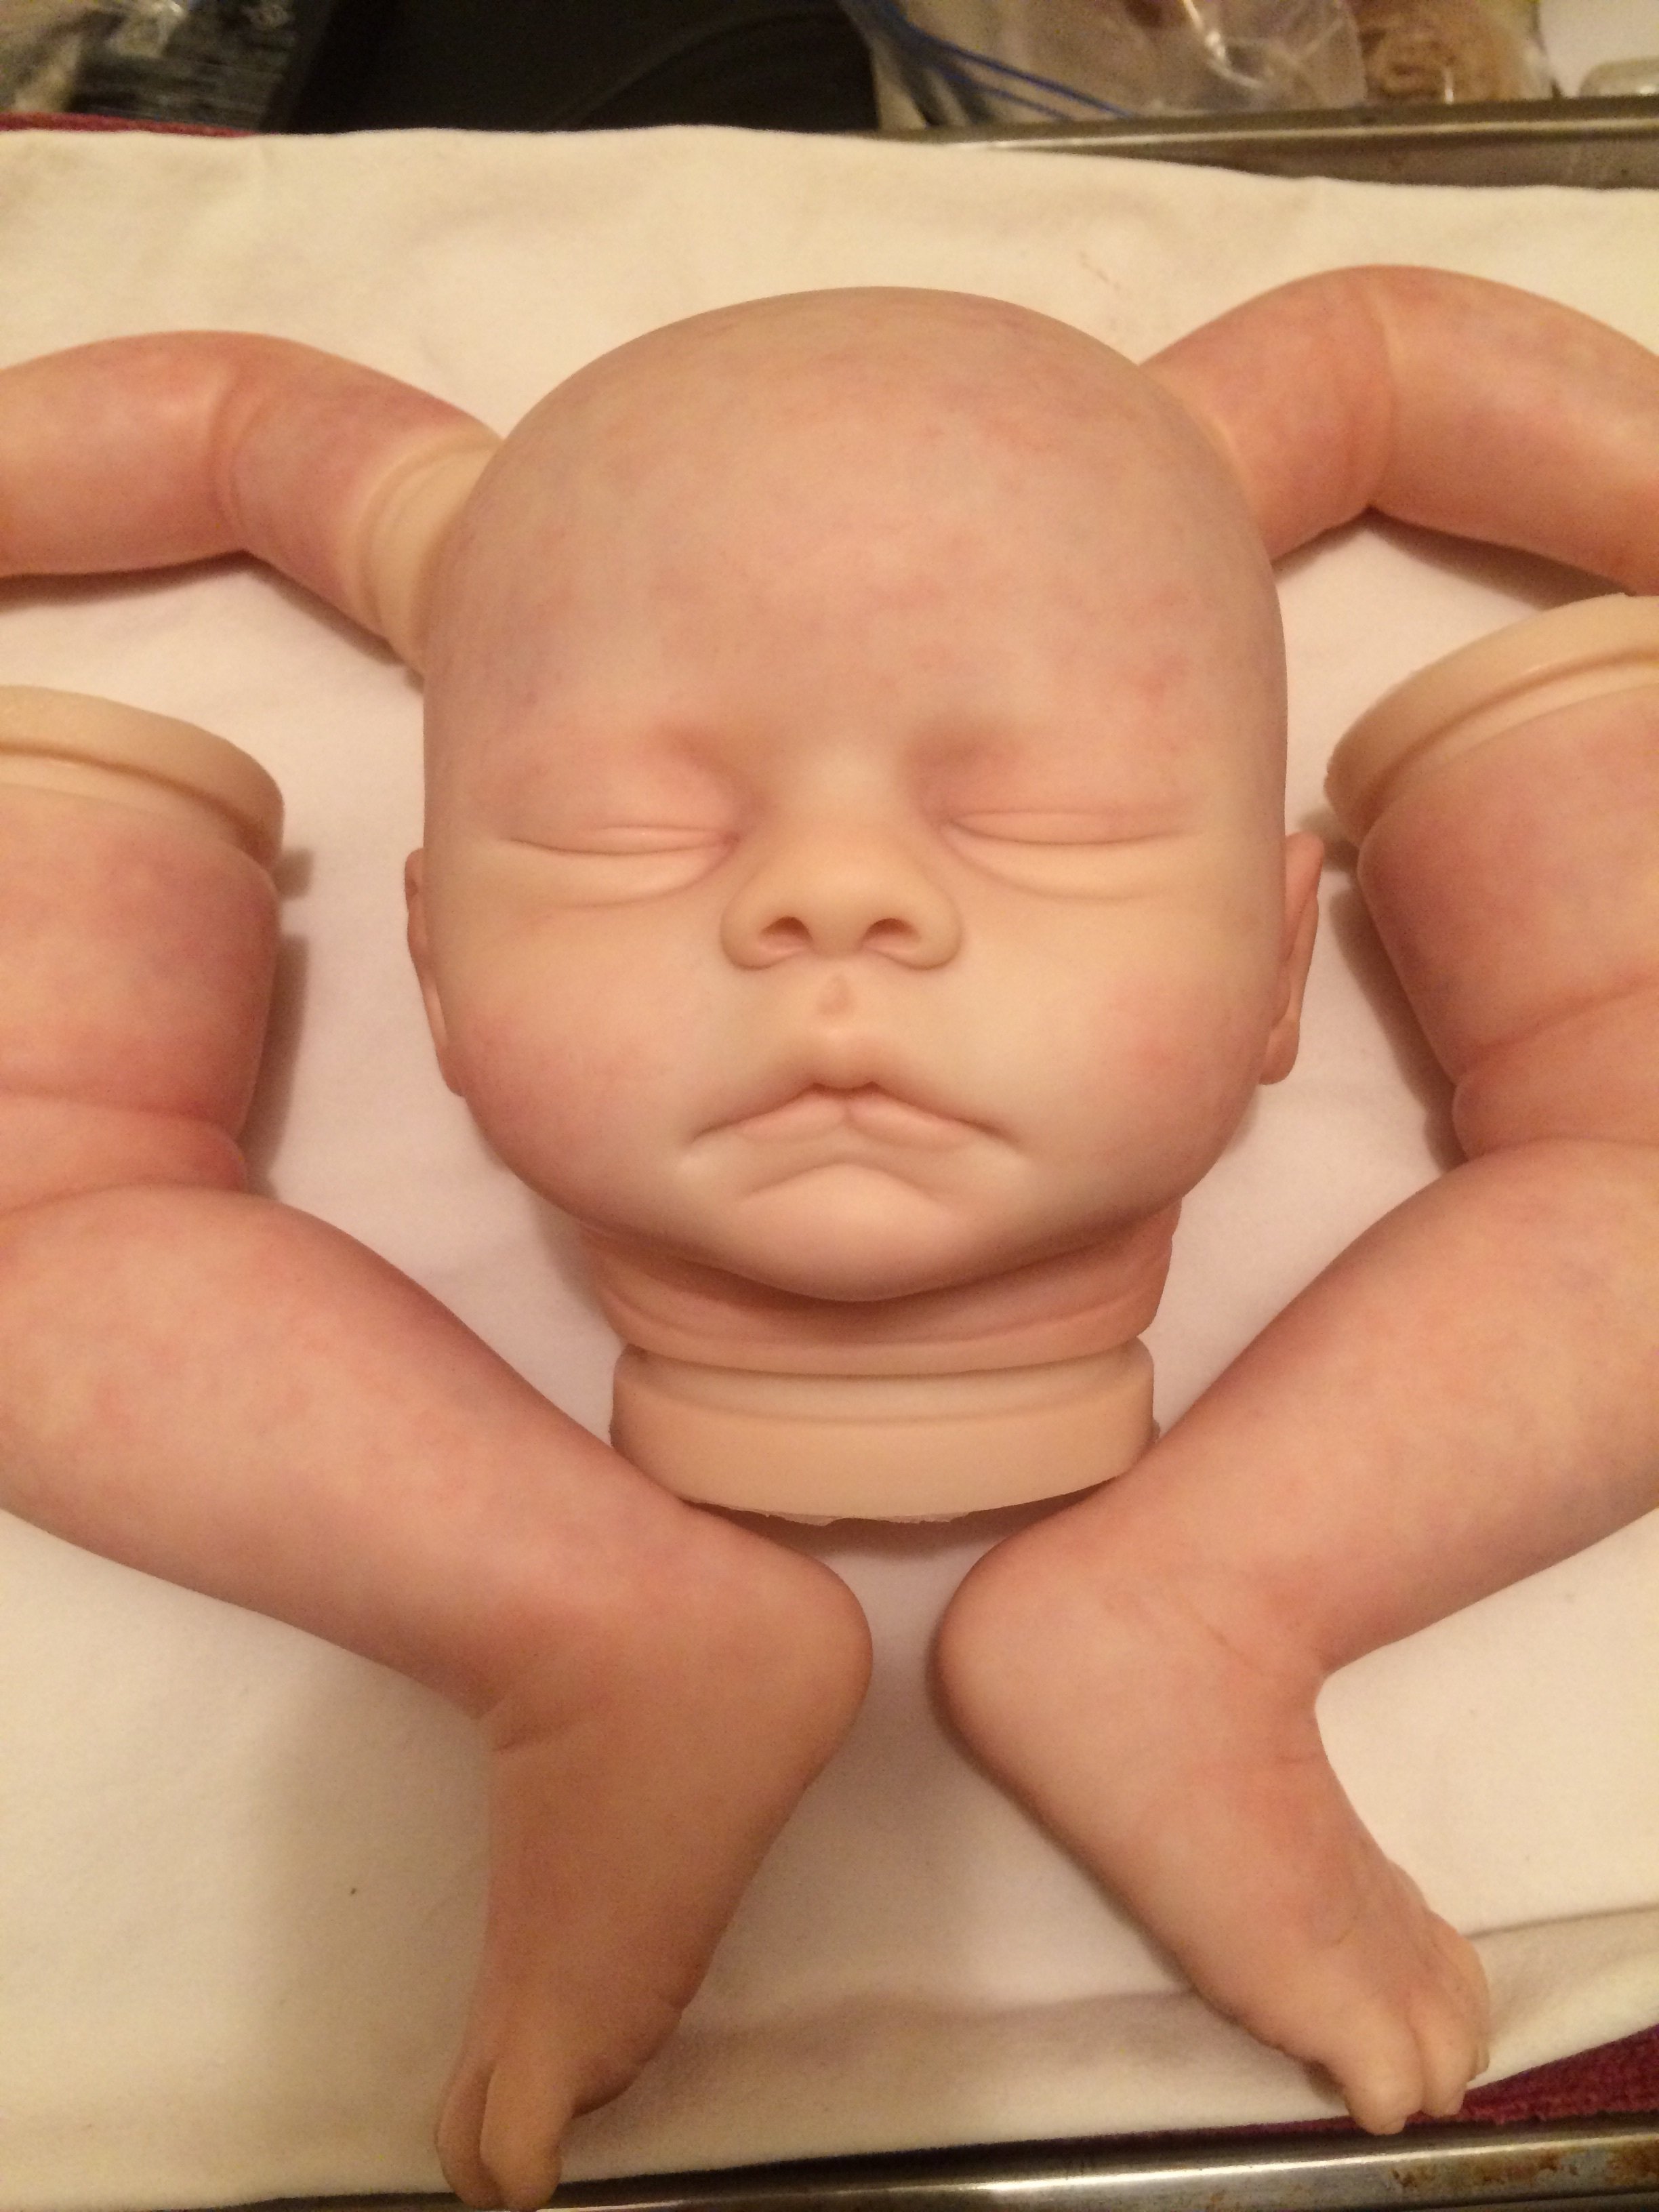
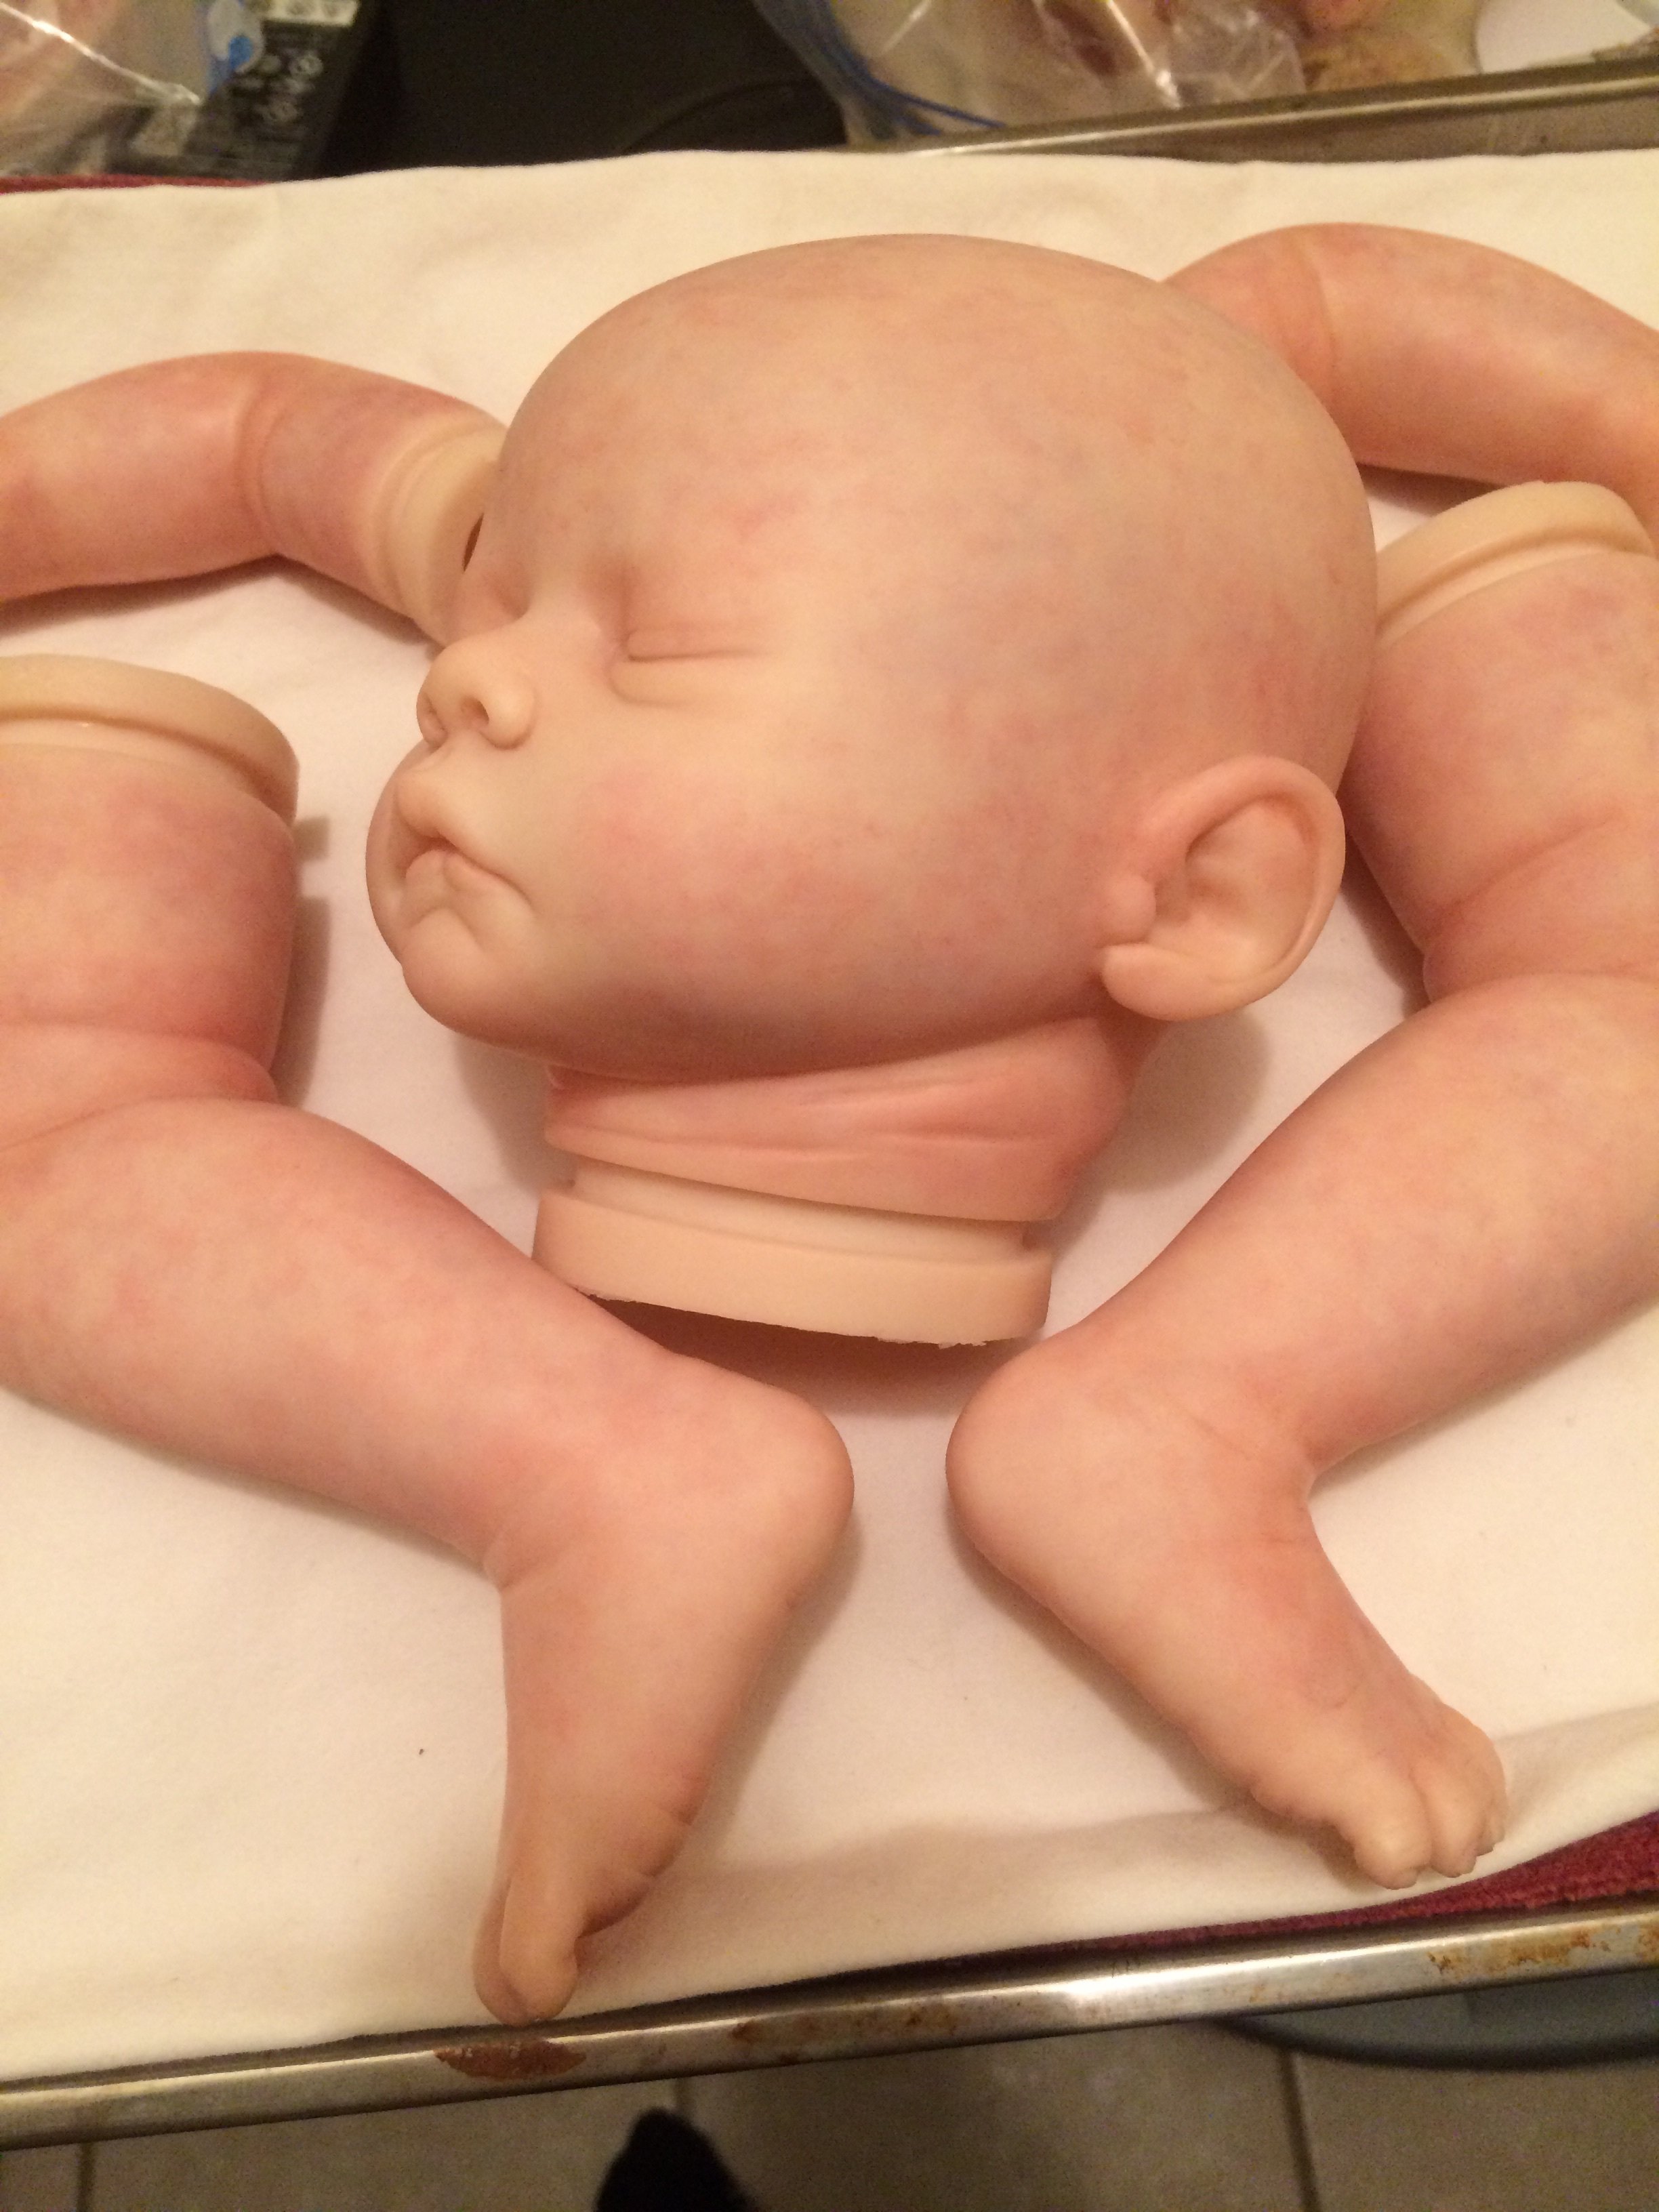
Your baby is lovely! I do think the general color of the one you are working on is more golden toned than the color you are aiming for. I think even if you add blush and lips, etc, the area above and below the mouth and the bridge of the nose wouldn’t be as fair as the pic. You can see it better than we can (tones can fluctuate on screens). What do you think?
I think you are 100 percent right. What can I do?
Very thin blue wash around the needed areas, Flesh 8…then blush and crease it, add lip and brow.
Only on the face right? Or just in those areas? Ultramarine blue? Also, what color pink is correct for my pinking?
OK, remember this is just my opinion and you have to use what you are seeing in real life guide you. You could do a VERY thin blue wash over the entire kit to make everything paler and less golden. Or, if you feel it is enough, just around the mouth, nasolabial folds, across the bridge of the nose and eye sockets. Then flesh 8. Blush should be the tone you see in the pic. Try a little on the cheek after mixing and adjust if needed.
Edit: you are probably fine just doing those facial areas. Good luck!
Thank you so much, I will work on him tomorrow:-) I am thinking lip/nail would be a good pink? I finally got ultramarine blue/ can’t wAit to try it. My others Blues were not doing the trick. More pics to come! thank you, I REALLY. Appreciate it. 
I
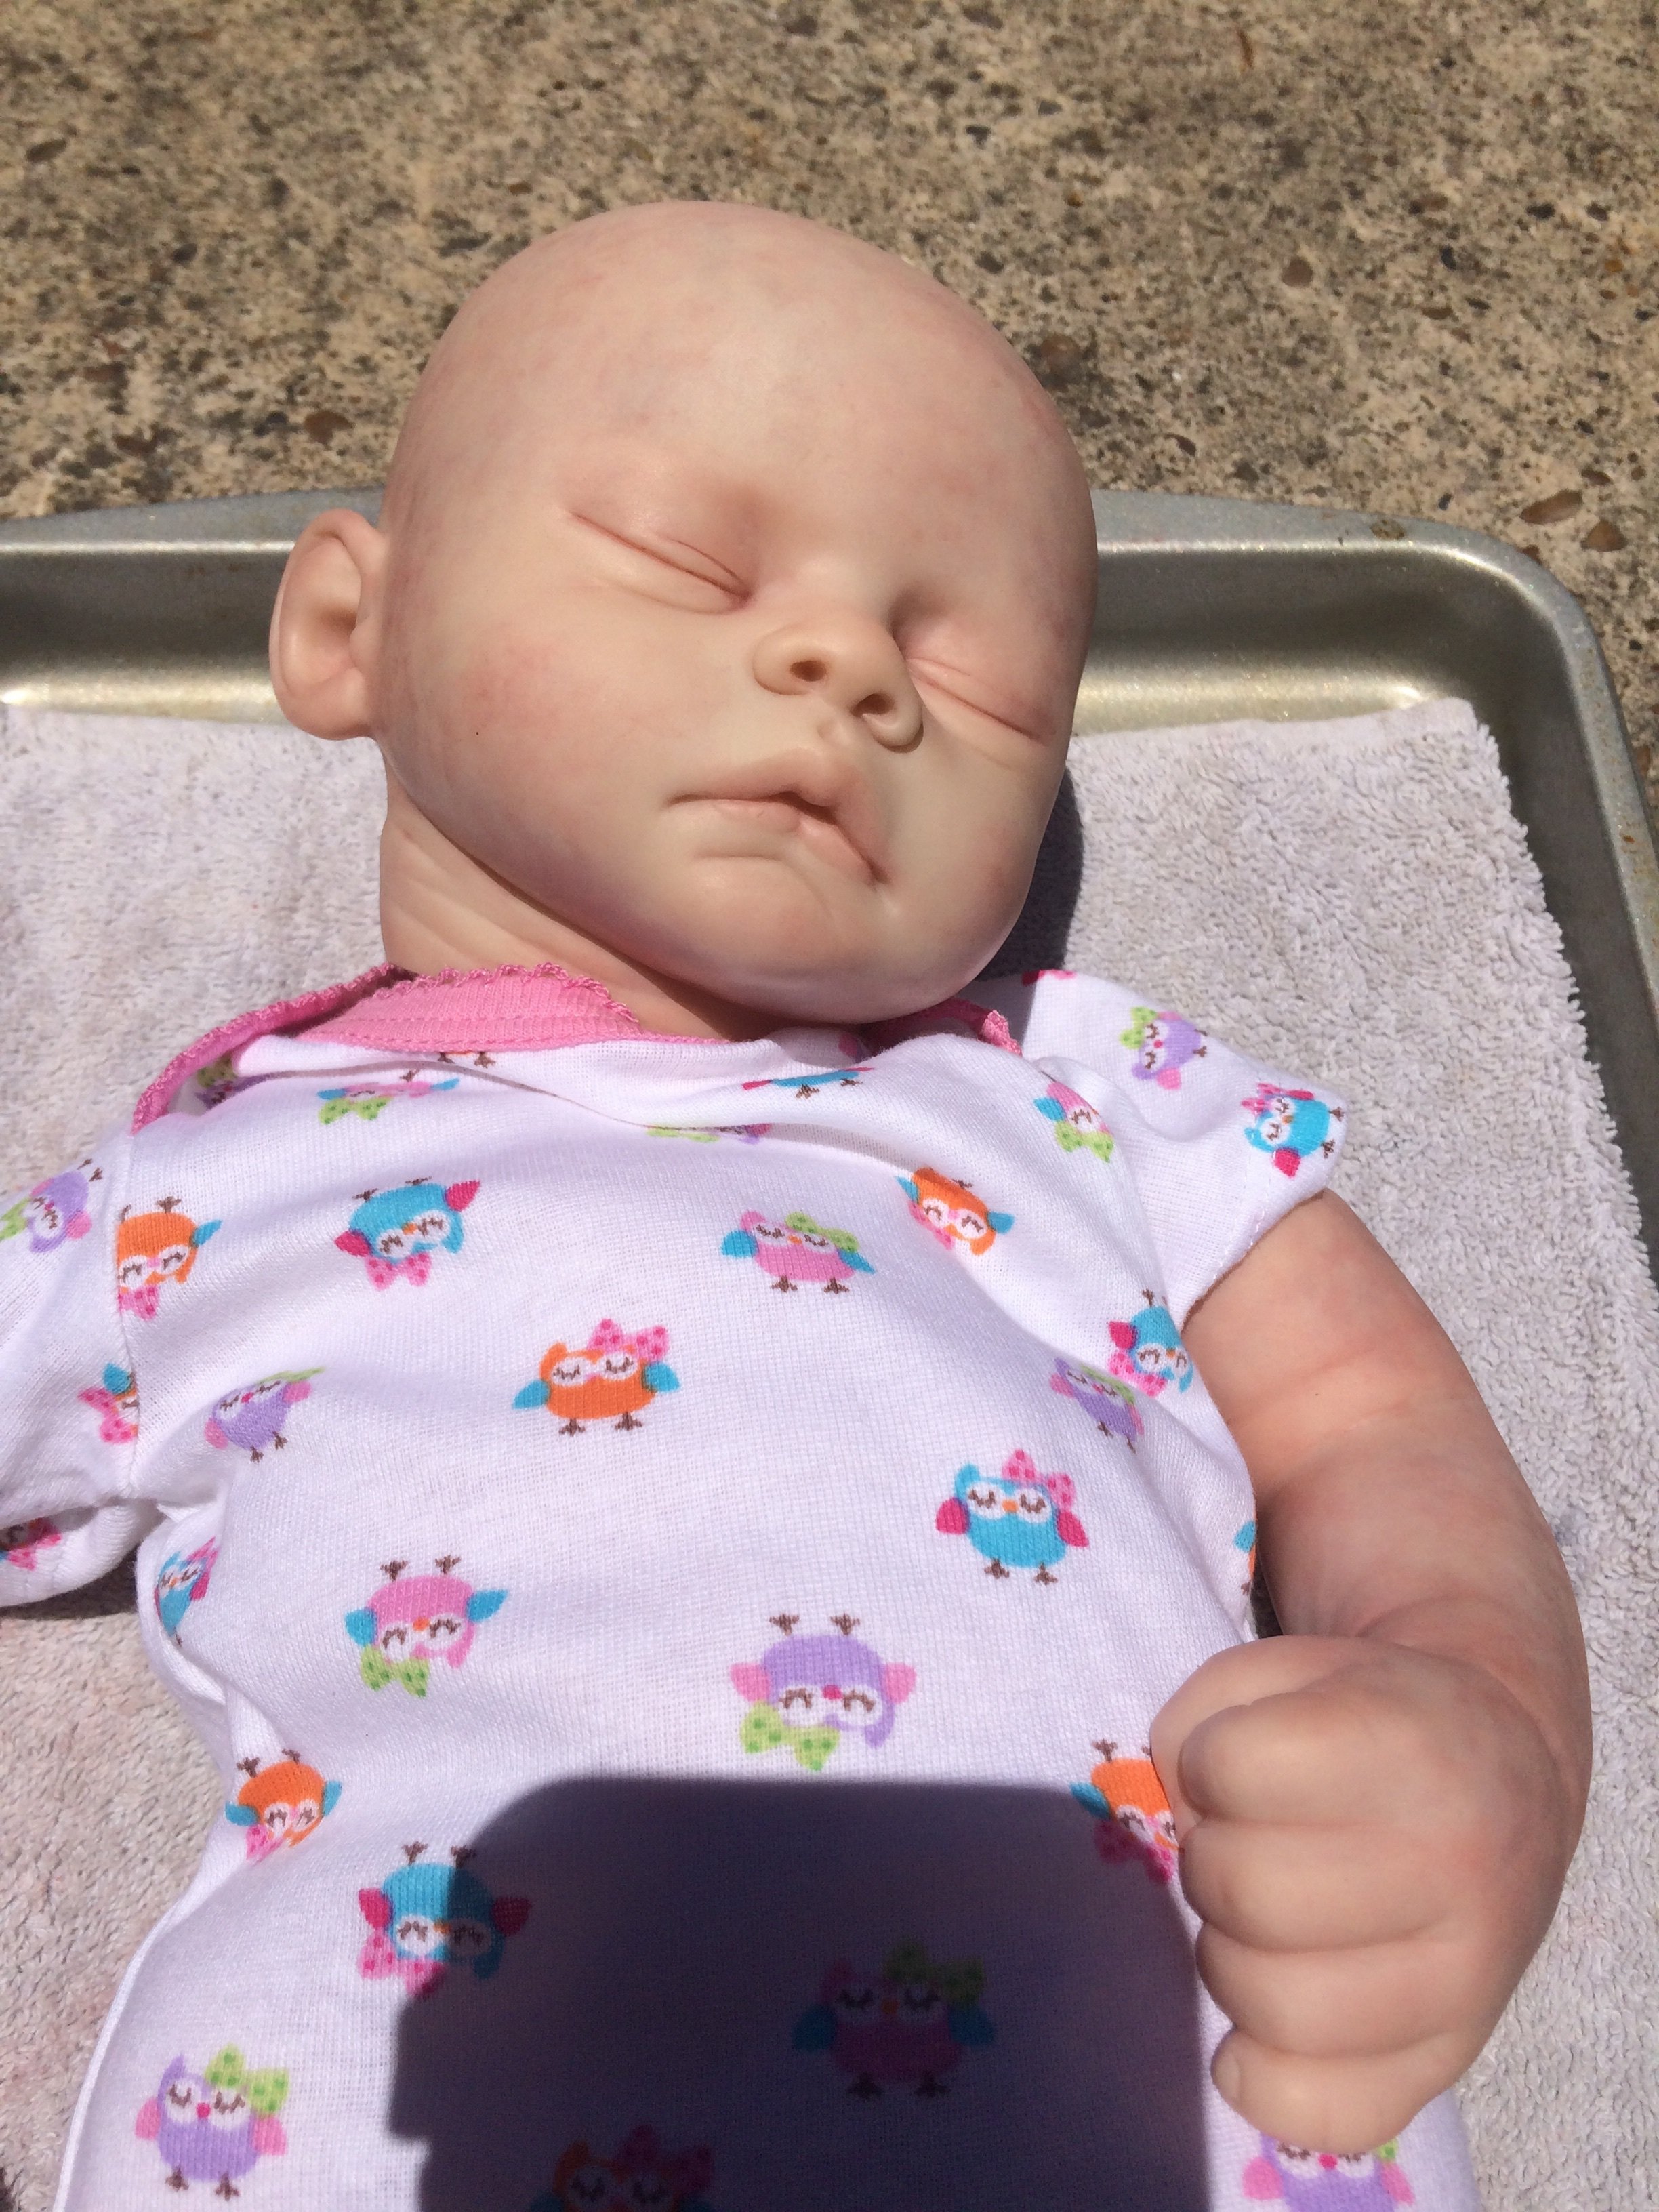

There’s just something wrong about a baby laying on a baking tray! 
If it were’ me, I’d pink up the finger tips (as best you can) and the toe tips and add some red around the wrists and ankles…maybe even a touch on the tip of the nose. I can’t see the palms of the hands and the soles of the feet but they should have some pink, too. The same color can do all that.
Ok! On it! I am doing the pinking now, I just posted new head pics. Moving on to body now:-) thanks Amy! He needs more crease work also…I think this leads back to a previous post of mine. I got all my base colors where I wanted them on the whole doll. Then I am doing the head how I wanted and then will move on to the limbs. I guess I wZnted his head right, before moved on??? Lol
Lololol I know Amy! The baking tray! At least I don’t have toothpicks in his nose this time!!!
So true!! 
I do head and limbs together. They all have the same paint layers, mottling, creases, etc. When I blush the limbs and cheeks, I use the same mix to make the stork bite. When all that is good, I seal it. Root hair. Paint brows. Bake. Glue hair in. Root lashes. Gloss eyes, if open. Gloss nails and lips. Apply satin to other “moist” areas (ie: eyes, ears). Fill limbs and head, then put body together and hug! 
Thank you- I’m printing that!